Backpacking is all about balance – keeping your pack weight low while still ensuring you have everything you need to be self sufficient and comfortable in the backcountry.
It can be an overwhelming prospect for first time or novice backpackers.
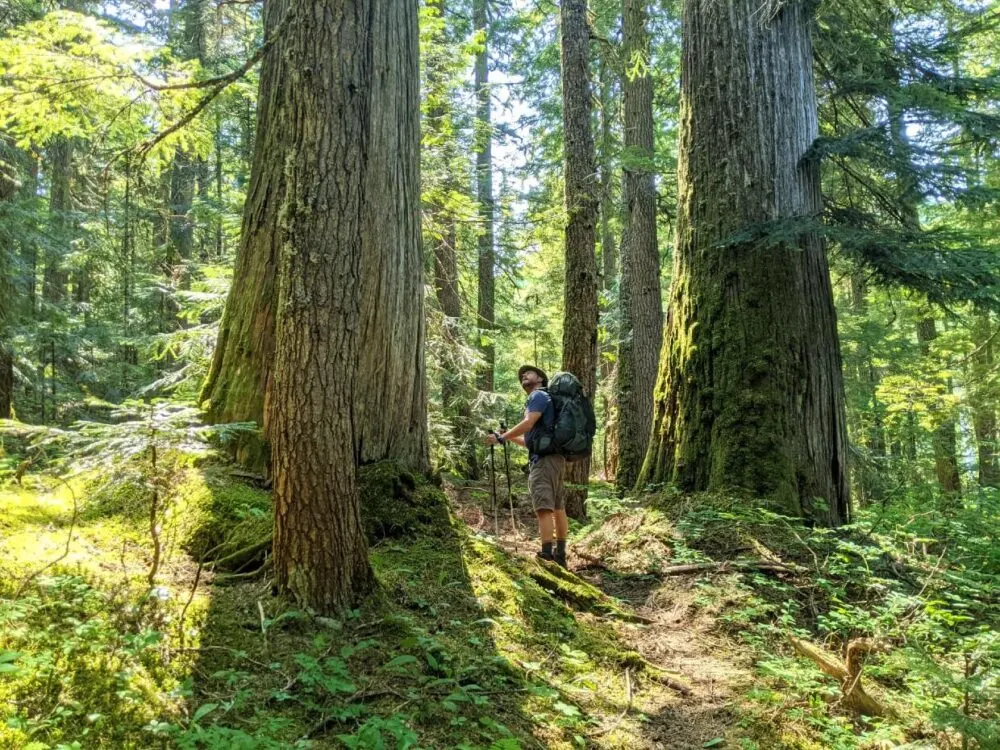
With that in mind, this post features a comprehensive multi-day packing guide detailing every single item to bring on a short backpacking trip.
There’s a printable packing checklist at the end too, available to anyone who signs up to our monthly email newsletter.
I’ve also listed every item we personally use, with gear recommendations and tips from 20+ backpacking trips.
What to expect in this post:
- Essential backpacking gear
- Camp kitchen
- Food and water
- Clothing
- Footwear
- Health and hygiene
- Discretionary items
- Personal items
- Printable backpacking checklist
Time to dive in!
Published May 2022. This post includes some affiliate links. If you make a purchase via one of these links, we may receive a small percentage of the total sale at no extra cost to you.
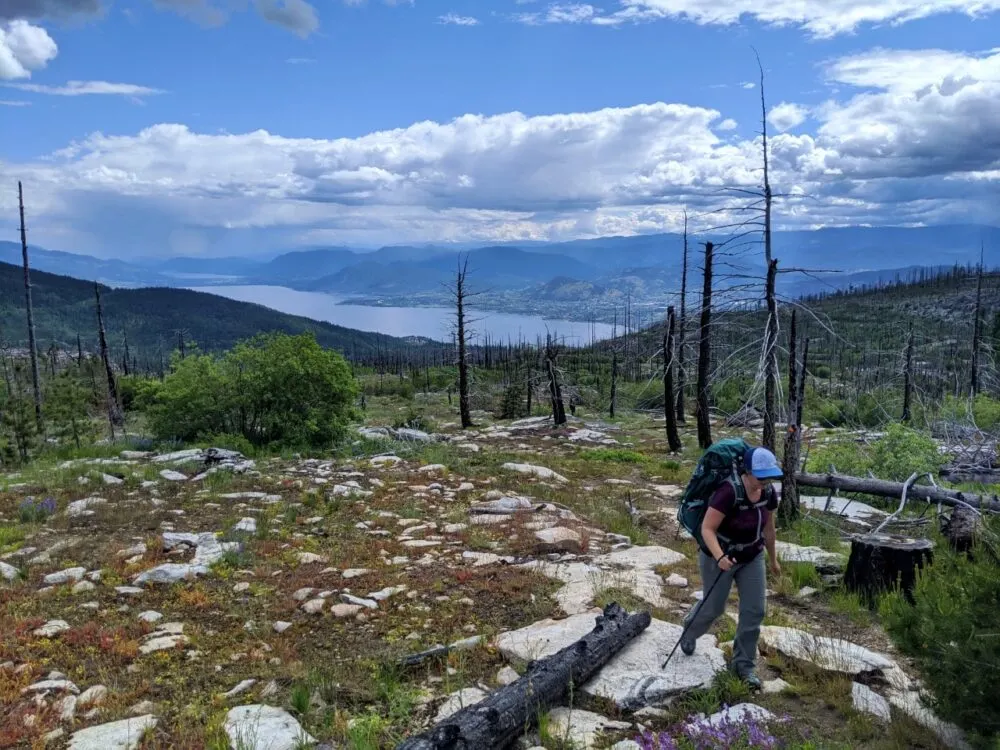
What to bring on a backpacking trip
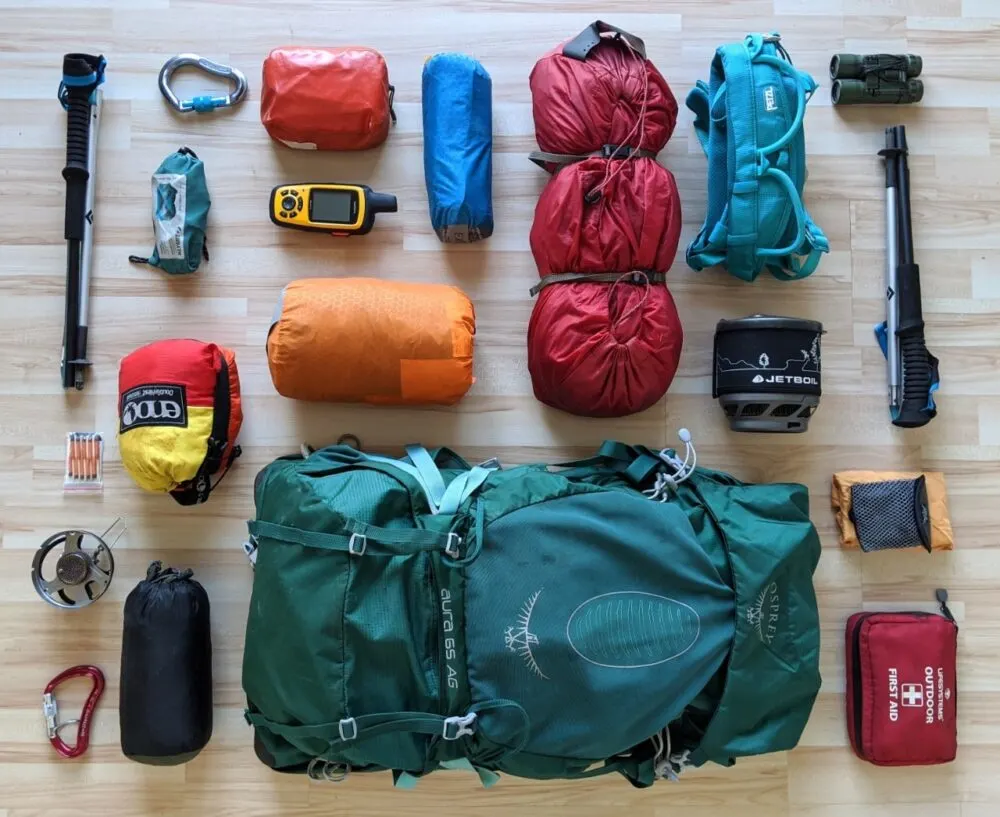
Let’s start this guide with an overview of the basics. The bare minimum for a safe backpacking trip is:
- Backpack
- Tent
- Sleeping bag
- Sleeping mat/pad
- Stove and fuel
- Cooking pot and utensil
- Food
- Water storage
- Water treatment system
- Appropriate clothing
- Appropriate footwear
- The 10 Essentials (includes emergency equipment)
Experienced backpackers may swap out some of these items for lighter options e.g. tent for tarp shelter, stove/cooking pot for ‘cold soaked’ food.
When backpacking in a group, some of these items can be shared (stove, tent etc.)
Please note that a loaded backpack should not weigh more than 20% of your body weight. So a hiker weighing 150lb (68kg) should aim for a backpack weight of no more than 30lb (13.6kg).
Keep in mind that it takes a few trips to refine the best backpacking set-up (food, gear, clothing, footwear etc.) for you.
And over time, you may replace certain items to achieve a lighter pack or a more comfortable backpacking experience.
The rest of this post will discuss each of the above items in greater detail.
Backpacking for the first time? You may also find our Backpacking 101 post helpful
Essential backpacking gear
Along with food, water and clothing, these items are your backpacking must-haves.
Backpack
You won’t get far on a backpacking trip without a backpack.
A good backpack should be comfortable and distribute the load of your gear evenly. It should also transfer the weight to the biggest and strongest muscles and bones in your body – those in your hips and legs.
Most backpackers use a backpack with 40 to 80 litres of space for trips of 3 days or more. The most common size is 50-70 litres.
More information about choosing a backpack in our Backpacking 101 guide.
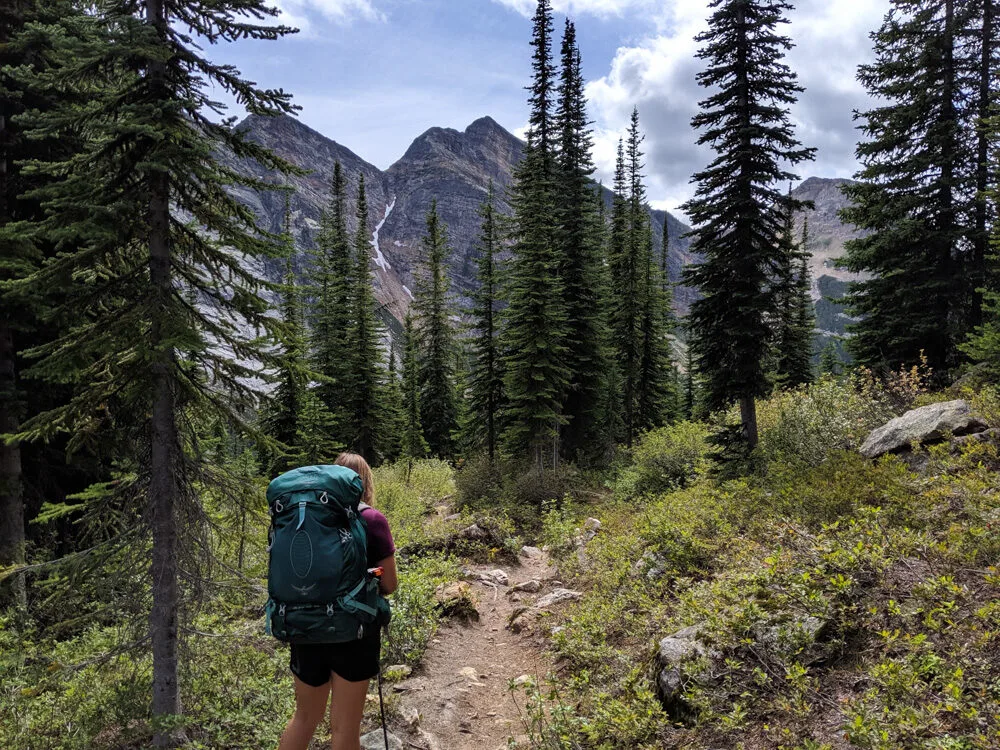
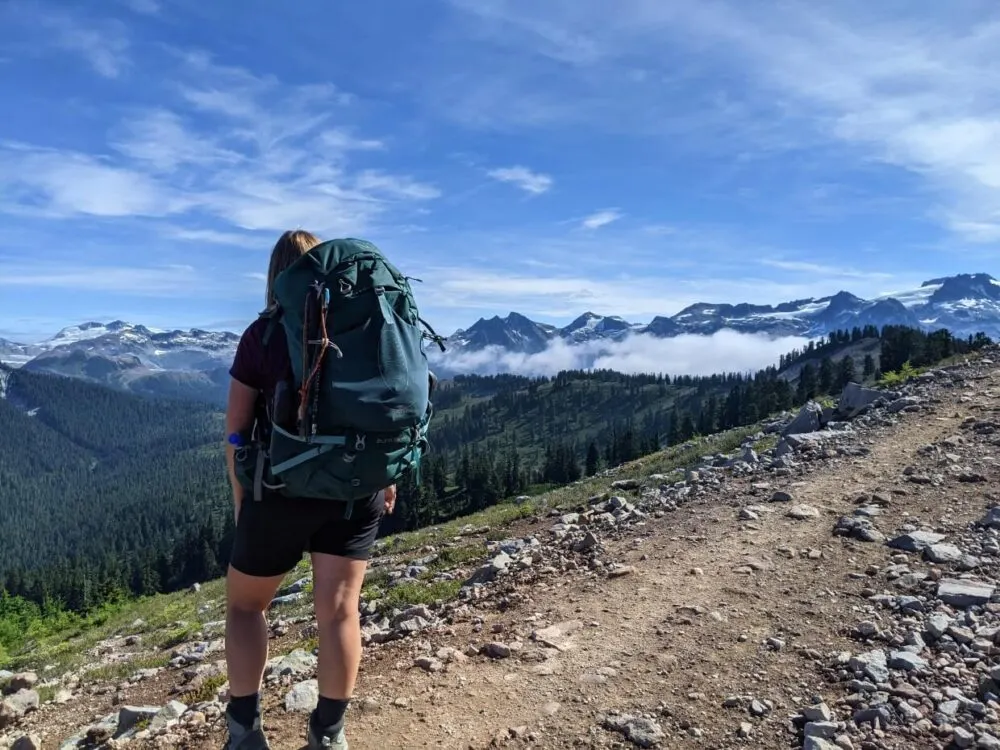
What we use – Having tried and tested quite a few different backpacks over the years, we pretty sold on the Osprey Aura AG 65 and the Osprey Aether 65. Both are on the heavy side but we find the provided support and cushioning is worth the extra weight. I usually use my Aura without the lid as I don’t need the space.
Tent and footprint
A tent is your home on the trail. It’s usually the heaviest and largest piece of equipment in your backpack. A good weight to aim for is 2lb per person.
The lighter the tent, the less durable it is. Consider a footprint for more delicate tents, to help protect the bottom of the tent and prolong its life.
More information about choosing a backpacking tent in our Backpacking 101 guide.
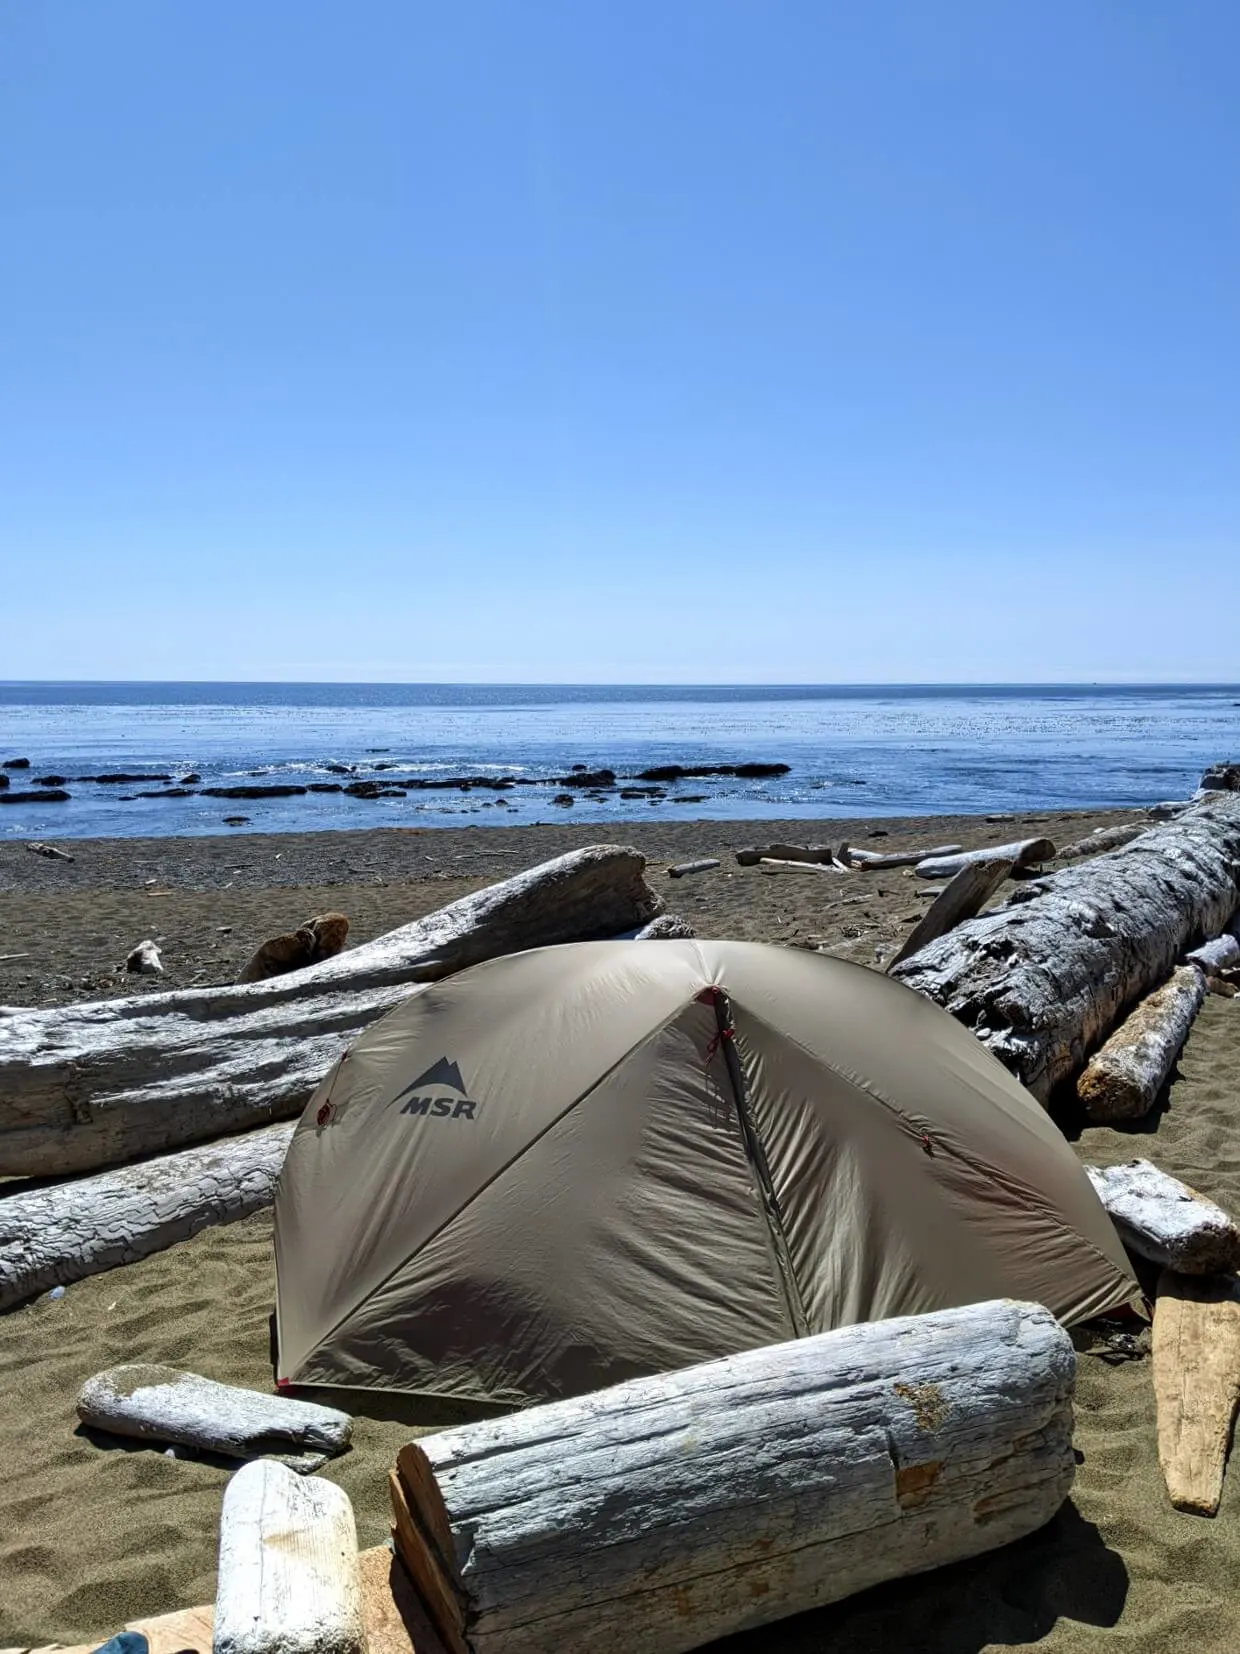
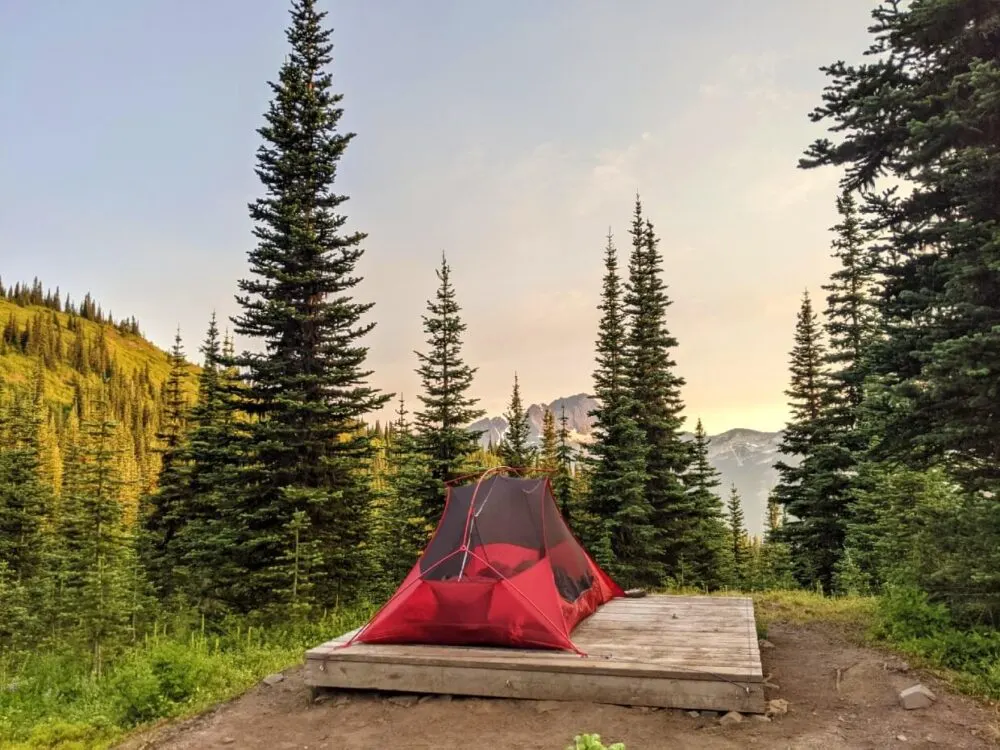
What we use – For more than 6 years (and 40+ backcountry trips) we used the MSR Freelite 2. Though on the tight side for two people, it was exceptionally lightweight at 2lb 15oz. The footprint was an additional 7oz.
We recently upgraded to the Big Agnes Copper Spur 3. At 3lb 8oz, it is a little heavier than the Freelite 2. But the increased space more than makes up for it! The Copper Spur feels like a backcountry palace. For us, weight penalty is worth it.
Sleeping bag
Sleeping bags are designed to keep you warm and comfortable while sleeping outdoors. Choose between down and synthetic insulation, mummy or barrel shapes, single or doubles. Alternatively, consider a quilt.
More information about choosing a sleeping bag in our Backpacking 101 guide.
What we use – After freezing in sleeping bags for years, I recently upgraded to Rab’s Neutrino Pro 600 (women’s specific version). Yes, being rated to -12c means that it’s overkill for most of our backpacking trips but I’m finally sleeping warm without having to wear lots of layers.
JR finds mummy shaped sleeping bags to be claustrophobic but he found a compromise in the Draco -9C Wide Down Sleeping Bag from MEC. It’s more barrel shaped, which does mean it is heavier (almost 3lbs, compared to 2lb for my warmer bag).
We both store our sleeping bags in OR compression dry bags. I’d highly recommend them – ours are still in almost perfect condition after 8 years of abuse!
Sleeping mat
A sleeping mat, or pad, offers insulation and cushioning for a more comfortable night. Air pads (inflated by breath or a pump) are very popular, as are self-inflating pads.
More information about choosing a sleeping mat in our Backpacking 101 guide.
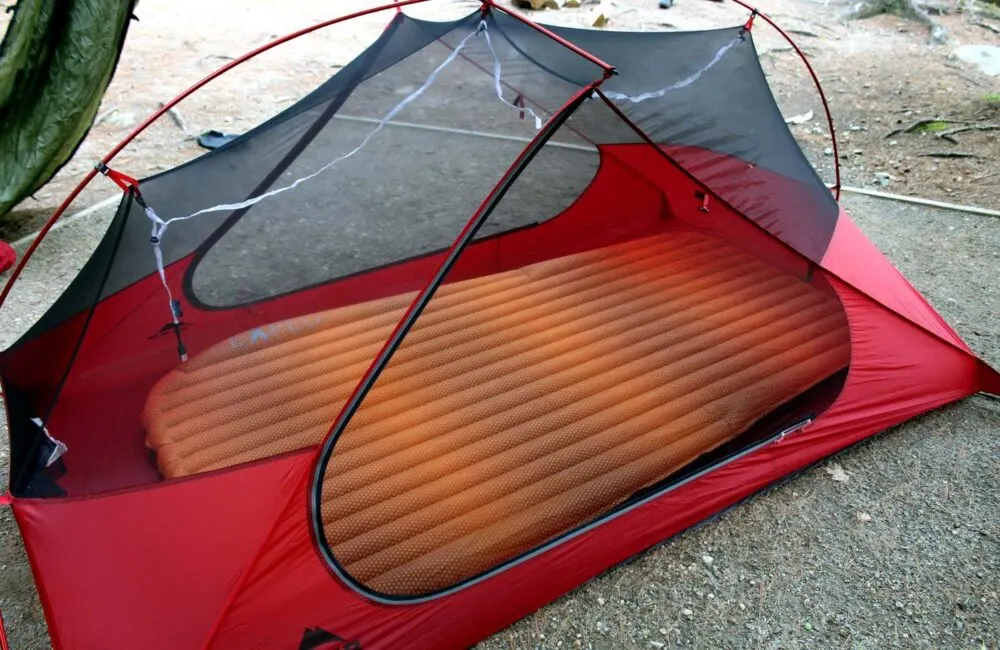
What we use – Saving on both space and weight, we share the Exped Synmat Hyperlite Duo M. Though I wish we had purchased the wider version, we love this air pad. It weighs just over 2lb, so 1lb per person, with the pump bag included.
The two halves have separate valves, which means a leak would only affect one side (and there is also less wobbling when the other person moves!)
First Aid Kit
A First Aid kit is invaluable for every-day irritations (bee stings, small cuts) as well as major injuries. Don’t forget the importance of blister care and prevention – consider moleskin fabric or Leukotape.
What we use: Some essential items we have in our kit are bandages, blister plasters, surgical tape, sling material, oral rehydration salts, tweezers and antihistamines. We also bring a handful of strips of Leukotape on decal backing (the smooth, shiny paper behind labels and stickers) for blister prevention.
Map
Carry at least one navigational tool while backpacking, preferably a topographic map.
Make sure your map is in some kind of waterproof container (even a Ziplock bag would do). In areas with a less defined trail, you’ll want a compass too.
Even when primarily using a GPS unit or phone app for navigation, always have a map as a back-up.
What we use: Used in conjunction with paper maps, we love the app Maps.me. It doesn’t feature all of the trails we hike but it’s invaluable for the ones it does! Download the maps in advance and you can use them offline.
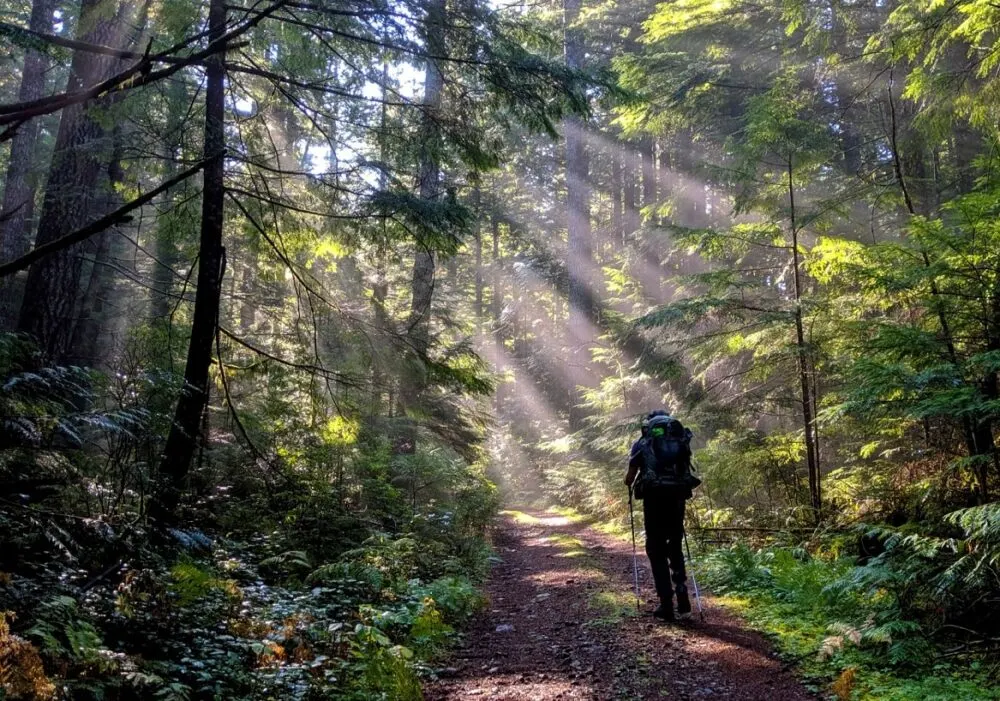
Repair kit
A small repair kit is one of the 10 Essentials.
Duct tape is an all-purpose, fix everything lightweight saviour. You can use it to fix tent holes, broken poles, ripped clothing, broken backpack buckles and more.
Having a knife or multi-tool is also immensely useful for a range of tasks including building shelter, creating kindling and assisting with first-aid
What we use: Tenacious tape is a great alternative to duct tape. We also bring a knife.
Communication device
If you bring a cell phone, charge it fully, turn it off and then store it somewhere waterproof (Ziplock bag, dry bag).
Use your phone for photography? Bring a portable battery charger for back-up (and don’t forget your phone cable as well).
A satellite communication device makes it possible to request assistance in remote locations without phone signal.
Popular devices include the Spot or InReach (both brands are recommended by Search and Rescue organisations). I’ve also heard good things about Zoleo.
As an extra precaution, always have a whistle as a signaling device. Some backpacks already have these on the sternum strap.
What we use: We bring an InReach SE+ on all of our backpacking trips, which works on a subscription system.
Though we’ve (thankfully!) never had to use it during an emergency situation, we do regularly communicate with friends and family. It’s free to send one of three pre-set messages with our GPS coordinates and a map.
Since we use our phones for photography, we always make sure we have at least one portable battery charger. Our most used one is this inexpensive 10000mAh version from Amazon.
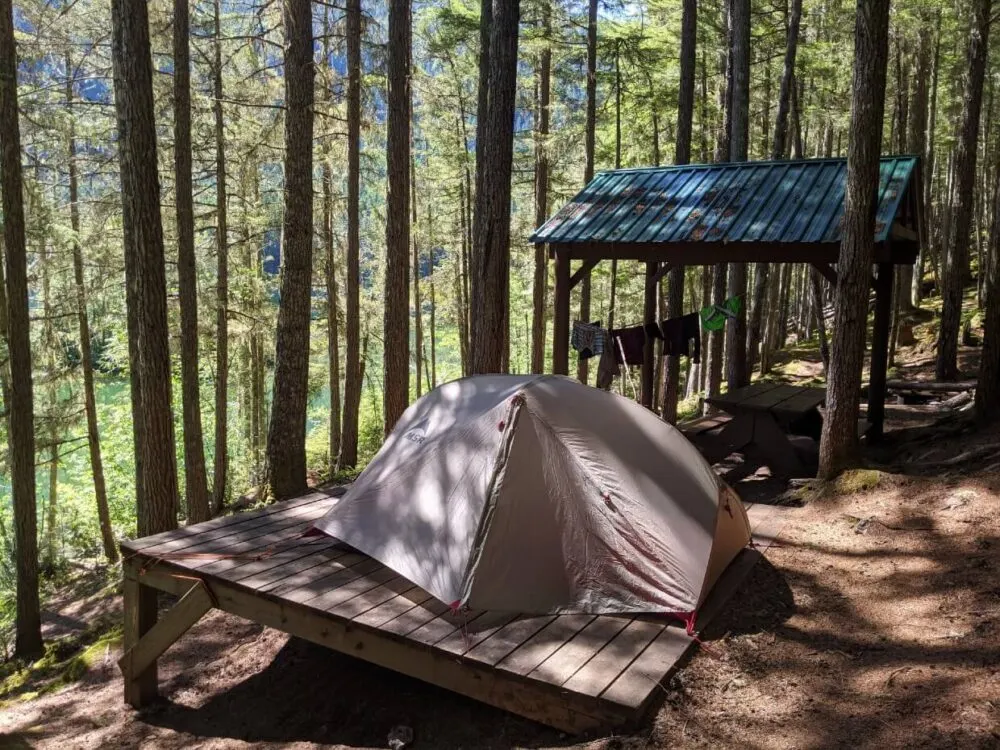
Light source
A flashlight will do but it’s much easier to use a headlamp. This will free up your hands and make it much easier to find items in the tent, cook food or use the outhouses at night.
When shopping for a headlamp, look are the amount of lumens. This indicates how bright the headlamp’s beam will be. Around 200-300 lumens is satisfactory for most backpacking requirements.
What we use: We love our Petzl Actik headlamp. The max light output is 350 lumens, with a red light option. It can be powered with regular AAA batteries or a rechargeable Lithium-ion battery. We prefer the latter.
Fire starters
Another of the 10 Essentials, fire starters can be a lifesaver for backcountry users needing to signal for help or suffering from hypothermia.
Firestarters, as the name implies are designed to get a fire going quickly. Bring matches at a minimum, preferably of the waterproof kind or in a waterproof container.
What we use: We have some waterproof matches in our First Aid kit for emergencies. Depending on the trip (if campfires are allowed), we may also bring a lighter and a very small amount of kindling. Alternatively, we’ll keep an eye out for birch bark while hiking to use as kindling instead.
Camp kitchen
Food never tastes quite as good as it does in the backcountry!
Backpacking stove
Lightweight canister stoves are most popular for backpacking, with liquid fuel stoves a close second. The latter connect to refillable fuel bottles, usually filled with white gas, and are usually a bit heavier.
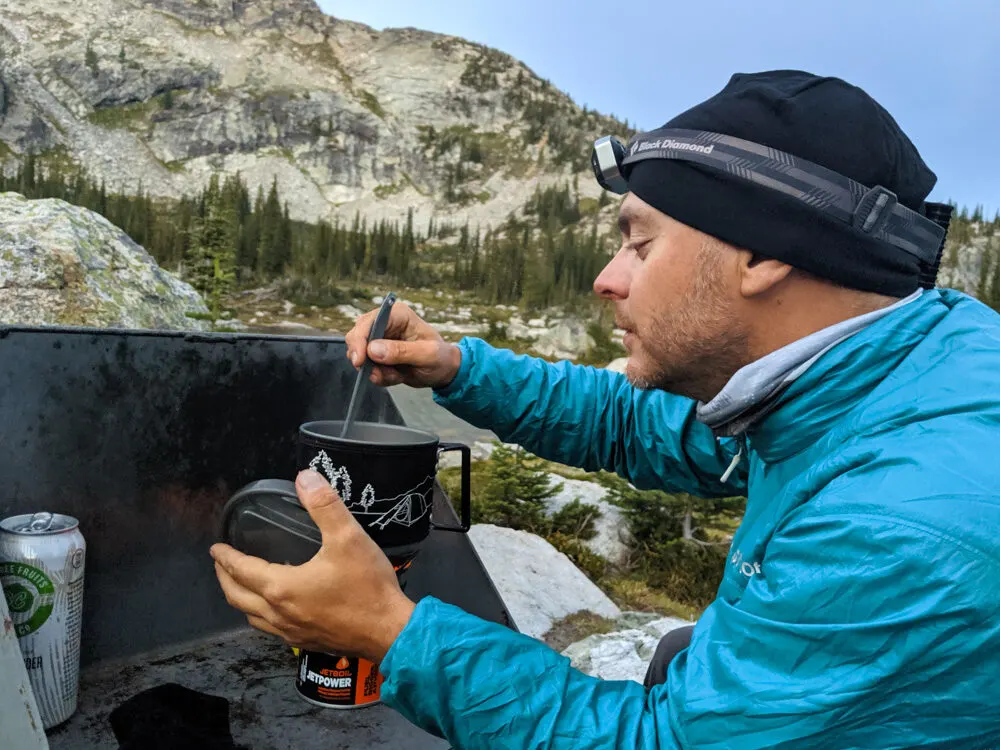
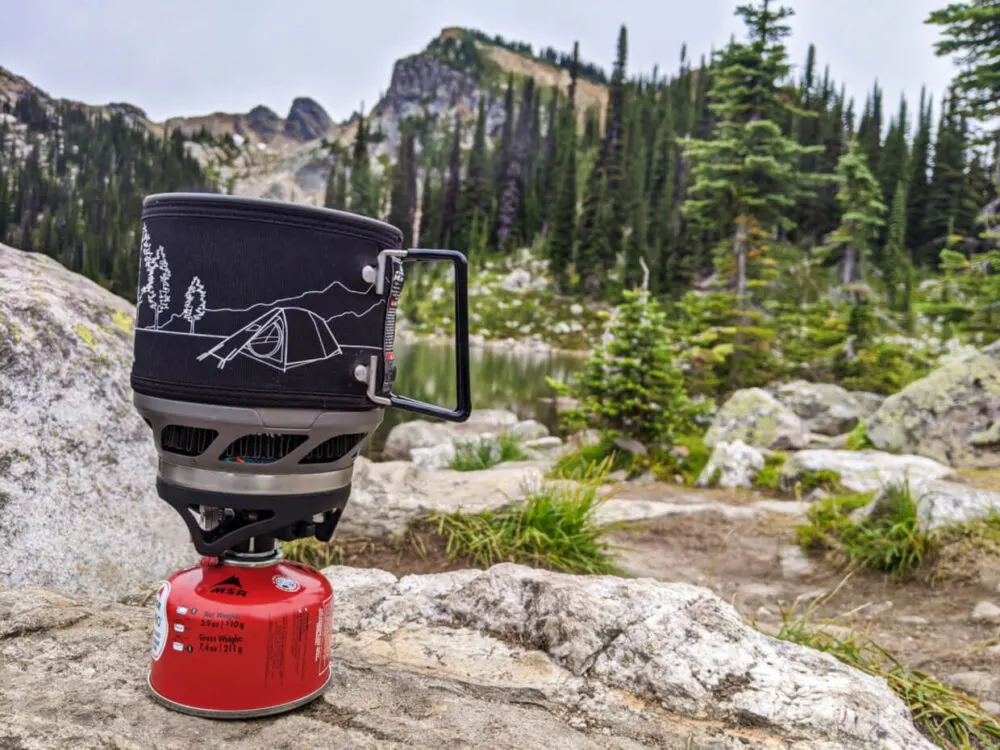
What we use: Our go-to backpacking stove is the Jetboil MiniMo. It has an integrated stove and pot system, which reduces the air space between the burner and the pot. It is therefore more efficient than most other systems (= fast boiling, less gas), especially in windy conditions.
The MiniMo is well worth the upgrade from the Flash, in my opinion, as it features a fuel regulator, which allows you to simmer and boil water. We also prefer the wider pot.
Fuel
Backpacking stoves require fuel to operate. There are a few different types so make sure to buy the right one for your stove.
Most backpacking stoves use a blend of isobutane propane, which is sold in canisters of 3.90z (110g), 8oz (227g) and 16oz (450g).
The amount of fuel needed for your backpacking trip varies depending on many factors included on the length of your trip, stove efficiency, cooking style and the temperature/elevation of your destination (the colder and higher it is, the more fuel the stove uses).
What we use: On an average 5 day backpacking trip at sea level, JR and I bring one small 110g canister to boil water on our Jetboil stove for four dinners, one breakfast and half a dozen cups of tea.
Plates, bowls and cups
Some backpackers like to bring dedicated bowls and plates for meals, as well as drinking cups. Plastic is a popular material as it is very light. Stainless steel cups are a classic choice for tea and coffee mugs.
It is possible to buy backpacking dishes and bowls separately as well as in sets.
Alternatively, you can also purchase an integrated set of dishes and cups, designed to fit inside a cooking pot. A backpacking stove is optionally included. Examples: GSI Dualist Dualist (no stove), MSR PocketRocket set (with stove).
Backpackers primarily eating prepared freeze dried food often eat from the packet (no pot needed).
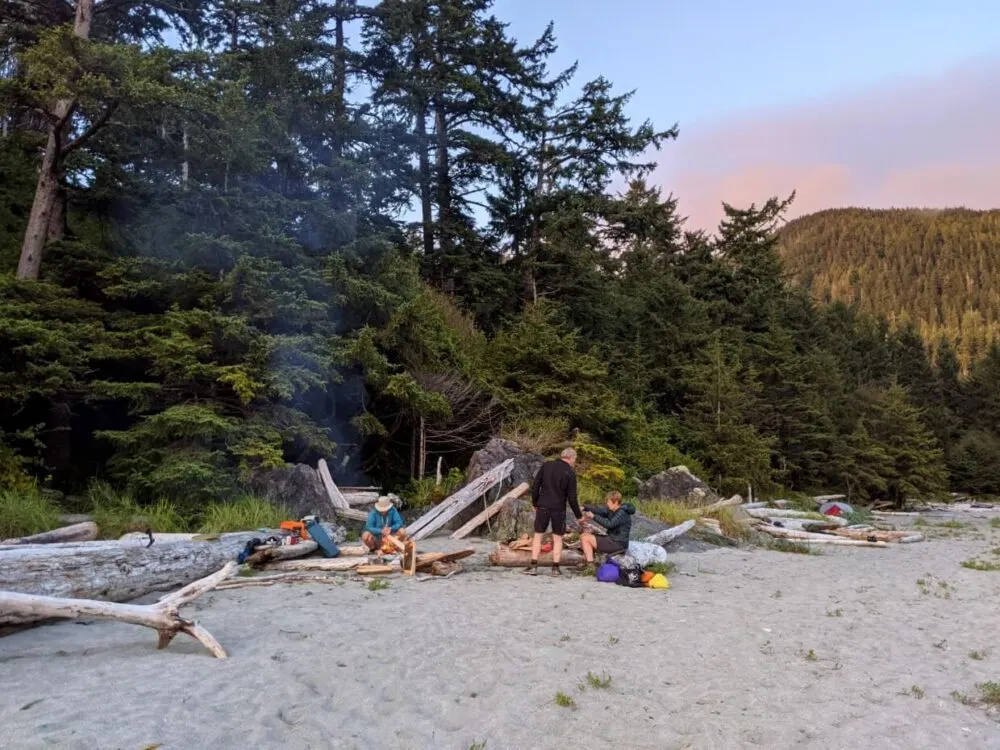
What we use: Preferring to avoid the weight, we typically eat cooked meals directly from our Jetboil cooking pot.
In recent years, we’ve also added a GSI Infinity Backpacker Mug to our set-up. Insulated with a sealable lid, it weighs less than 5oz. We use this mug for tea and rehydrating/eating food.
Utensils
Don’t forget to bring something to eat with! The type of utensils you bring will vary depending on the food chosen.
Plastic is a common backpacking utensil material as it is very light. Sporks (yep, a spoon/fork combo) are popular.
What we use: We like to keep things simple and bring two plastic GSI Long Spoons. These extra long plastic spoons are ideal for scooping out meals from freeze dried food packets or stirring rehydrated food in our Jetboil.
Cleaning supplies
Some biodegradable soap, a small scrubber and a quick dry towel are a popular trio of cleaning backpacking supplies for washing dishes and cooking pots.
What we use: We bring a tiny scrubber (about an eight of the size of a regular one) and a very small Nalgene bottle of biodegradable soap. After washing, we air dry our cooking pot.
Food and water
Not only your backpacking stove requires fuel; you do too!
Water purification
Water in the backcountry isn’t always safe to drink. While it may look fine in appearance, it could be carrying bacteria that has the potential to make you very sick.
The three most popular ways to make water safe to drink while backpacking is to use a filter, UV light or water purification tablets.
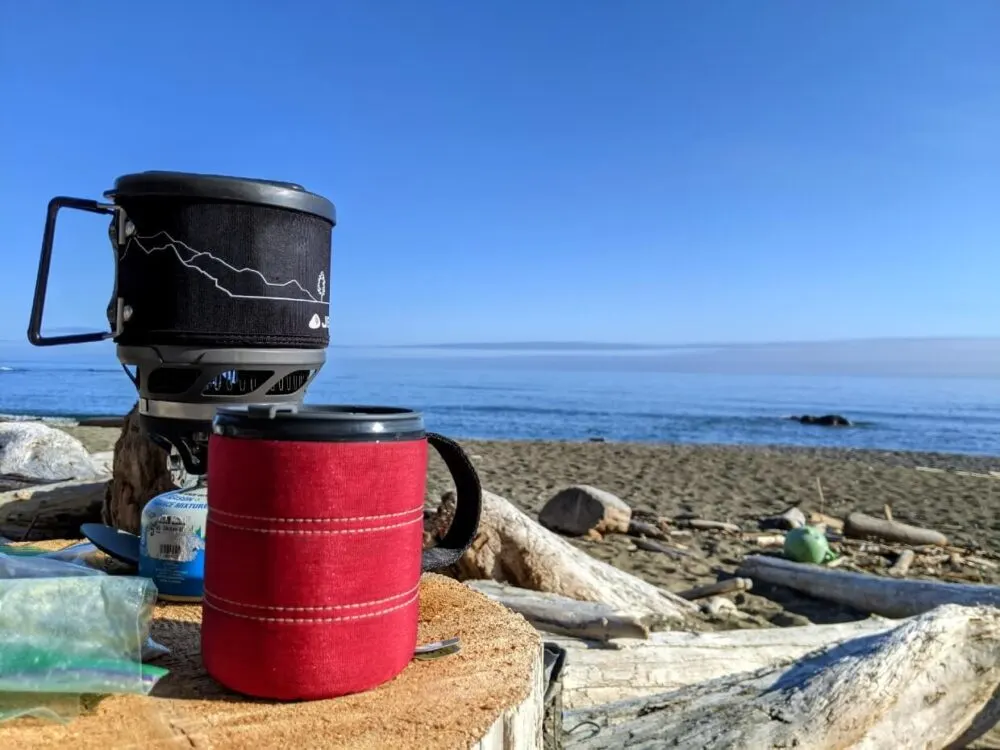
What we use: We like to bring two types of filtering/purification systems, in case of failure. One is a filtering system. We used the BeFree for a long time before switching recently to the MSR Trail Shot. If we backpacked in a larger group, I would purchase a gravity filter system instead.
As backup, we also bring a handful of ultralight Aqua Tabs (water purification tablets). We store these in our First Aid kit.
Water storage
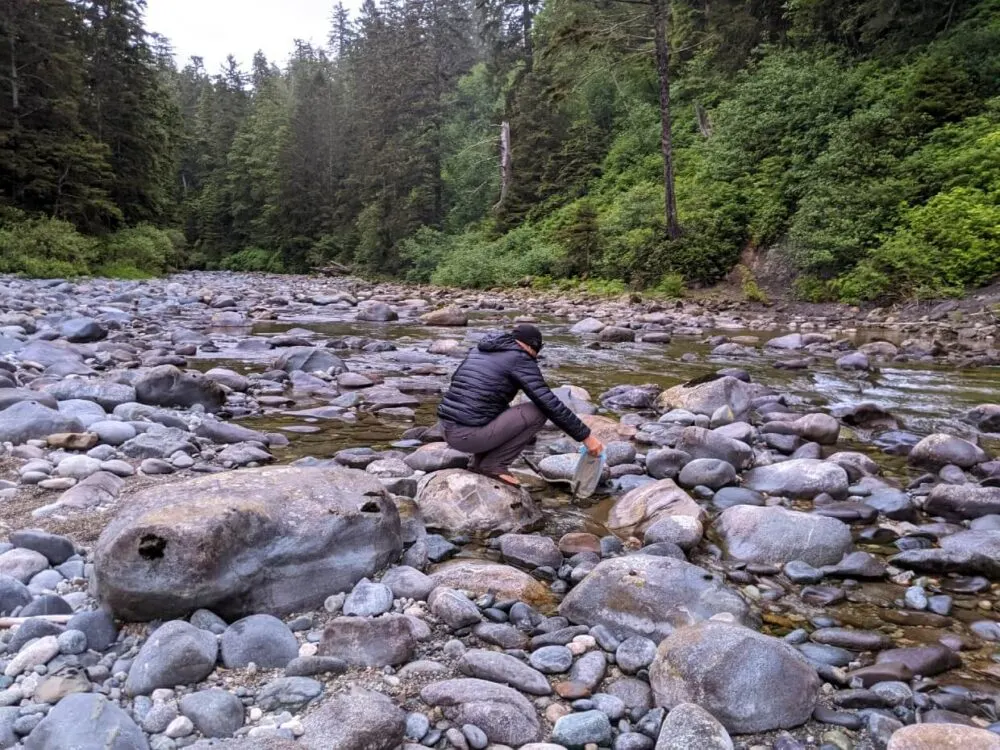
Depending on the trail, you may want to bring up to 2l of water in your backpack. Using a bottle is the cheapest option, but not the most convenient. Hydration bladders, also known as reservoirs, allow you to drink on the go.
What we use: To store water, we prefer to use hydration bladders (2l). We currently have the Osprey brand, made by Hydrapak. I find these to be way more convenient than a bottle for drinking water while on the trail.
Meals and snacks
Food weight can really add up in a backpack. Prioritise calorie-dense food, with plenty of carbs and protein. Think nuts, seeds, jerky, dried fruit, granola, beans, granola, cheese and dark chocolate. Junk food (chips, candy) in small amounts too.
For dinner, a lot of backpackers purchase freeze-dried meals. These provide an easy (but expensive) solution. Backpacker’s Pantry Pad Thai is the best of all we have tried.
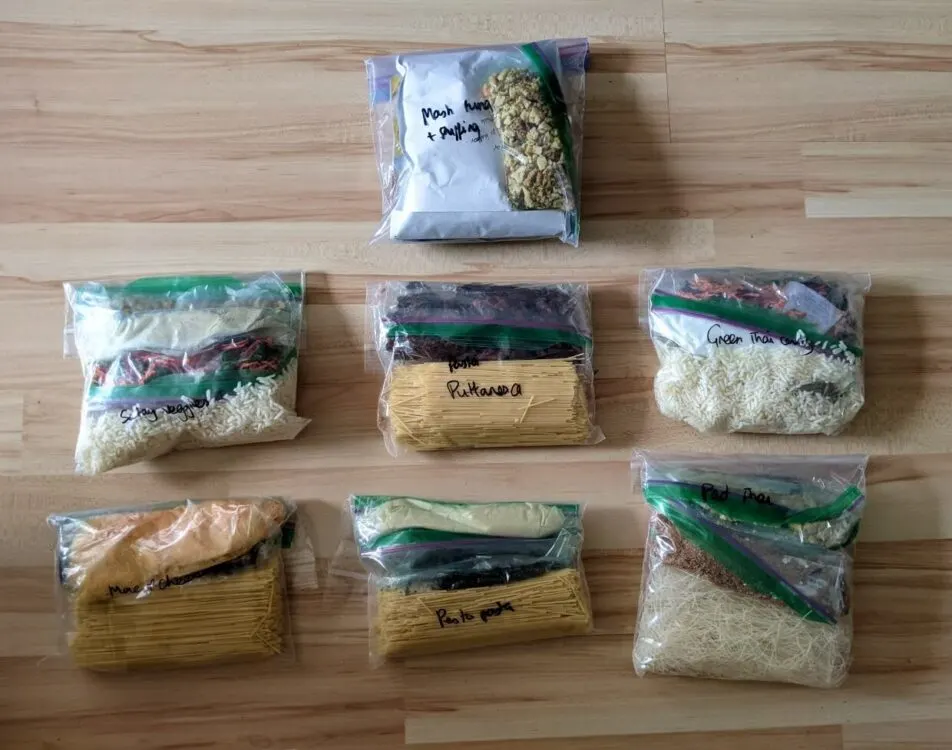
What we do: We bring around 1.1lb of food per person per day. So on a 5 day backpacking trip, we carry around 11lb of food for the both of us. This is on the low side but we have experimented and this works for us on short (up to 8 day) backpacking trips. We make our own dehydrated meals for dinner.
Extra food
Always bring a little more food than you need. This could be an extra meal or a day’s worth of snacks. You never know what kind of delay you may have (weather, injury, illness etc.)
What we do: We always bring an extra dinner meal. As a bonus, this gives us additional choice for what to have for dinner!
Food storage
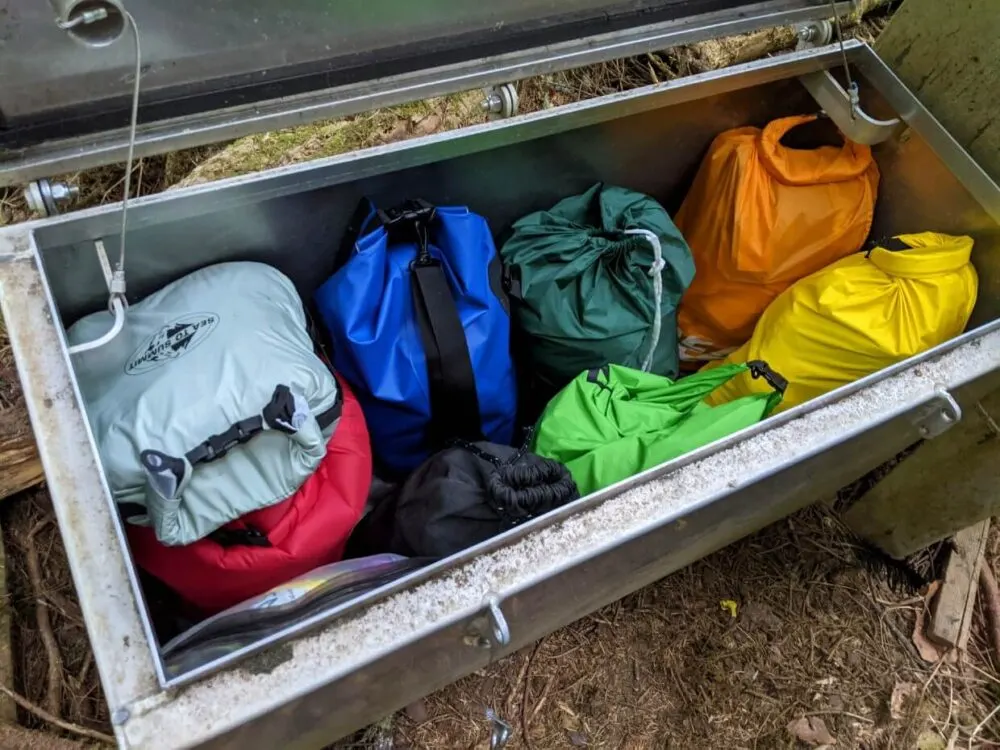
When not in use, food, toiletries, cooking equipment and garbage should be stored securely, away from your tent. Most backpackers store food in a dry bag.
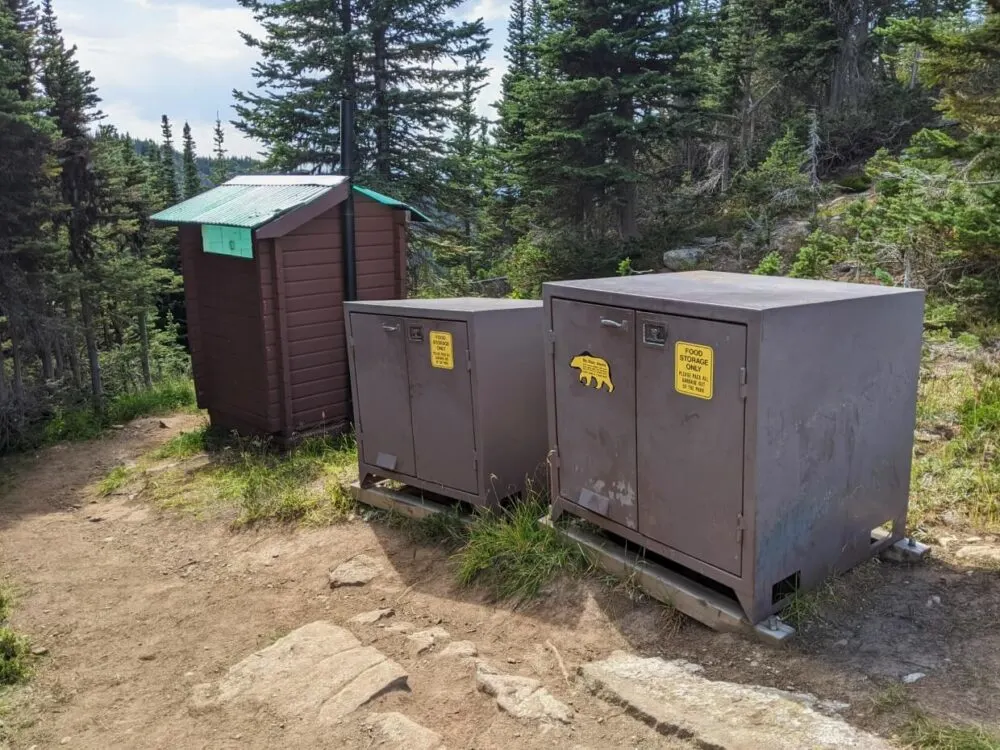
Some backcountry campfires will have a food cache or bear pole system. Research the campground to see what system is in place. If there is nothing, bring a carabiner at least 15m (50 feet) of nylon cord to make a bear hang.
Alternatives include the Ursack (a lightweight, collapsible puncture-resistant bear bag) or a bear barrel/canister (a thick plastic container with a bear-resistant lid).
What we use: We store food in a dry bag (the same one each time) and always bring a carabiner and nylon cord to create a bear hang, in case the food cache/bear pole system is full or unusable.
Clothing
It’s important to wear clothing that will keep you warm, dry and comfortable when backpacking. The key to this is wearing layers of clothing, made from moisture-wicking and quick-drying fabrics.
Most backpackers carry at least two outfits – one to wear and one spare.
At a minimum, I would suggest the following for a short backpacking trip in Canada:
- Moisture wicking t-shirt
- Long sleeve shirt
- Quick drying pants
- Second pair of quick drying pants or shorts
- Warm mid layer (fleece or similar)
- Waterproof jacket
- Moisture wicking underwear
- Moisture wicking socks (ideally wool)
- Suitable boots or shoes
- Warm accessories
- Sun hat
Depending on your destination and the expected conditions, top and bottom base layers (colder weather) may be preferable additions.
What we do: For the majority of our backpacking trips, I bring:
- 2 x merino wool t-shirts
- 2 x long sleeve merino wool shirts
- 1 x quick drying pants
- 1 x quick drying shorts
- 1 x underwear per day (up to 5 maximum)
- 2 x quick drying sport bras
- 3 x merino wool socks
- 1 x merino wool base layer pants (long johns)
- Arc’teryx Atom LT Jacket (mid-layer or outer layer)
- Arc’teryx Beta Jacket (waterproof)
- Wool toque
- Light gloves
- Buff neck gaiter
- Sun hat
Of course, there is some seasonal variation (but not a lot). When backpacking at lower elevations in the height of summer, I’ll exchange one of the long sleeve merino wool shirts for another t-shirt. If the forecast is rain for the entire trip, I’ll bring an extra pair of socks. For longer backpacks, I’ll wash items as necessary.
Footwear
A great backpacking trip starts with the first pair of shoes on your feet.
Hiking boots or shoes
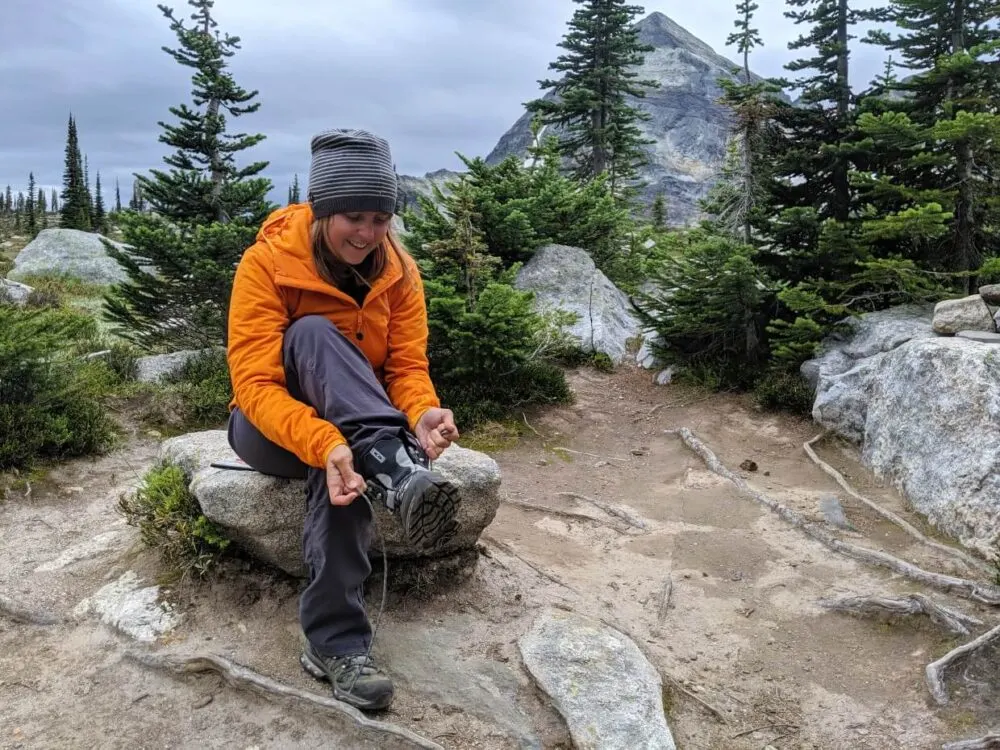
Backpacking boots are designed to carry heavier loads, with stiffer midsoles and a high cut covering the ankles.
Some experienced backpackers prefer to wear lighter hiking shoes or trail runners. There are benefits and disadvantages to both options.
No matter which type of shoe you choose, be sure to test it out on shorter trails before heading out on a long backpacking trip.
What we use: We both use Salomon Quest 4 GTX for longer backpacking trails. On shorter, less intensive trips I switch to low cut Oboz Sawtooth hikers.
Camp shoes or sandals
It feels so good to get out of hikers and into a different pair of shoes at the end of a long hiking day! For some people (myself included), bringing a second pair of shoes is well worth the extra weight.
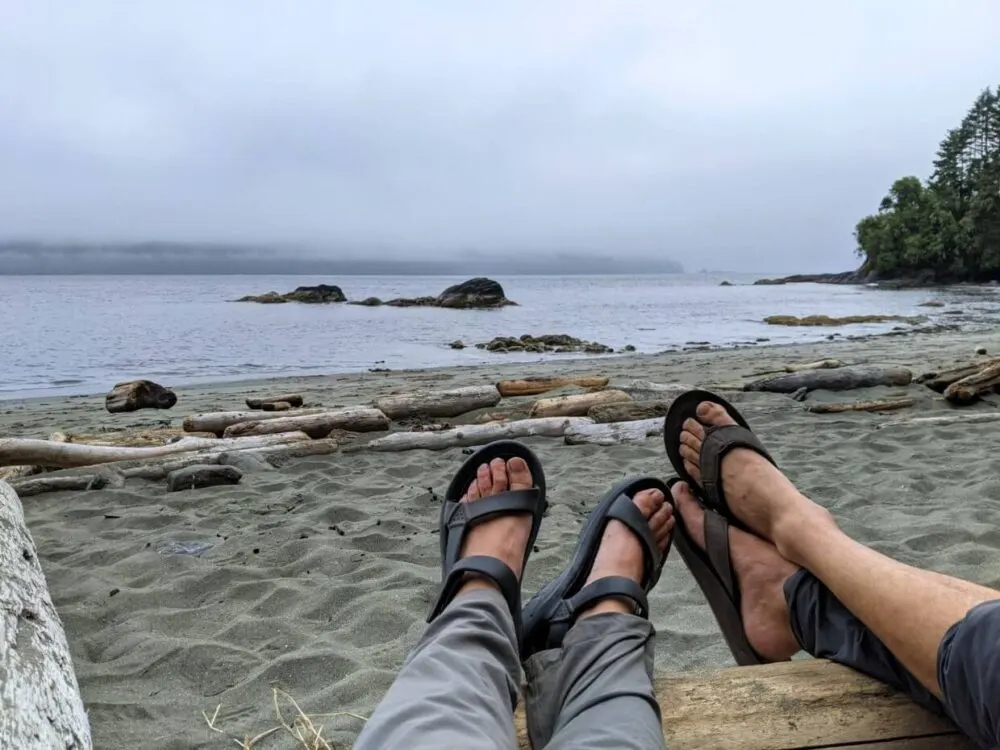
What we use: Depending on the trail, I bring either my Teva Hurricane Drift sandals (great for crossing rivers and streams as well) or some insulated booties (ideal for hut to hut hikes).
Health and hygiene
Keep yourself safe, clean and healthy on the trail with the following items.
Toothbrush and toothpaste
There’s no reason to neglect your teeth while backpacking!
What we use: Nothing special here, we bring regular toothpaste in a small travel sized tube. Our toothbrushes are travel size as well. We keep both items in a tiny toiletry bag.
Insect repellent
Using repellent is the easiest way to ward off insects, but other options include mosquito coils, citronella candles, portable mosquito repellers and head nets.
What we use: After trying so many different types of natural repellents, we rely on Off! Deep Woods in buggy places. If I know that a backpacking trail is particularly infested, I will bring a head net (luckily, this doesn’t happen often!)
Toilet paper and hand sanitizer
Never assume that backcountry campground outhouses will have toilet paper – bring your own!
Store it in a Ziplock or light dry bag. Be sure to have some alcohol-based hand sanitizer as well.
What we use: Years ago, I won a Sea to Summit toilet paper holder. Sounds gimmicky but we’ve brought it on every trip since! It’s basically a ultralight dry bag with a detachable rod in the middle. One toilet roll clips into it. We store a small container of hand sanitizer in the middle of the toilet roll.
Trowel
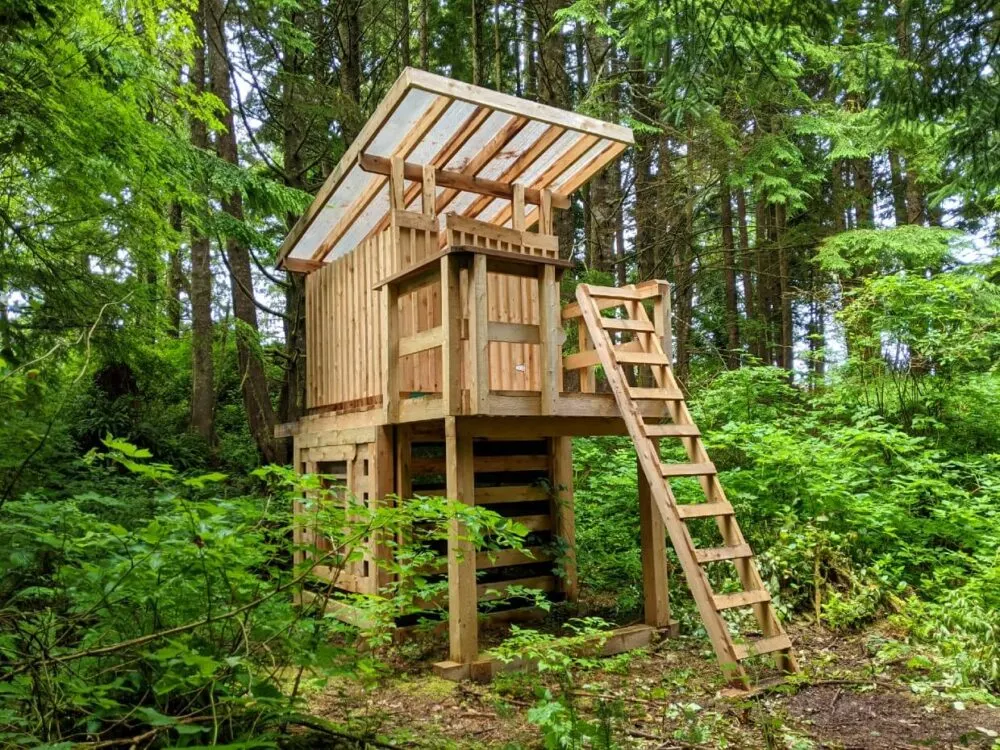
If there are no outhouses at your destination, you will need to plan ahead appropriately to Leave No Trace. Bring a lightweight trowel so you can dispose of human waste properly. Pack out toilet paper in a Ziplock bag.
What we use: We bring a lightweight trowel on backcountry trips with no established campgrounds along the route, as well as spare Ziplock bags.
Hairbrush and hair bands
If you have long hair, don’t forget to bring a hair band or two. Optionally, you may want to bring a hairbrush as well.
What we do: I bring a small foldable hair brush (like this one) with a couple of elastic hair bands.
Sun protection
One of the 10 Essentials, sun protection is a must when backpacking at any time of year. It’s so easy so get burned, even on cloudy days!
Sunscreen is a must, as well as sunglasses and a sun hat.
What we do: We bring a 100ml bottle of sunscreen (we like this local natural brand), as well as a pair of sunglasses and a sun hat each.
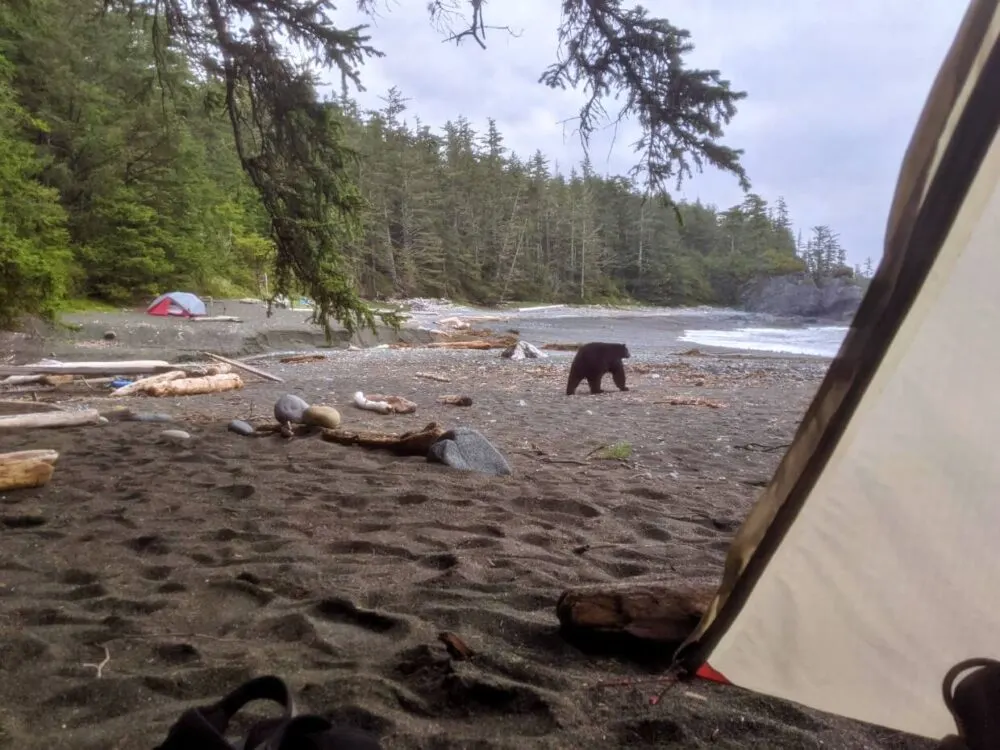
Bear spray
Though negative bear encounters are pretty rare, having bear spray is a good idea ‘just in case.’ Keep it accessible with a holster.
What we do: We bring bear spray on every backpacking trip in Western Canada, no matter how long. We usually carry one each.
Discretionary items (extras)
The following items are completely optional but may improve your backpacking adventure. Obviously, each one comes with a weight penalty.
Tarp
A tarp can provide shade on sunny days and shelter on rainier ones. Silnylon tarps (siltarps for short) are popular for backpacking, being exceptionally lightweight but also tear resistant.
If you can, practice putting up the tarp a home first before taking it on a backpacking trip. Bring some extra cord for attachment or learn how to utilise a hiking pole.
What we use: We sometimes bring a siltarp on backpacking trips, especially when staying at campsites with very few facilities and/or when the forecast features consistent rain. Though we have both the Siltarp 2 and 3 from Rab (the larger versions of this one), we use the larger 3 on paddling trips only.

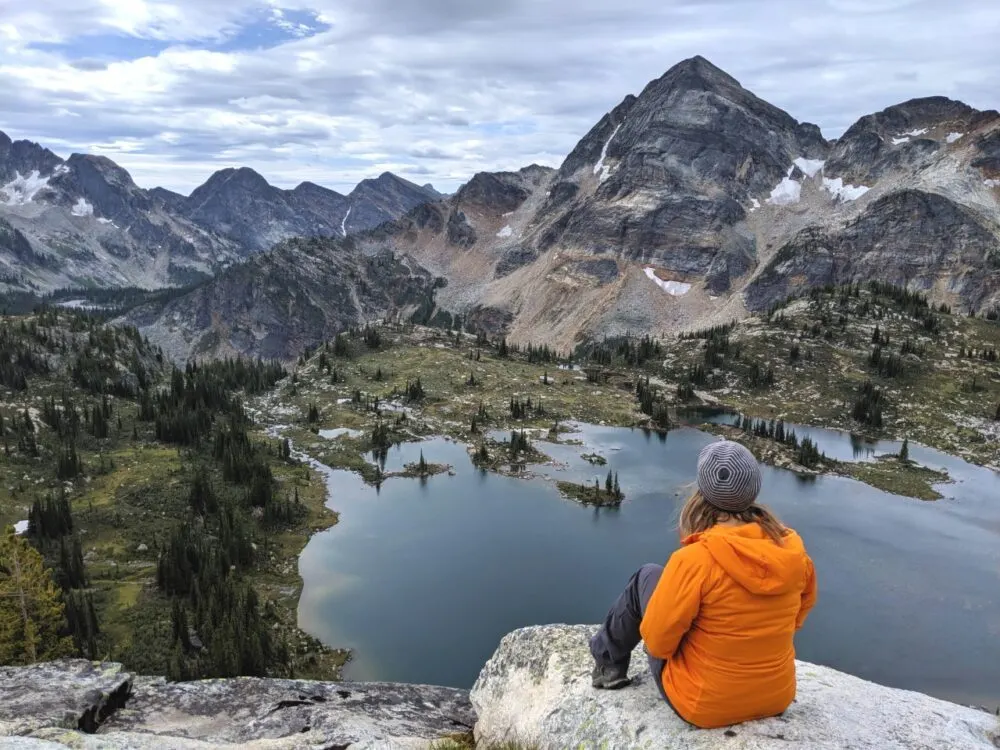
Hiking poles
Hiking poles can help with stability. They also help to reduce pressure on the knees when descending steep trails.
What we use: I bring at least one Black Diamond Distance Carbon Z pole on every backpacking trip (usually two). They are foldable so I just attach the poles to my backpack when not in use.
Daypack
Planning to go for a day hike from a backcountry campground? Pack a small, lightweight daypack so you can leave your larger pack at camp.
What we use: For long dayhikes (15km+), we pack this Cotopaxi Luxon 18L bag. It’s pretty light and has plenty of space for our First Aid kit, extra layers and food.
Pillow
Rest your hand at night in luxury with a pillow. Inflatables are compact and also light. Compressible versions are softer and more comfortable, but heavier.
What we use: JR brings a Klymit pillow, while I just stuff clothing into my Atom LT hoody jacket and use that as a pillow instead.
Chairs
A lot of backcountry campgrounds do not have picnic tables. For this reason, some backpackers bring their own. The Helinox series is a favourite, with the Chair Zero weighing in at 8oz (510g).
What we use: We do not bring chairs on backpacking trips. For me, it’s not worth the weight.
Reading material
Some backpackers like to bring a book to read in the evenings. An eBook reader is an alternative option.
What we use: We do not usually bring reading material on backpacking trips. For me, it’s not worth the weight. I do load some articles onto the Pocket app on my phone before leaving, just in case I want something to read.
Cards or games
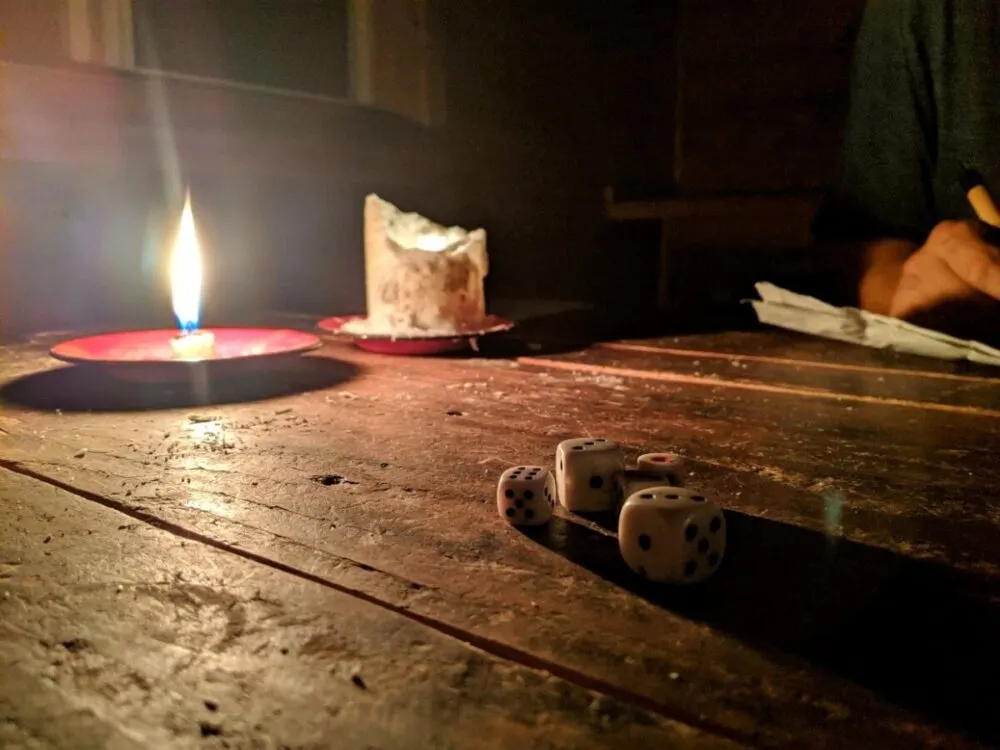
Amp up your evening with a game or pack of cards.
What we do: We bring a small Ziplock bag with 2-3 ‘Roll the Dice Game’ sheets (Dollar Store YAHTZEE), a set of five dice and a half size pen.
Camera
If photography is a priority, bring your camera. Don’t forget extra memory cards!
Please be aware that drones are not allowed in Canada’s national and provincial parks.
What we do: On most trips, we use our cell phones for photography. Occasionally, we will bring our Canon DSLR.
Personal items
Before finishing your packing, remember these personal items:
- Relevant permits
- Cash/credit cards
- ID
- Prescription medication
Printable checklist
Whew, that’s a lot of items!
If you’d like a handy printable backpacking trip checklist, simply sign up for our email newsletter (below) and you’ll receive a free one!
To cover all of your outdoor adventures, we’ll send you printable checklists for car camping and multi-day paddling trips as well.
Free printable backpacking checklist
Subscribe to our monthly email newsletter and receive a free PDF checklist for your next multi-day hiking adventure
We never share your information with third parties and will protect it in accordance with our Privacy Policy
Get some backpacking trip inspiration:
25 of the Best Overnight / First Time Backpacking Trips in BC, Canada
The Heather Trail, Manning Park: Complete Hiking Guide
Nootka Trail: Complete Hiking Guide
West Coast Trail Alternatives: Best Coastal BC Backpacking Trips
The HBC Heritage Trail (1849): Complete Hiking Guide
The West Coast Trail: Complete Hiking Guide
13 of the Best Shoulder Season Backpacking Trips in BC

One half of the Canadian/British couple behind Off Track Travel, Gemma is happiest when hiking on the trail or planning the next big travel adventure. JR and Gemma are currently based in the beautiful Okanagan Valley, British Columbia, Canada
