
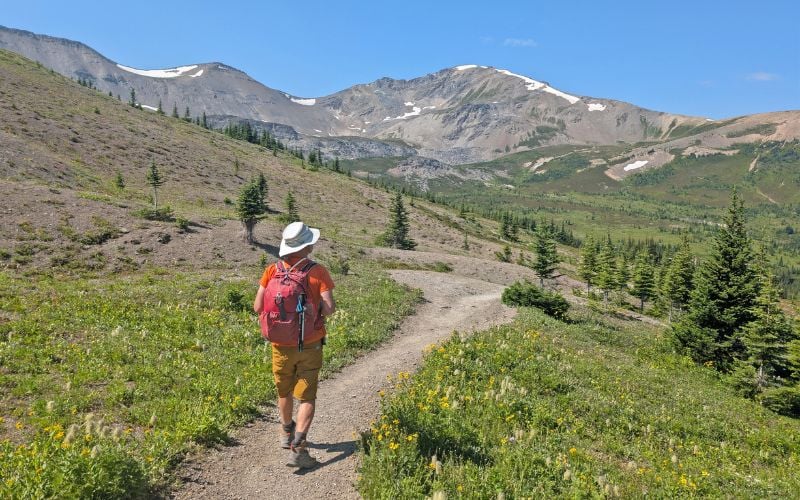
The Skyline Trail is Jasper National Park’s highest and most famous backpacking path. Over half of the 44km route is above treeline, treating hikers to wide open views of seemingly endless wildflower meadows and some seriously impressive peaks.
After sitting on our hiking list for what feels like forever (since 2013!), we finally checked the off the Skyline this summer. Thankfully, it really does live up to the hype. It has easily earned a spot in our all-time top five backpacking trips in Canada.
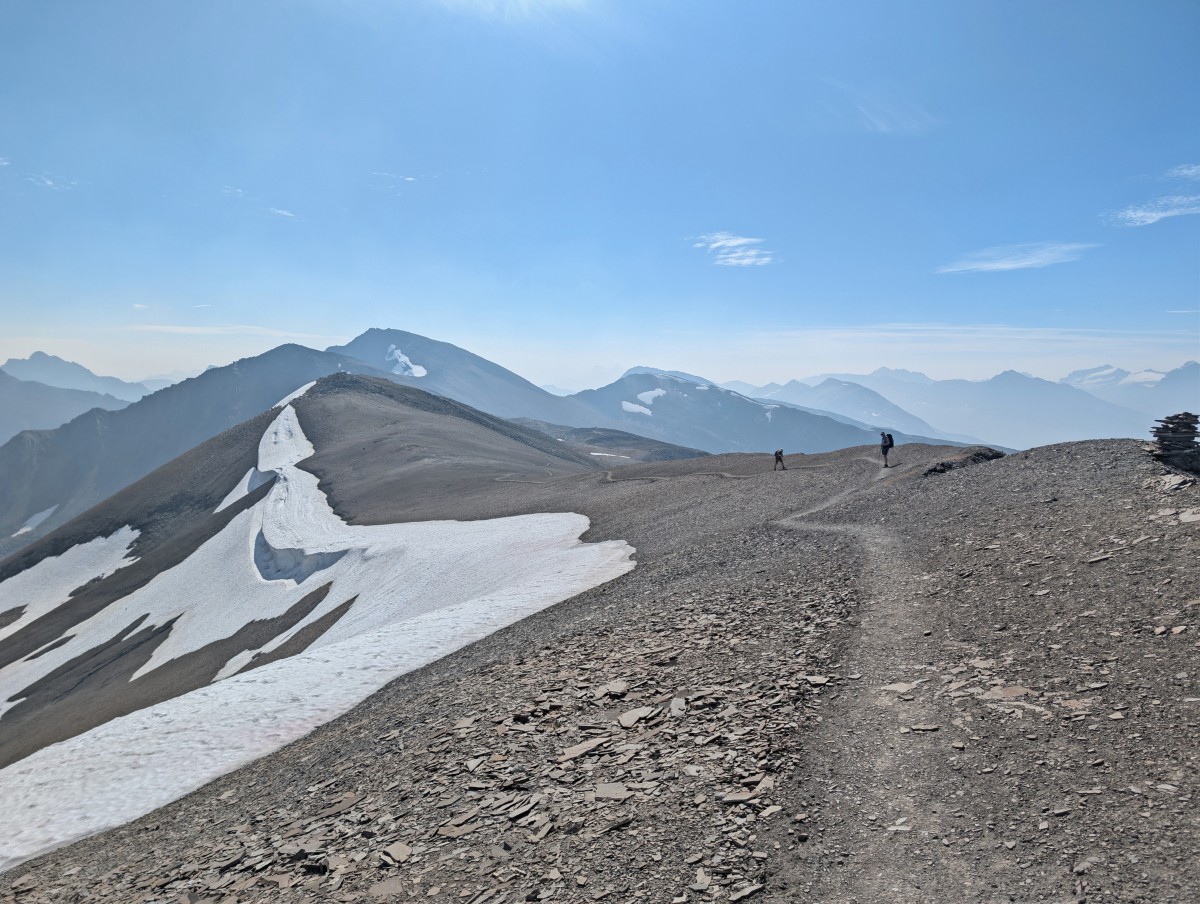
In addition to the views, the Skyline Trail is particularly remarkable for its effort to reward ratio when hiking northbound. The total elevation gain is modest for a trail of this length (and one that crosses three passes!) with most of the climbing being gradual and steady rather than particularly steep.
Most hikers complete the Skyline in 2 to 4 days, with a three day itinerary being the most common. However you hike it, this trail offers an unforgettable alpine experience.
This super comprehensive guide will help you prepare to hike the Skyline Trail, with information about what to expect on the trail, campgrounds, the shuttle service, suggested itineraries, recommended gear and more.
In partnership with Go Western Newfoundland and Parks Canada. There are some affiliate links ahead – if you make a purchase via one of these, we may receive a percentage of the sale.
Backcountry necessities
- Always bring the 10 Essentials
- Know how to stay safe in the backcountry
- Remember to Leave No Trace to help keep the wilderness wild
- Understand how to avoid negative bear encounters
- Trying out backpacking for the first time? Read Backpacking 101
- Check out our packing guide with gear recommendations
- Sign up to our newsletter for a free backpacking checklist
Skyline Trail overview
The Skyline Trail is located in Jasper National Park in Alberta, Canada (one of our favourite places). It stretches 44km from the Maligne Lake Trailhead (south) to the Signal Trailhead (north) near Maligne Canyon.
This is the traditional lands of the Anishinabe, Aseniwuche Winewak, Dene-zaa, Nêhiyawak, Secwépemc, Stoney Nakoda, Mountain Métis and Métis, with the park being situated on Treaty 6 and 8 land.
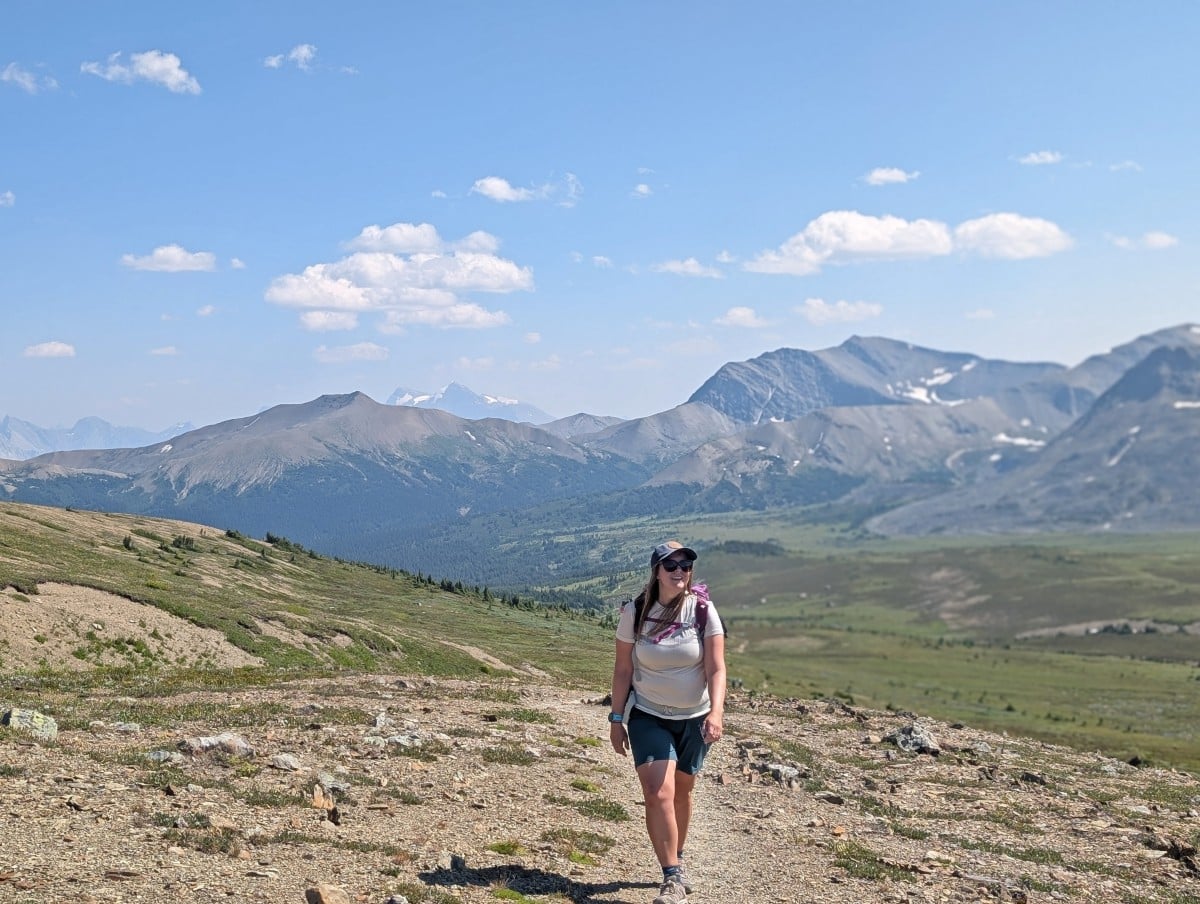
The Skyline both starts and finishes on Maligne Lake Road, with the northern trailhead just 15 minutes drive from the Jasper townsite. As a linear trail (thru hike), hikers must organise transportation between the trailheads. Fortunately, there is a shuttle that runs multiple times daily.
There are five backcountry campgrounds directly on or adjacent to the trail, plus two more accessible with a short detour (Curator, Watchtower). There’s also a lodge located close to the halfway point, ideal for anyone who doesn’t want to camp or fuss around with campground reservations.
The Skyline Trail is part of the much longer Great Divide Trail (GDT). This is the latest section of the GDT we’ve hiked in recent years, alongside the Rockwall, Ball Pass, Egypt Lake, Mount Assiniboine, Cataract Pass and North Kananaskis Pass.
Quick facts
- 44km with around 1400m elevation gain, 2000m loss (northbound direction)
- 2 to 4 day backpacking trip
- Moderately difficult with only one very short challenging section
- Usually snow-free from mid July to mid/late September
- Best time to go is late July to late August, early/mid August for the wildflowers
- Campground reservations open in late January each year
- Dogs are not permitted due to caribou habitat
- Can be hiked in either direction but south to north is easiest/most popular
Skyline Trail hiking guide
Inspired to hike the Skyline Trail? In this section, you’ll discover everything you need to know to start planning a trip.
Location and map
The Skyline Trail is located in Jasper National Park in Alberta, Canada. There are two trailheads – Signal (north) and Maligne Lake (south).
The majority of hikers start at Maligne Lake and hike north to Signal. The elevation gain is a lot lower compared to the other direction (1400m vs 2000m).
The map below shows the Skyline’s trailheads, campgrounds, mountain passes and elevation profile. Please note that the total elevation gain/loss is incorrect – it should read 1400m gain and 2000m loss. The map also includes the detour to Shovel Pass Lodge.
Trailhead and shuttle details
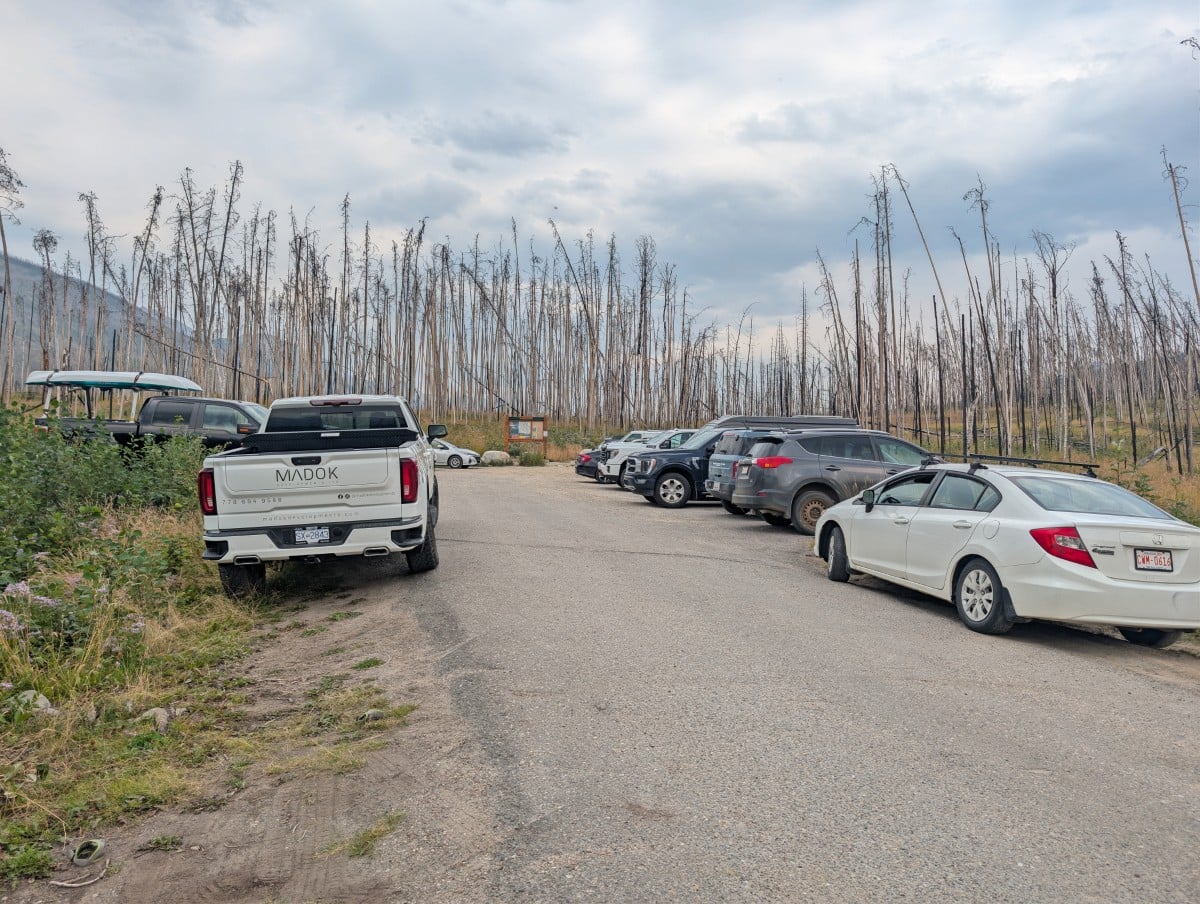
The Signal trailhead (labelled “Skyline Hiking Trailhead” on Google Maps) is only 12 minutes drive from Jasper. It has a small dedicated parking lot with an information kiosk.
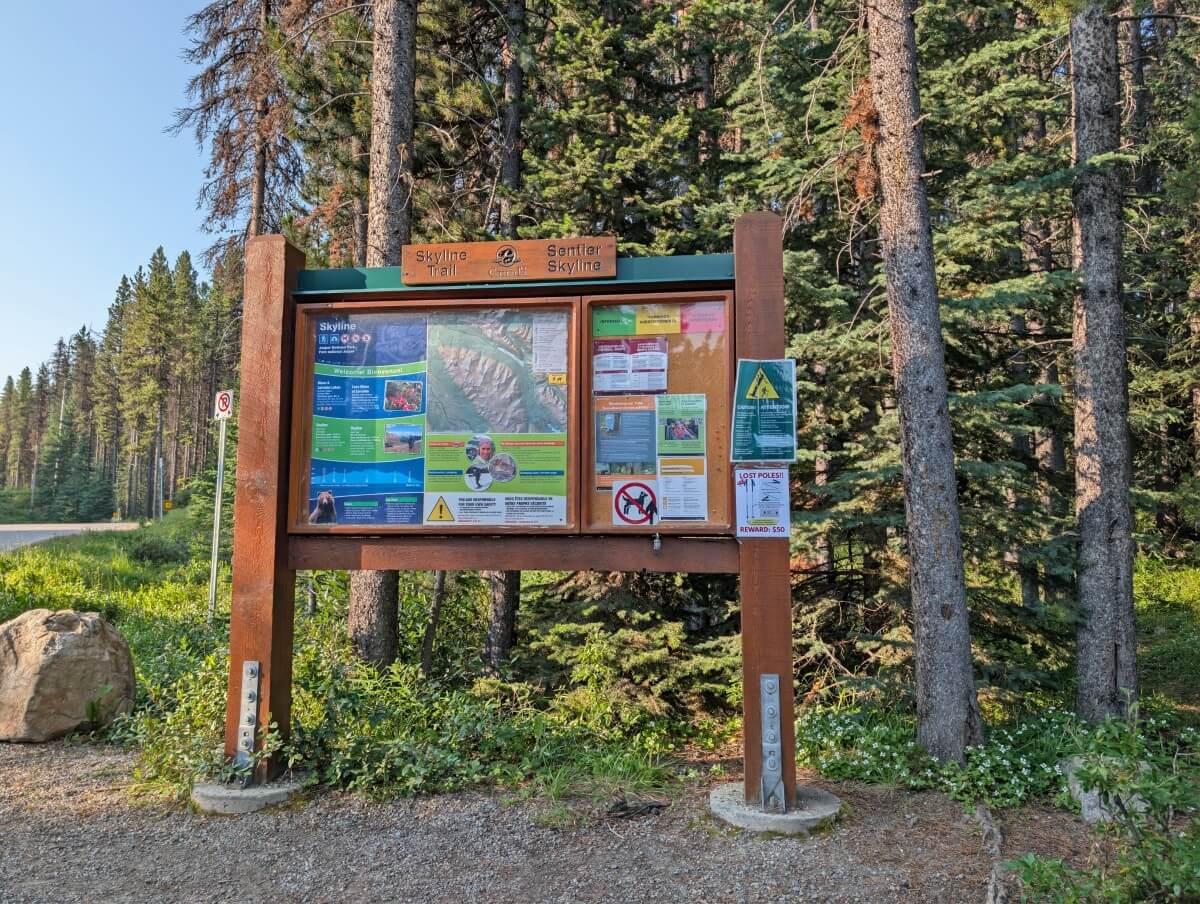
The Maligne Lake trailhead is about 50 minutes drive from Jasper. It is located behind Maligne Lake’s canoe launch parking lot and marked with an information kiosk. There are outhouses in the parking area.
Since it is a thru-hike, a shuttle or two vehicle system is required for transportation.
Maligne Adventures operates a shuttle service, offering rides between trailheads as well as from downtown Jasper, Whistlers Campground and select hotels. The bus runs multiple times each day and is very on time. Be sure to arrive at the trailhead 10-15 minutes before the scheduled departure.
If you only have one vehicle, I would strongly suggest parking at your finishing trailhead. It’s so nice to be able to access your vehicle immediately after a long hike and then be able to leave when you want to (and not worry about missing the shuttle!)
Reservations and fees
A backcountry permit, also called a Wilderness Pass, is required to stay overnight at any of the campgrounds along the Skyline Trail.
There is a limited number of Wilderness Passes issued daily for each campground (as matching the number of tent pads). There is no first come, first serve camping available.
To secure a backcountry permit, you need to make a reservation. The reservation launch for Jasper National Park is typically in late January each year. The exact date is usually announced during the preceding December on this Parks Canada webpage.
There is no reservation or permit required to hike the Skyline Trail, besides the standard National Park admission fee (waived from 19th June to 7th September 2026). This means that trail runners, day hikers and lodge guests are able to enjoy the trail without making any kind of reservation.
If you don’t manage to secure any campground reservations during the launch, I would check regularly for cancellations. This can be done manually or via a reservation notification service like CampNab. We’ve had a lot of success with CampNab over the years – cancellations are SO common.
Reservation process
To make a campsite reservation, you must use the Parks Canada Reservation System. It can be accessed online and also by phone (1-877-737-3783).
Campsite availability is usually snapped up within minutes of the reservation system opening, with weekend dates being claimed first.
On the day of the reservation launch, Parks Canada typically uses an online waiting room system to prevent server overload. In the last few years, however, they do seem to be moving away from this.
When the waiting system is operating, all users loading the website immediately prior to the launch are held in an online waiting room. At the launch time, users are then randomly assigned a place in line to access the website.
- Click the ‘Backcountry’ tab then select ‘Backcountry Zone’
- On the drop down list, click ‘Jasper’
- Choose your arrival date, party size, number of tent pads and access point (for most people, this is Maligne Lake Trailhead) then click ‘Search’
- A map will load below. Select ‘Skyline’
- If your preferred campground is available, the associated diamond will be green
- Scroll down and click ‘Add to Stay’ at the bottom of the right hand sidebar
- The screen will refresh and return to the map. Select your next desired campsite and ‘Add to Stay.’ Repeat as needed
- You can also utilise the drop down menu below the ‘Your Stay’ section (instead of the map)
- When finished, select the green ‘Reserve’ button on the right hand side
- If the campsites are still available, the next screen will display your reservation details, along with Parks Canada rules. Tick the two boxes and select ‘Confirm reservation details’
- At this point, your reservation is in the shopping cart and held. As long as you complete payment within 20 minutes, your reservation is secure
- Click ‘Proceed to Checkout’ to log into your Parks Canada account and pay for the reservation
For tips and more advice, head to our dedicated Parks Canada reservation guide.
Skyline Trail hike breakdown
This section of the guide is going to include a brief overview of the trail and some key distances. The descriptions and distances below are based on hiking northbound from Maligne Lake.
| Location | Distance from trailhead (in kilometres) | Elevation (in metres) |
| Maligne Lake Trailhead (south) | 0 | 1694 |
| Evelyn Creek Campground | 4.8 | 1824 |
| Little Shovel Campground | 8.3 | 2233 |
| Little Shovel Pass | 10.9 | 2383 |
| Snowbowl Campground | 12.2 | 2094 |
| Big Shovel Pass | 17.6 | 2346 |
| Watchtower junction | 18.4 | 2377 |
| Curator/Lodge junction | 20.1 | 2245 |
| Curator Campground | 21.2 (1.1km off trail) | 2070 |
| Shovel Pass Lodge | 21.3 (1.2km off trail) | 2050 |
| The Notch | 22.2 | 2490 |
| End of exposed ridge | 25.5 | 2450 |
| Tekarra Campground | 30.4 | 2062 |
| Signal Campground | 35.8 (150m off trail) | 2014 |
| Signal Trailhead (north) | 44.1 | 1164 |
Southern trailhead (Maligne Lake) to Snowbowl Campground
The Skyline begins at an unassuming trailhead behind one of Maligne Lake’s parking lots. The shuttle bus drops hikers off right next to the information kiosk.
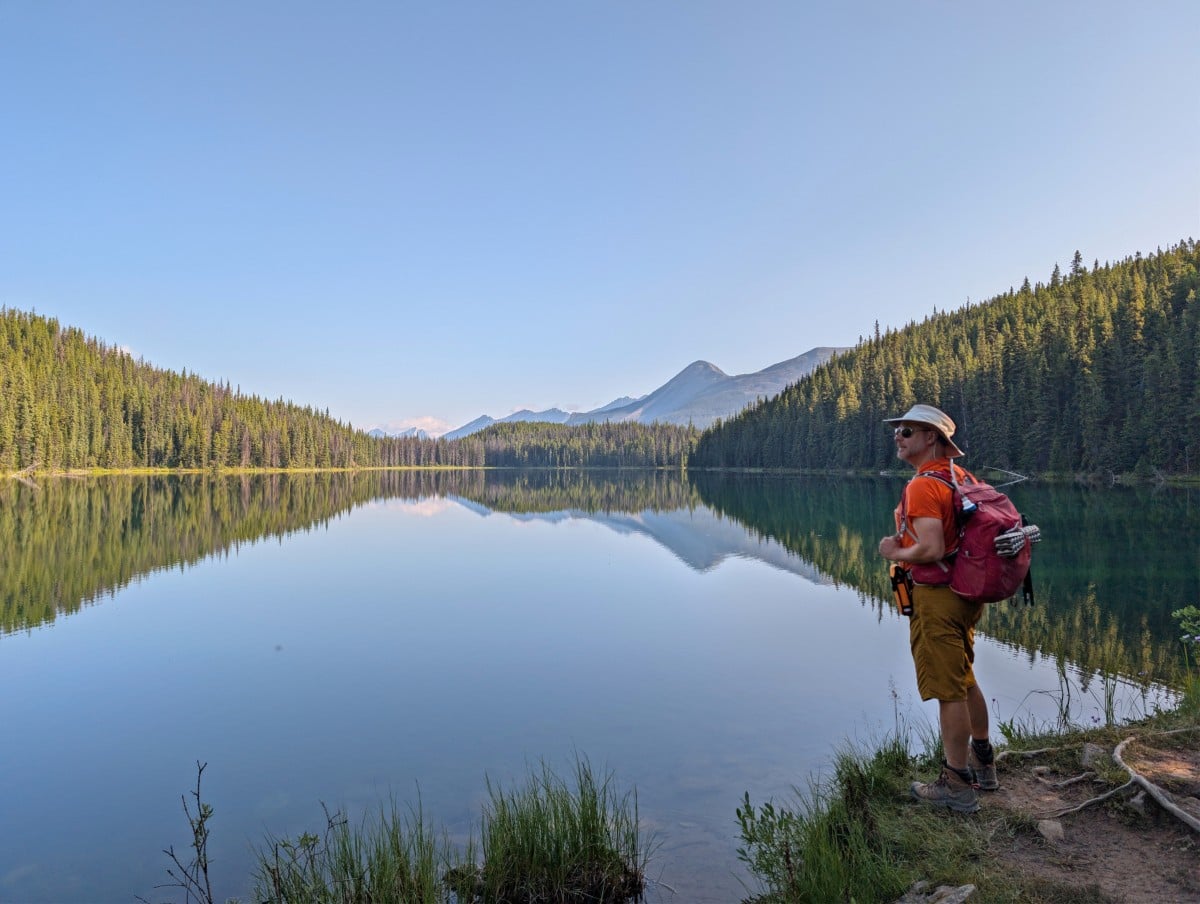
The first part of the trail winds through a forest. It is mostly flat and therefore fast to walk. There are two short (and slightly muddy) side trails to adjacent lakes – Lorraine Lake and Mona Lake. I’d recommend making the detour for the beautiful views, especially at the latter.
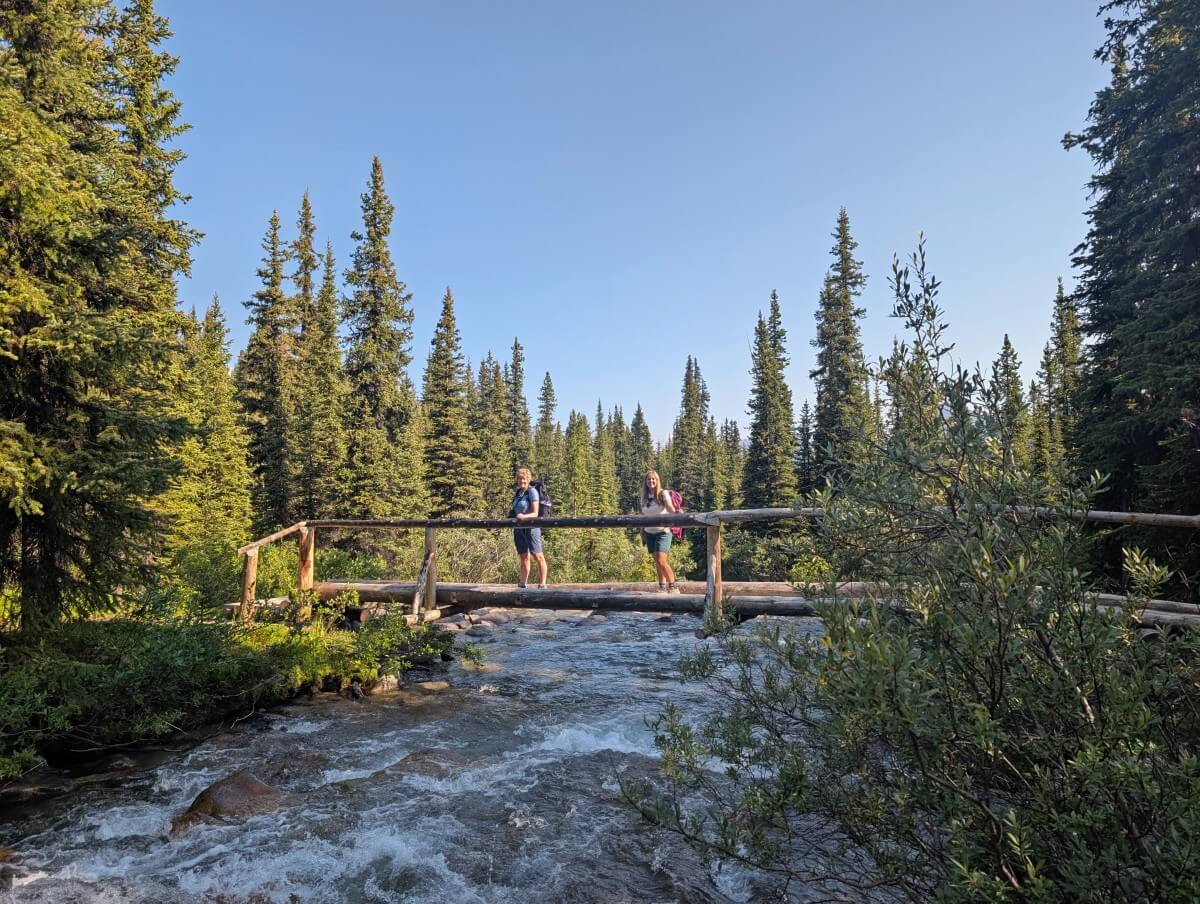
A bridge marks the arrival at Evelyn Creek, a small forested campground. From here, the path starts to climb with the help of switchbacks. It’s a very steady and approachable ascent, with 250m of elevation gain in 2.5km.
The Little Shovel Pass campground is an ideal place to take a break, though it can be a bit buggy. The trail continues uphill, though it is not long before you can see mountain peaks through the trees.
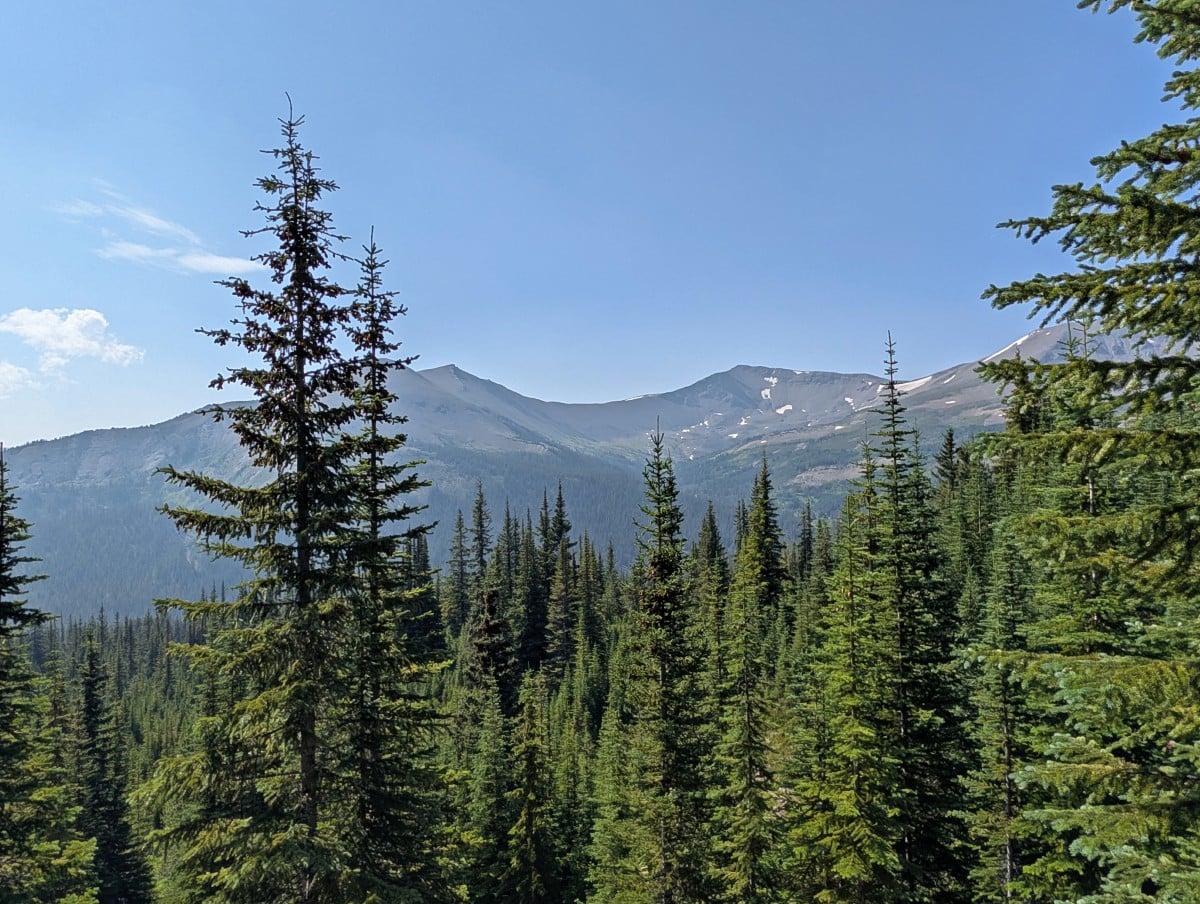
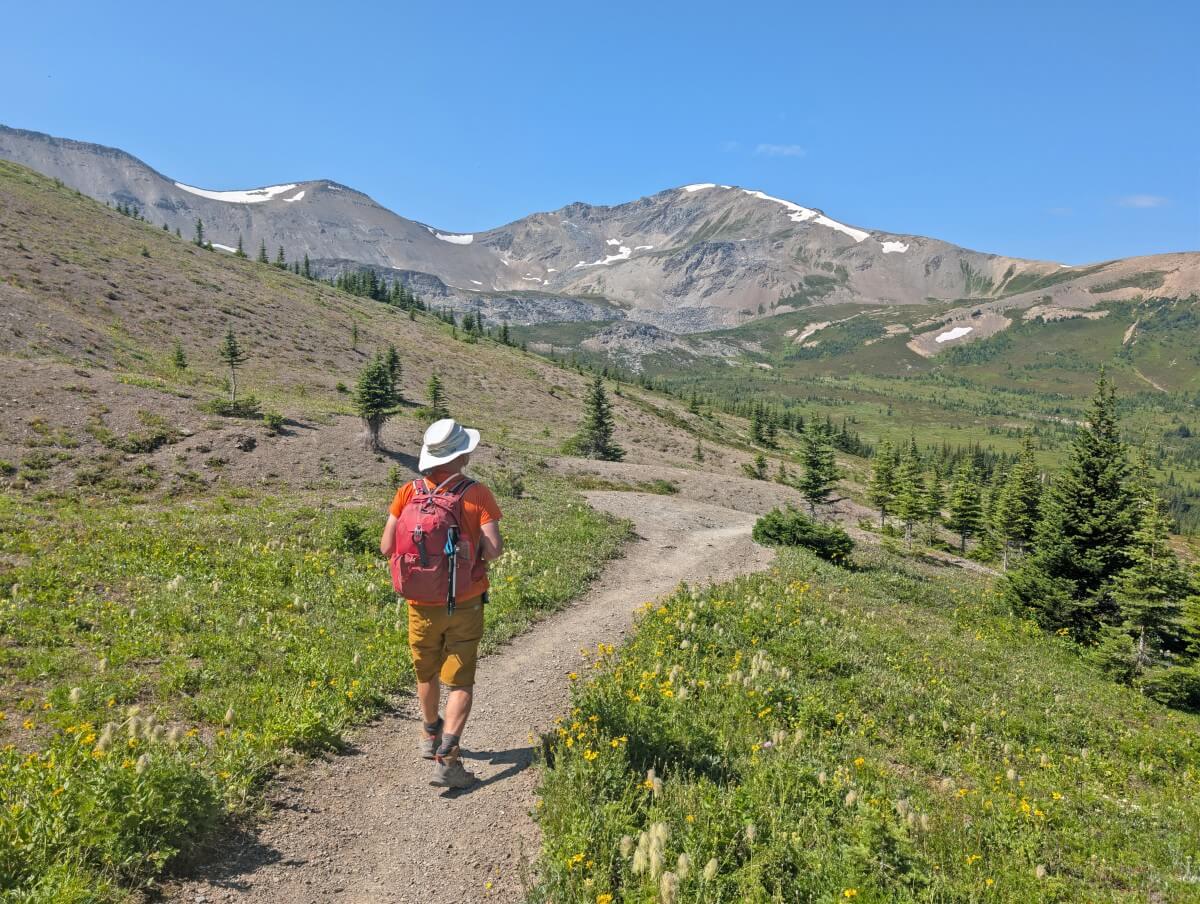
Only 1.5km after leaving the campground, the trail breaks out into the subalpine with the trees thinning and views opening up.
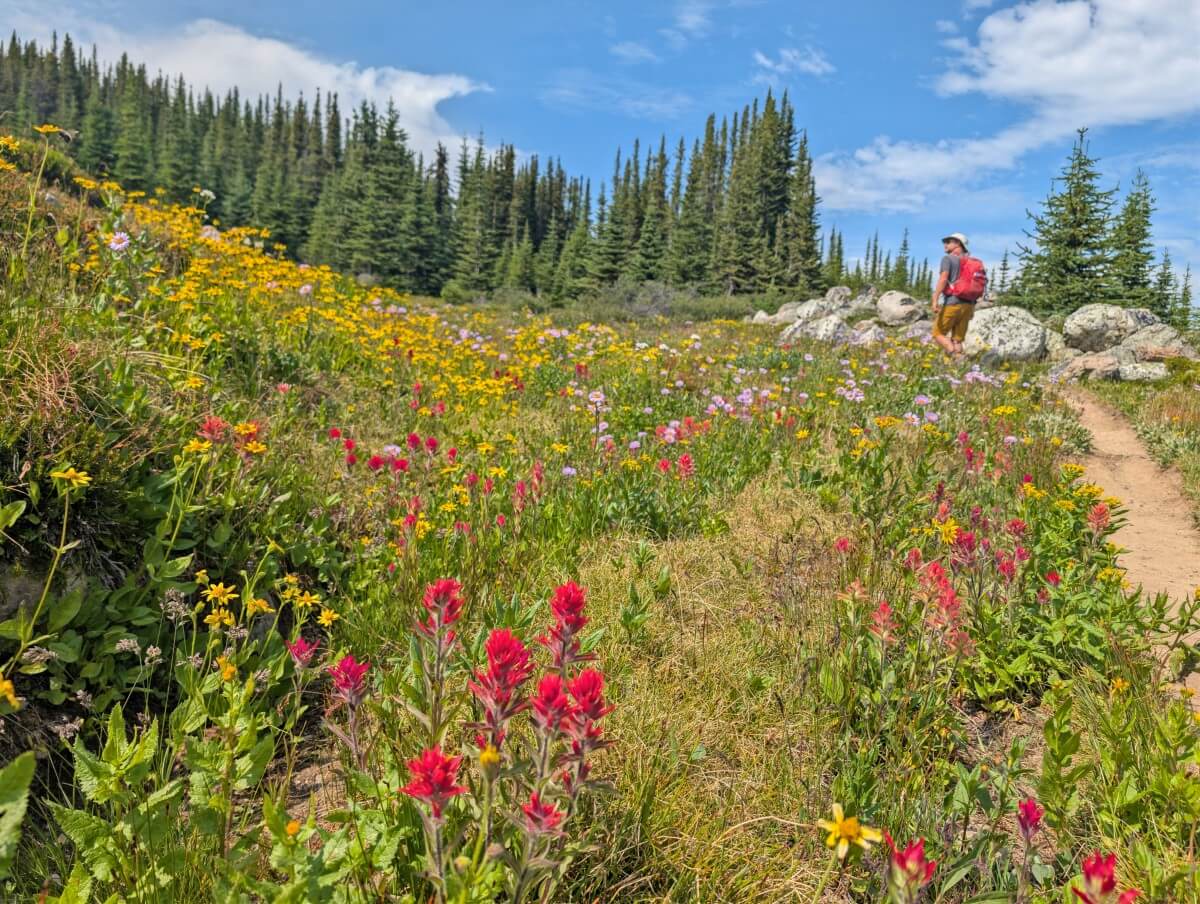
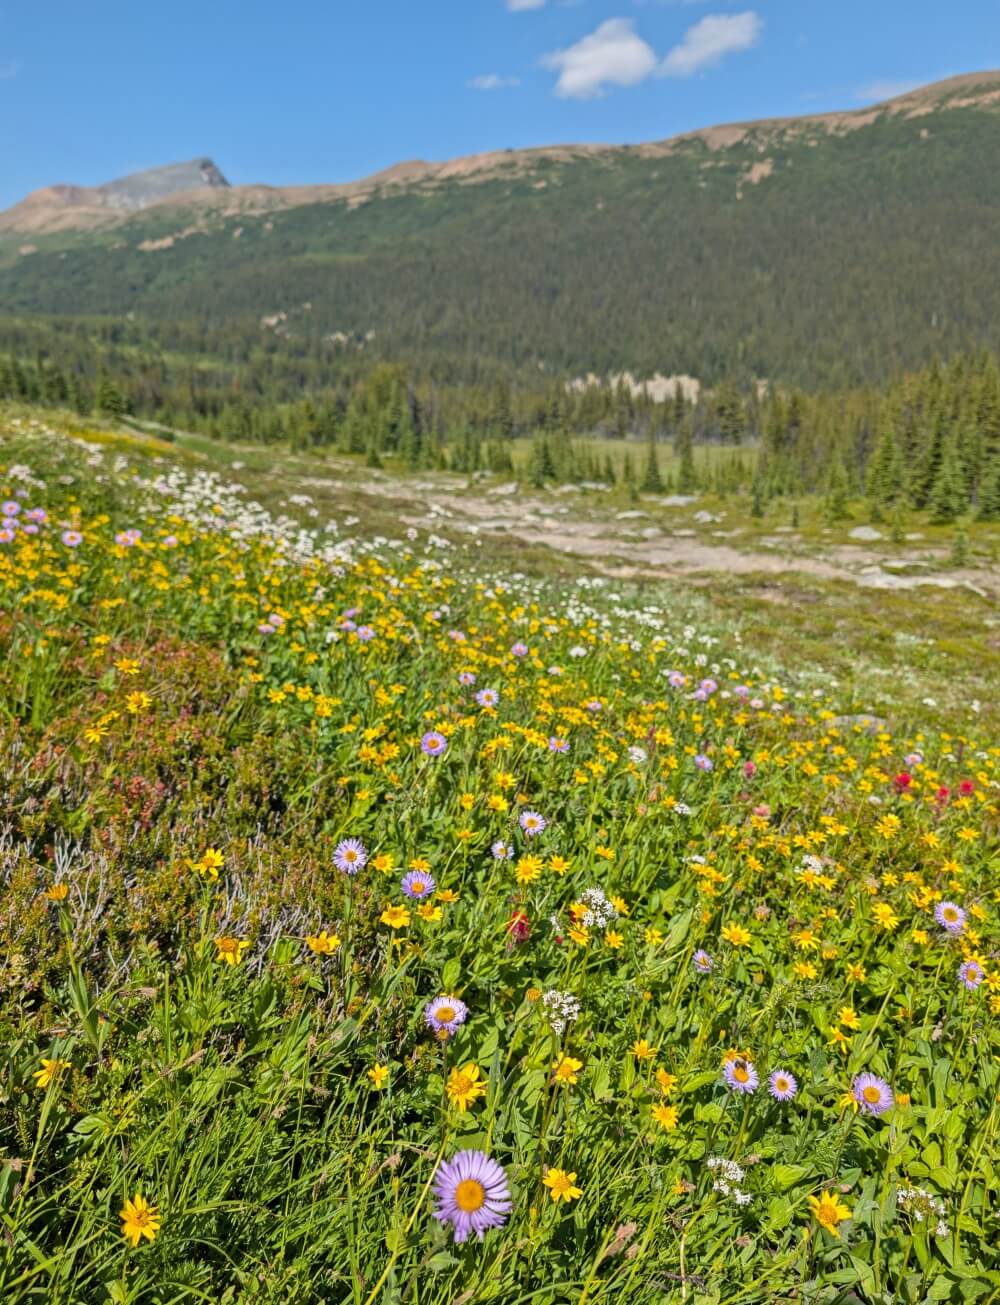
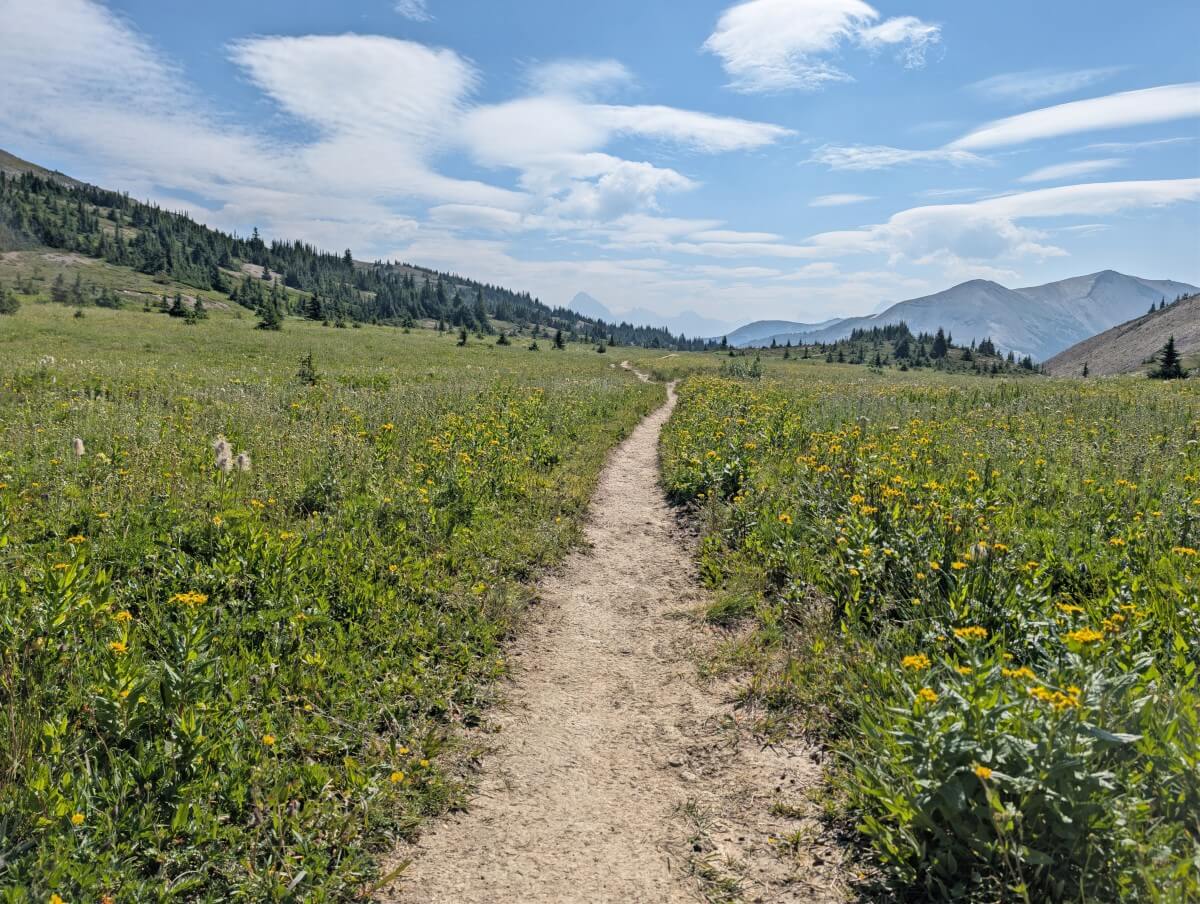
Wildflowers begin to line the path, backdropped by mountains. Look and listen for whistling marmots. Enjoy it all as you ascend slightly to Little Shovel Pass.
Following the pass, the trail starts to slowly drop and follow a creek surrounded by wildflower meadows. A clump of trees hides the approach to the Snowbowl Campground.
Snowbowl Campground to the Curator/Shovel Pass Lodge junction
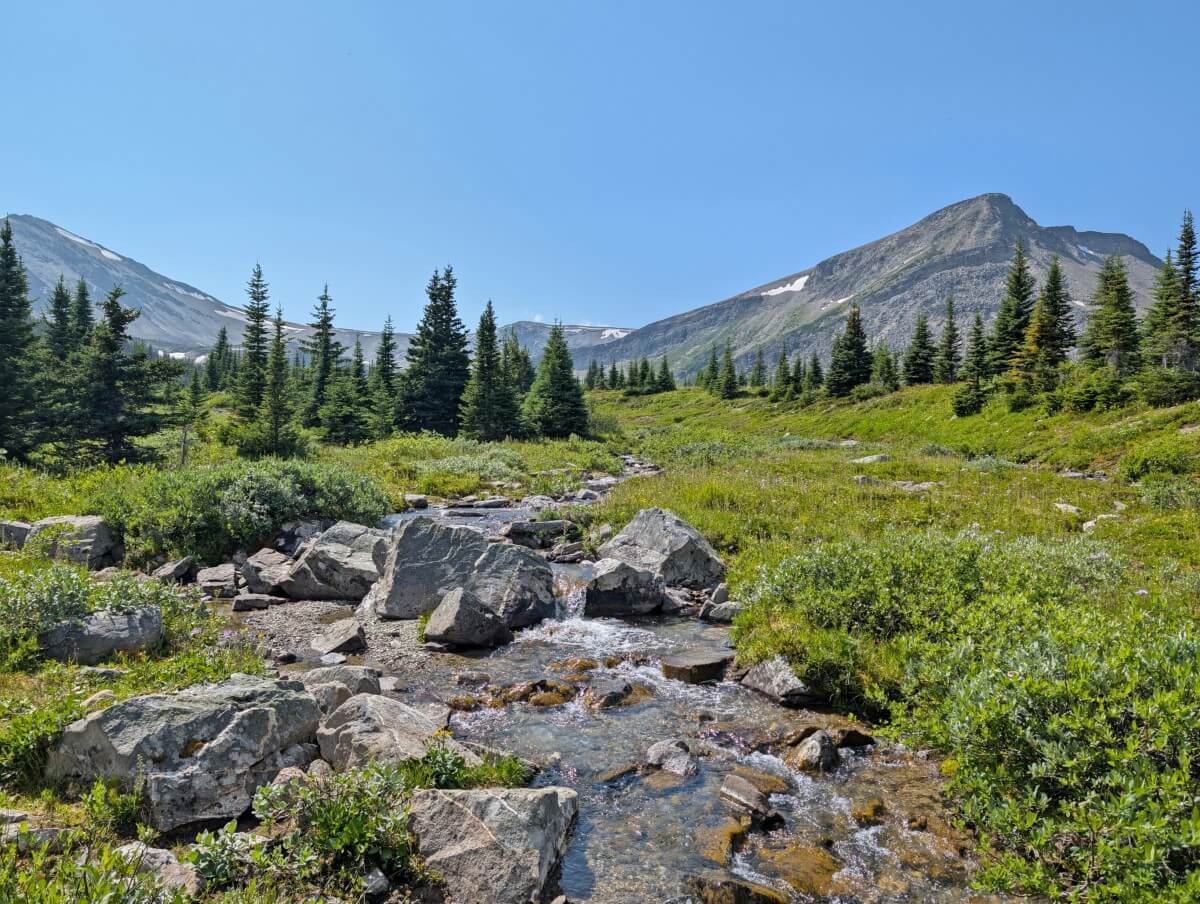
Beyond Snowbowl, the trail passes through more wildflower meadows and crosses several small creeks. The larger ones have bridges, others require rock hopping. The views are still expansive, with mountains in every direction.
Big Shovel Pass is visible from several kilometres away, the lowest point to the side of Curator Mountain (2622m). The ascent to the pass is gentle, with only 200m elevation gain over 2.8km.
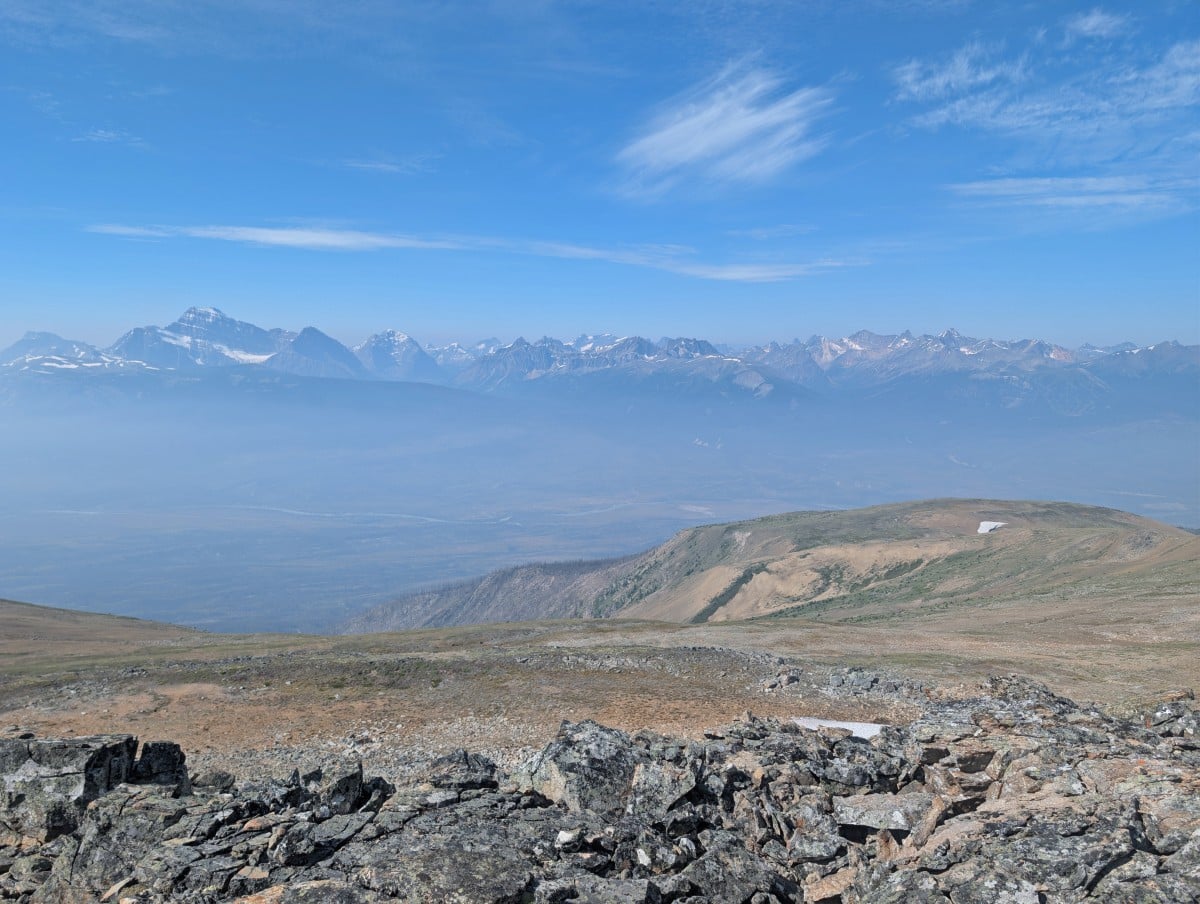
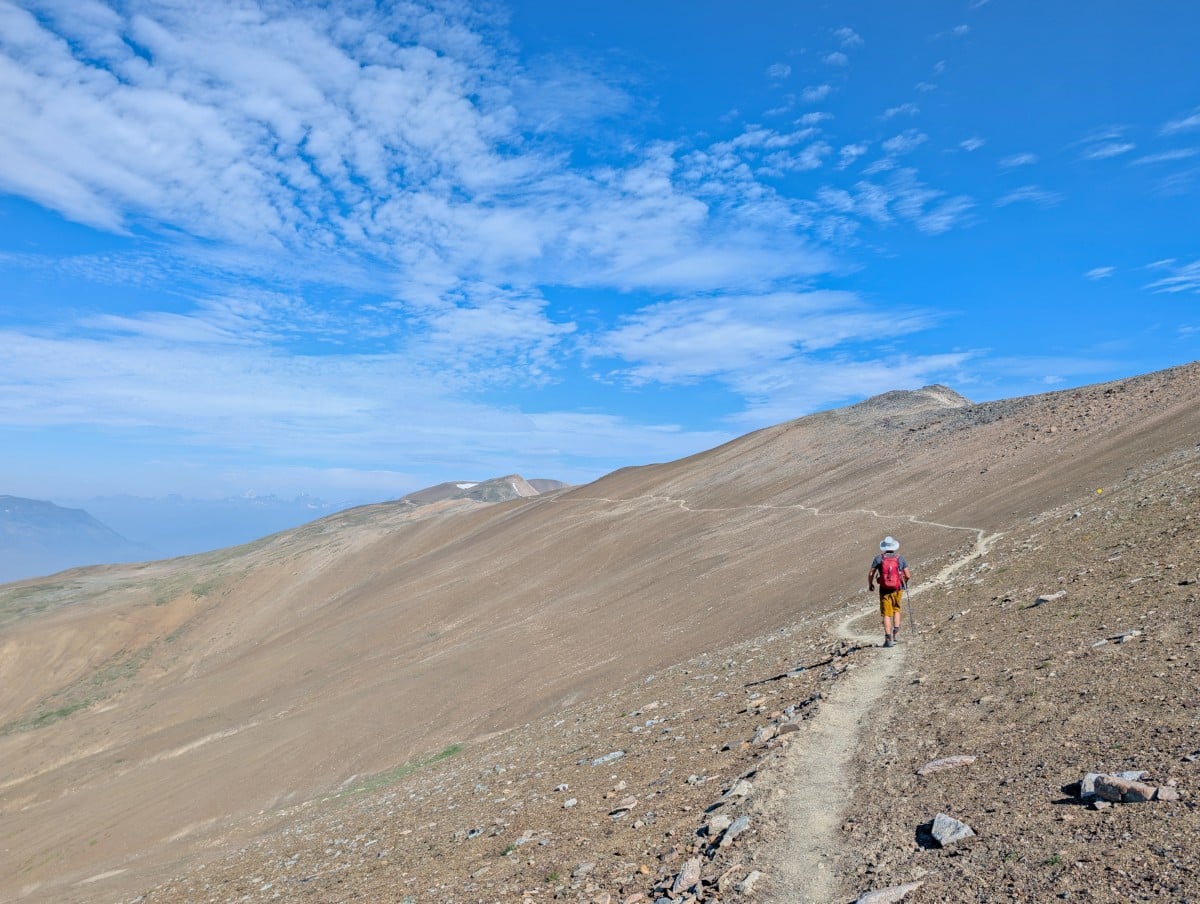
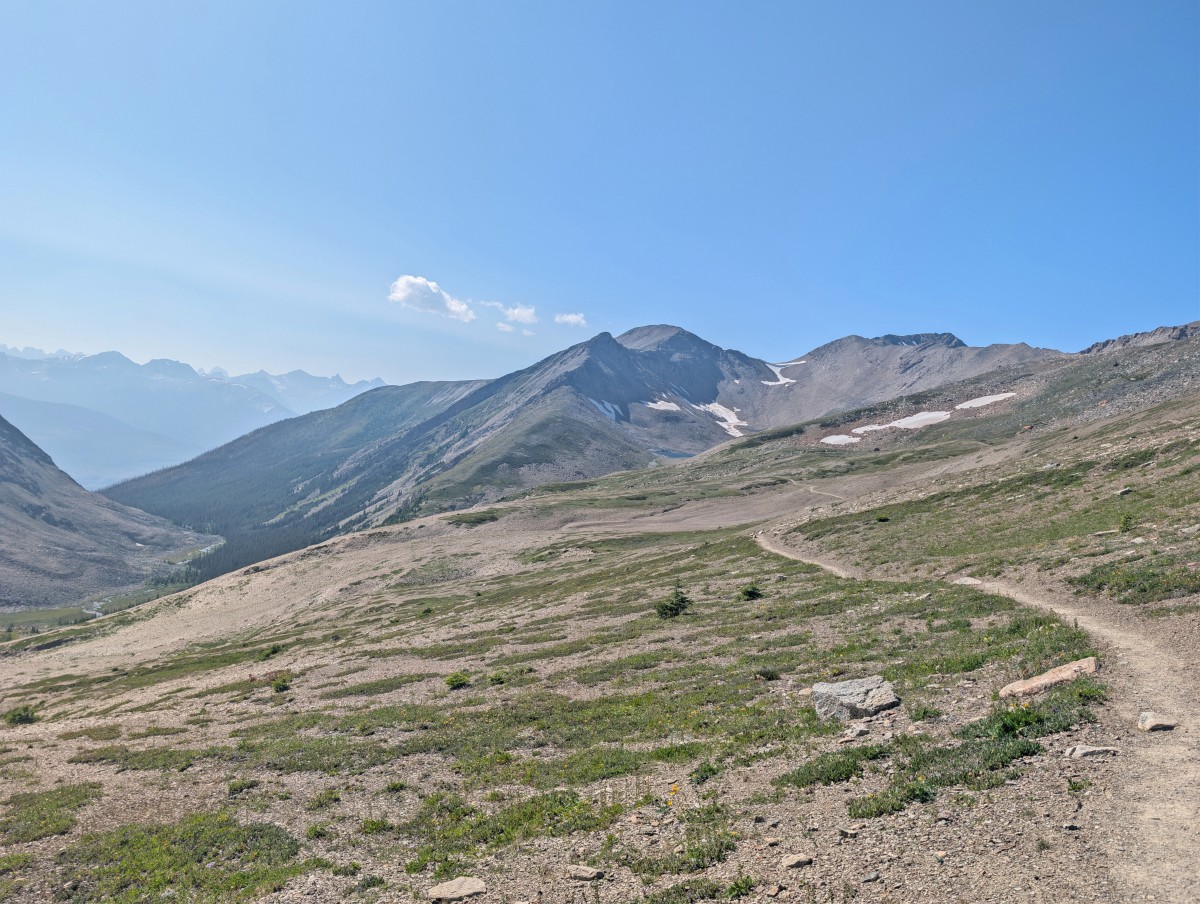
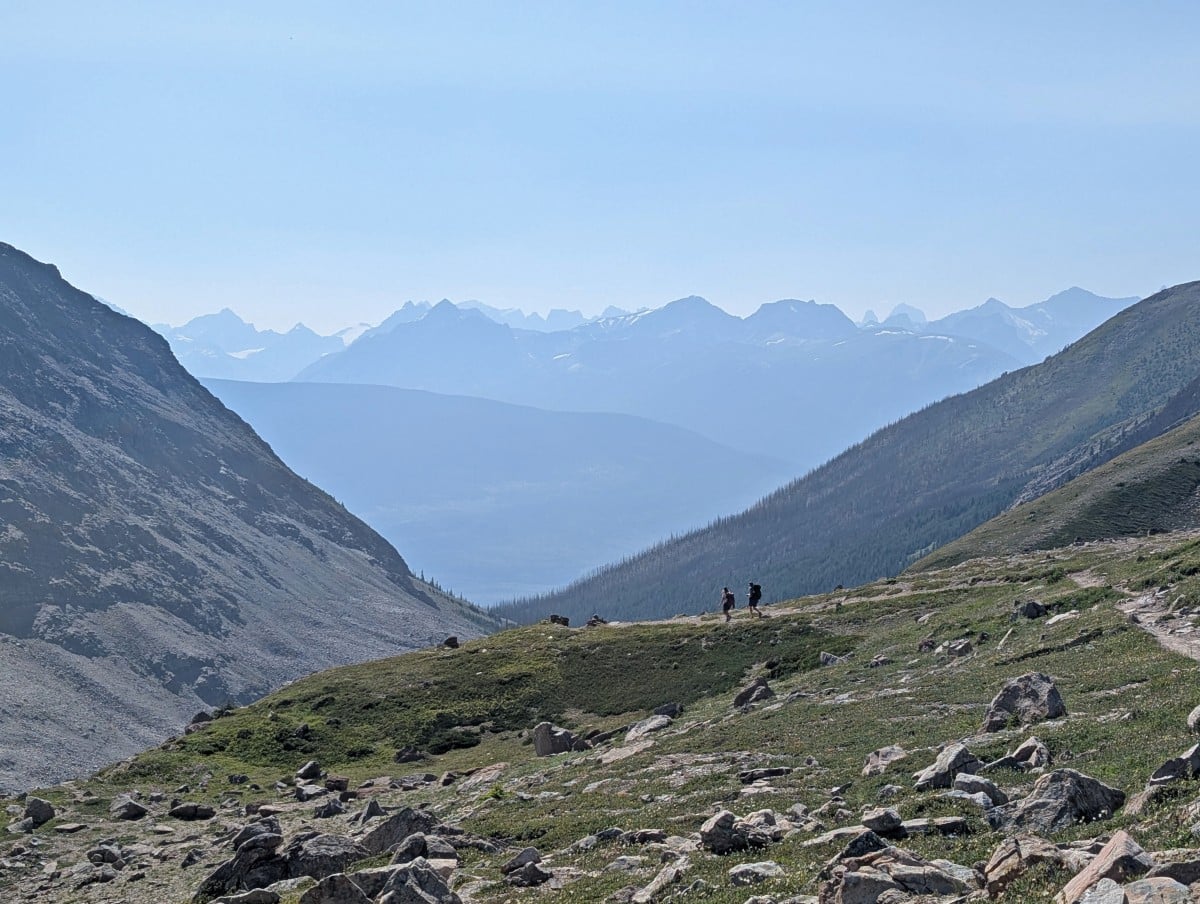
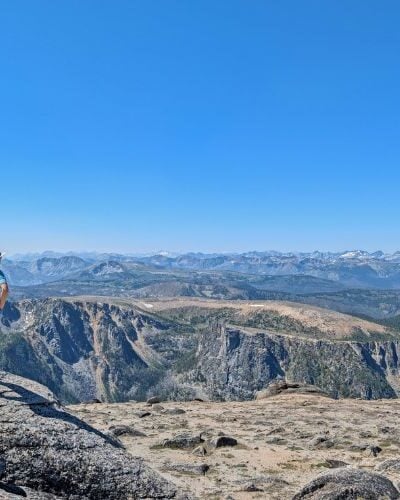
At the top of the pass, the landscape changes dramatically. The wildflowers and trees are replaced by wide open views of the narrow path traversing a slope. Curator Lake and the snowy Notch can be spotted in the distance, framed by mountains.
Within a kilometre, there is the signed junction for the Watchtower Campground (3.1km one way).
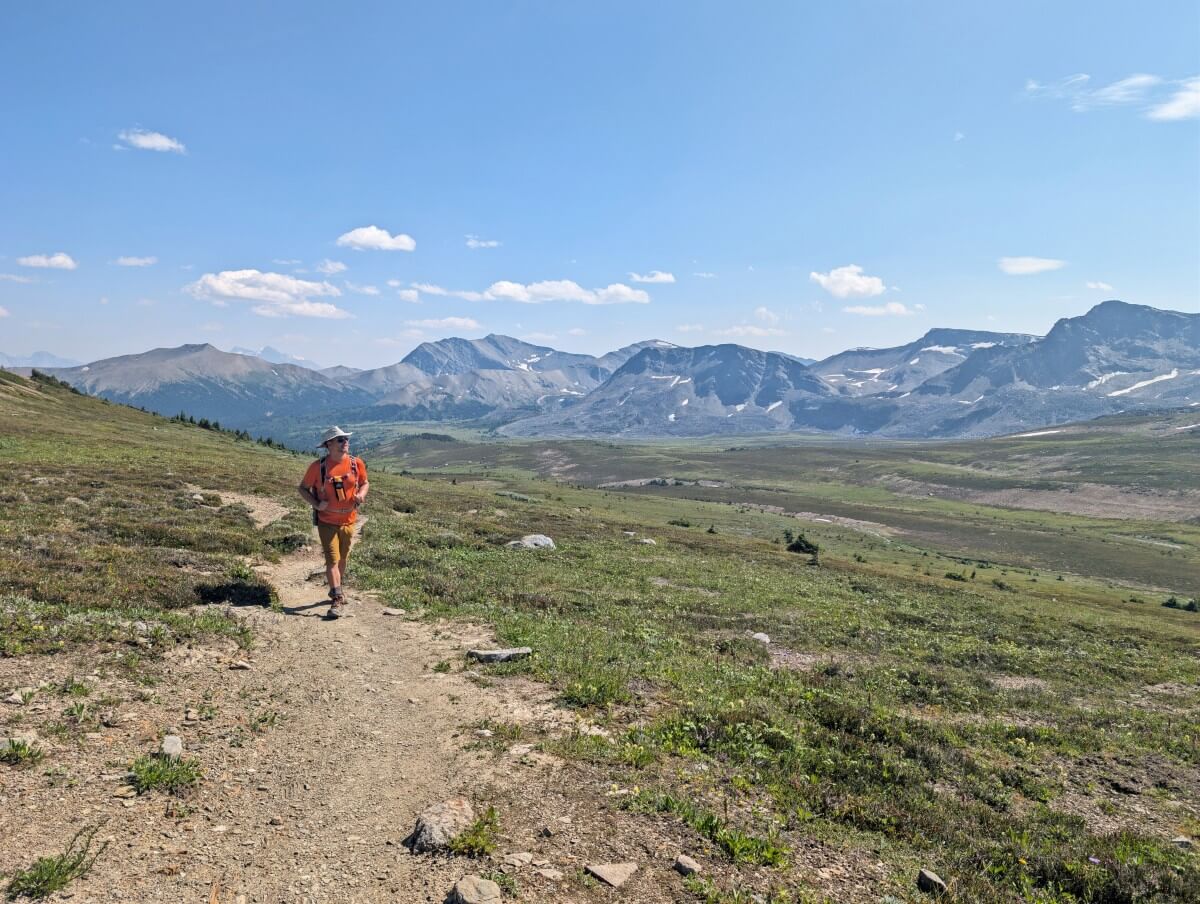
Continue on the Skyline as the trail descends, albeit with a sloped angle that makes the hiking a little awkward in places. It becomes rockier on the approach to the Curator/Shovel Pass Lodge junction.
Staying at Curator Campground or Shovel Pass Lodge? The trail drops into the valley below (140m elevation loss) where both are tucked away in the forest. Alternatively, there is the option to take the ‘shortcut’ from the top of Big Shovel Pass. We stuck to the official route.
Curator/Shovel Pass Lodge junction to Tekarra Campground via the Notch
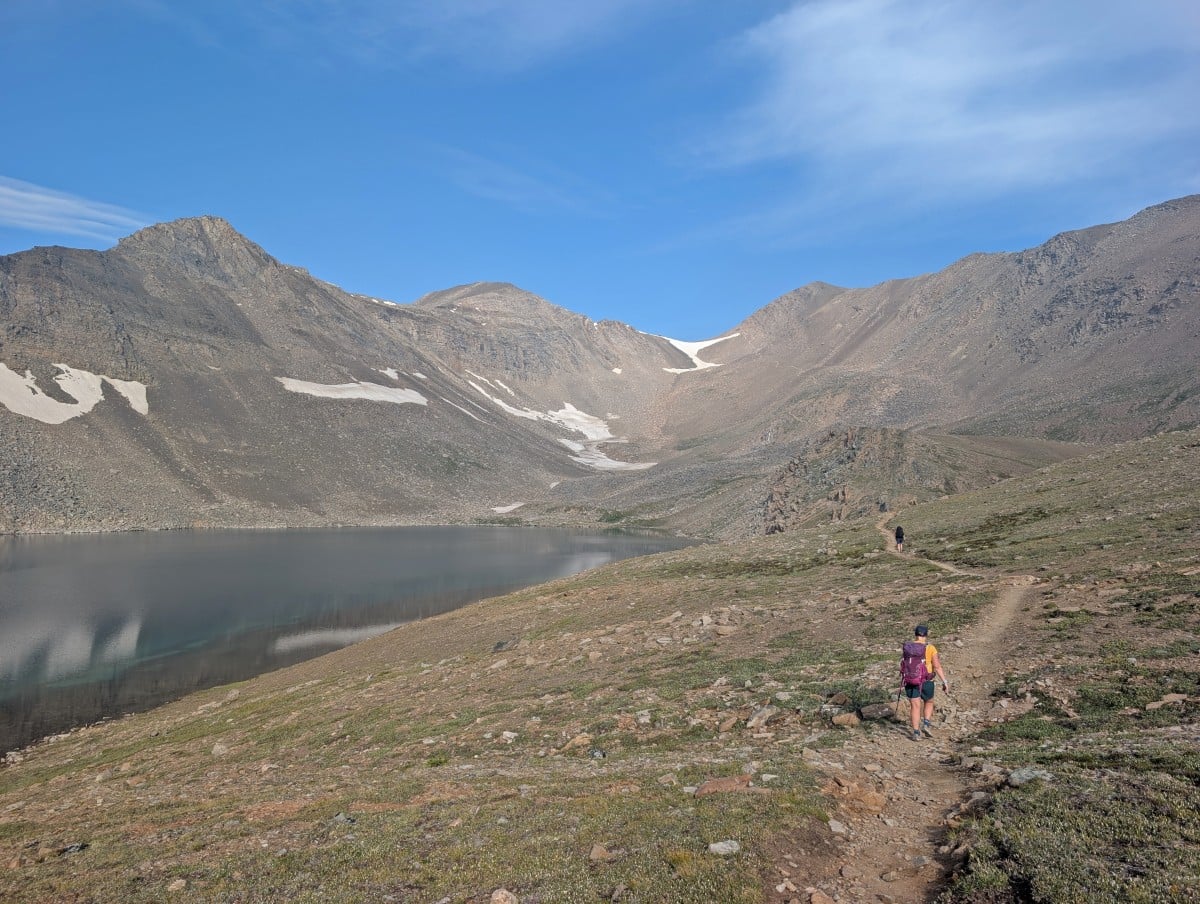
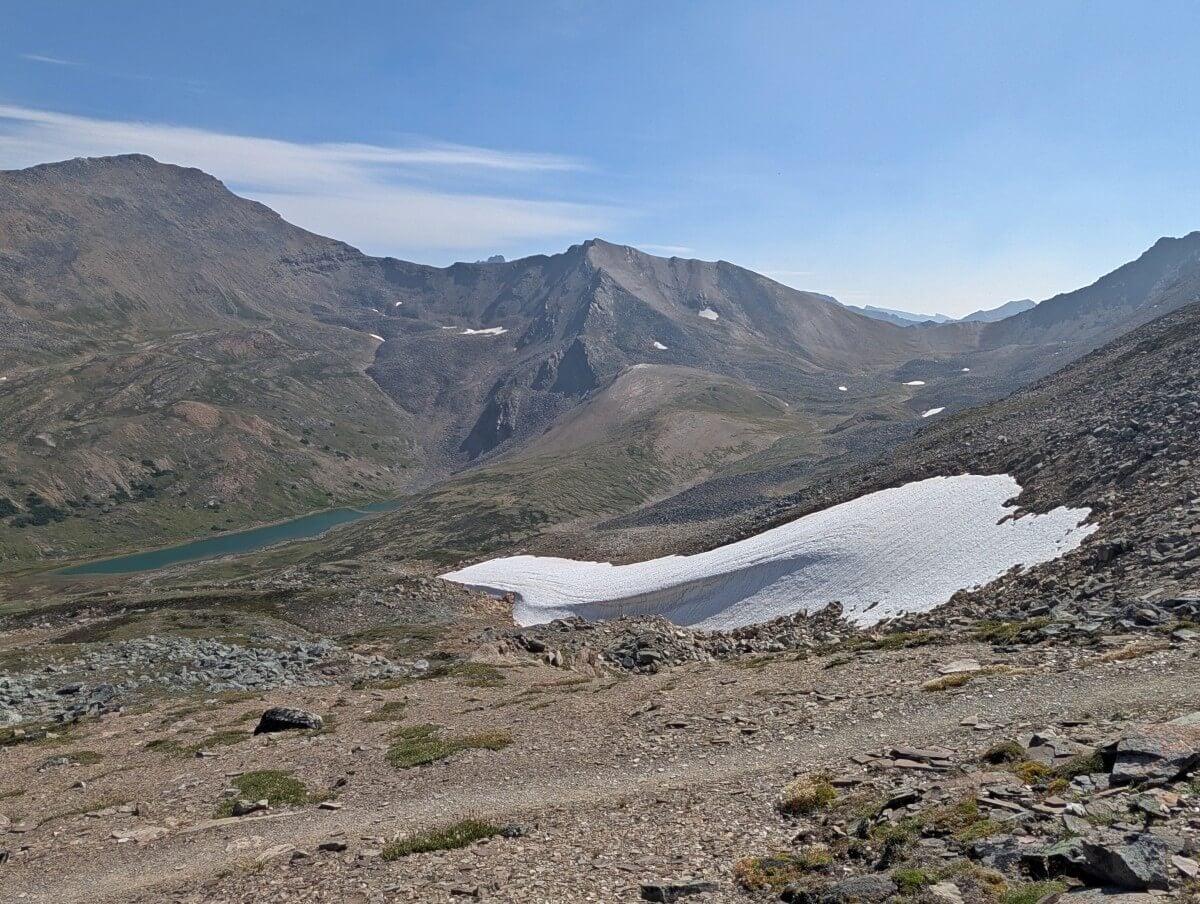
Other hikers should continue through the red tinged rocks towards the wonderfully blue Curator Lake. The main path doesn’t go to the shoreline but there are side trails that do.
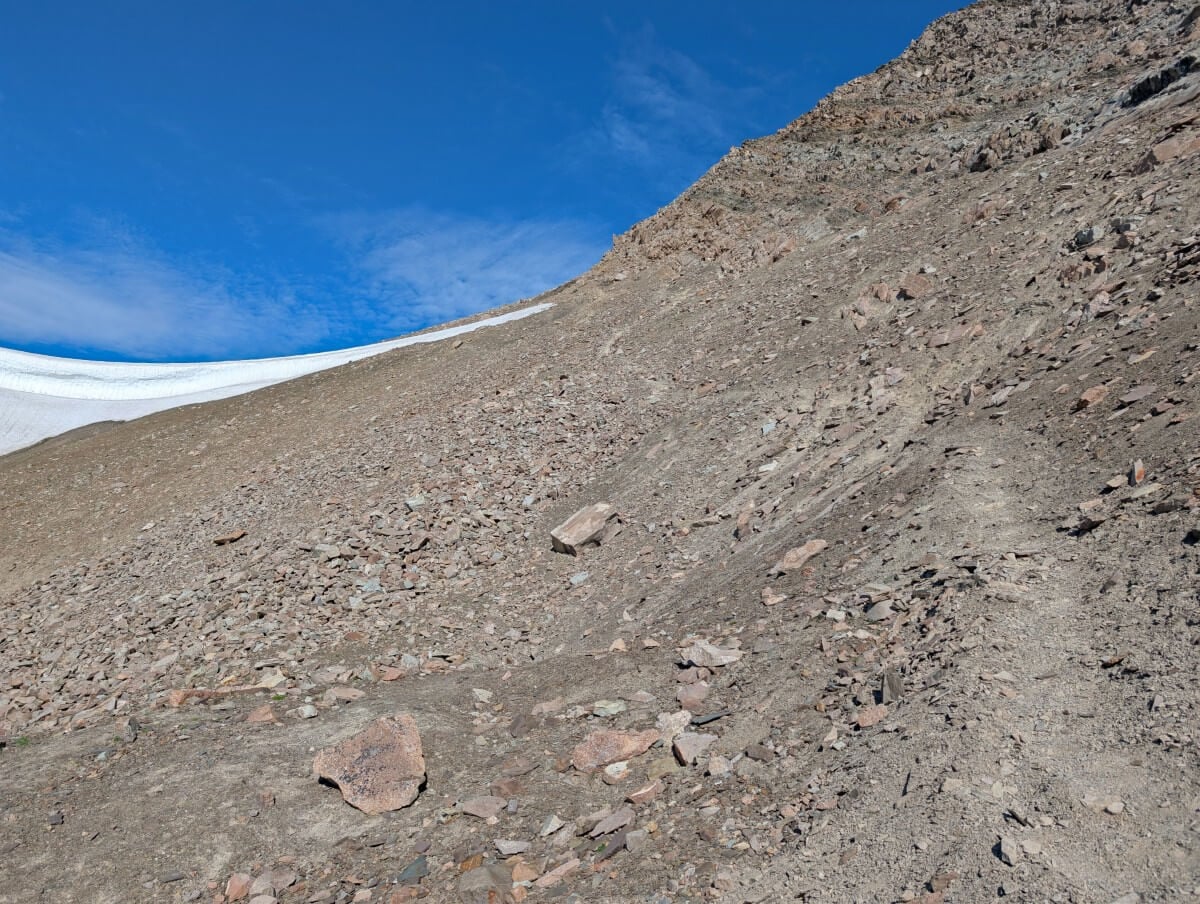
Looking up at the Notch from here, the climb may seem a bit intimidating. The ascent towards it is quick, thanks to switchbacks and rock stairs. There are some narrow and uneven sections.
The path begins to get steep around 1.6km after leaving the Curator junction, with the gradient increasing as you approach the top.
The route gets more difficult to see and the footing becomes looser. Stay right of the snow patch. The final, highest section of the Notch (lasting 100-200m) has a precipitous drop-off on one side.
A sign marks the pass, backdropped by huge mountain peaks including Mount Edith Cavell (3368 m). The Icefields Parkway can be spotted far below.
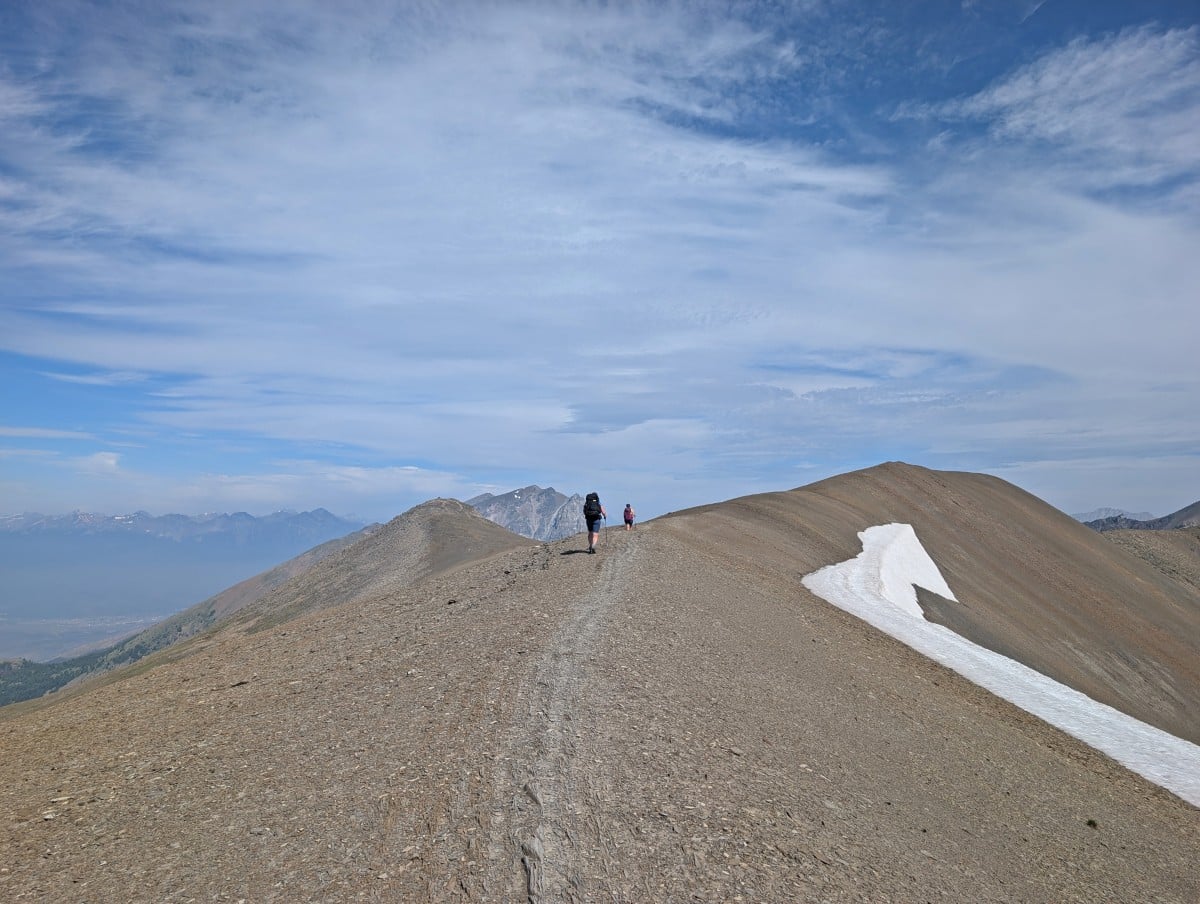
From here, the Skyline snakes along an exposed ridge for just over 3 kilometres. While the views are magnificent, it is not a good place to be in a thunderstorm.
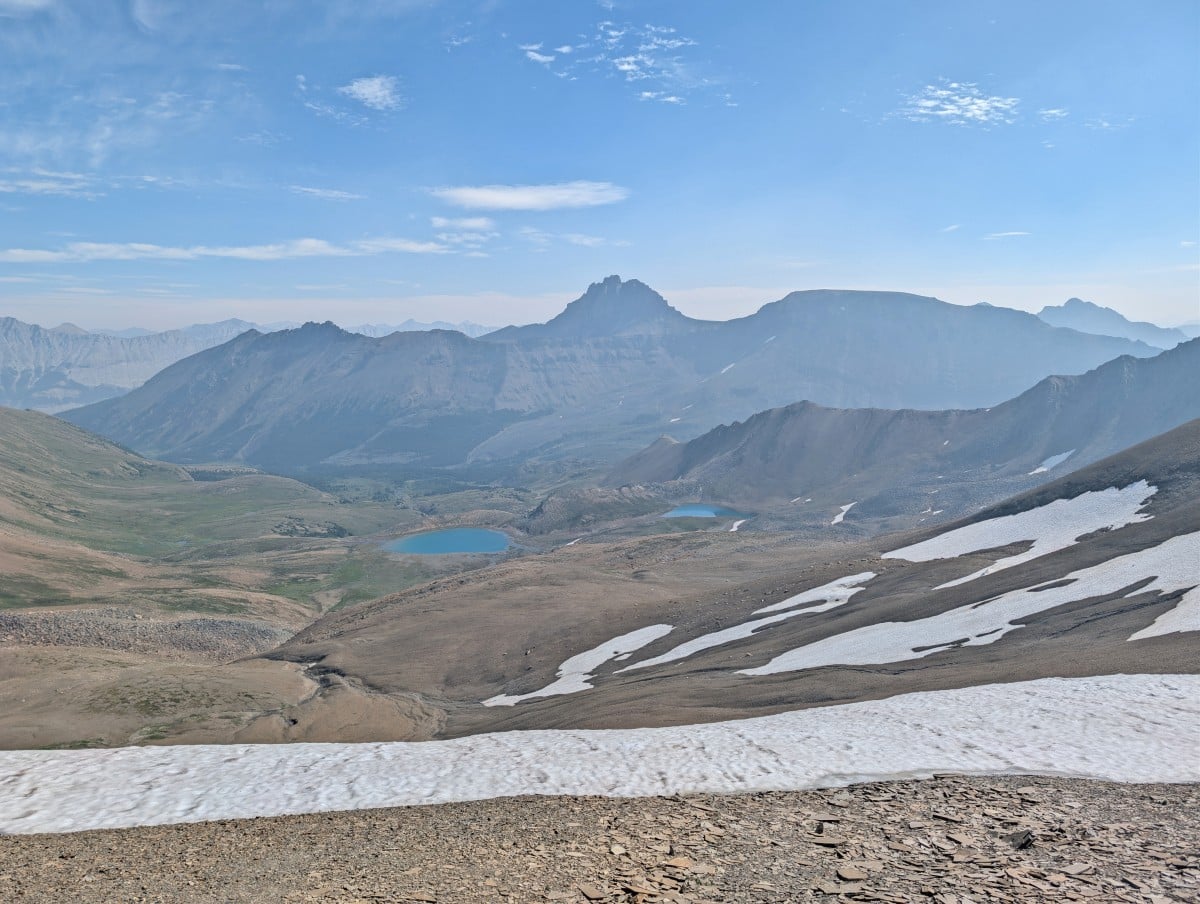
The route skirts below the summit of Amber Mountain, with views down to two alpine lakes in a bowl. Eventually, the Skyline begins a long, gentle descent into the valley, with Mount Tekarra (2694m) and the lake at its base visible almost the entire way.
There are plenty of switchbacks, some a little rocky. At the bottom, there are several creek crossings and some muddy sections.
The final approach to Tekarra Campground is lined by wildflowers and then forest. Again, the campground is not visible until you enter it (I love this about the Skyline Trail!)
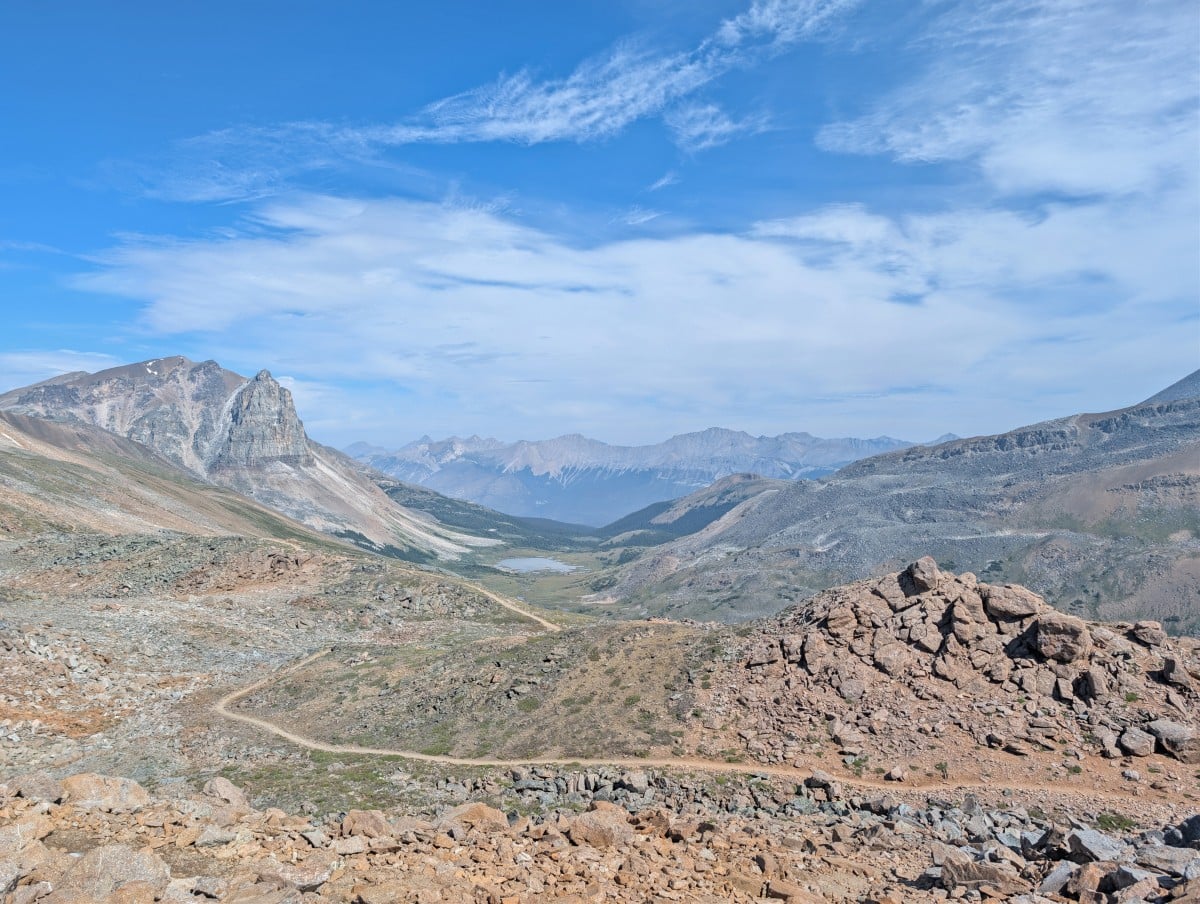
Tekarra Campground to northern trailhead (near Maligne Canyon)
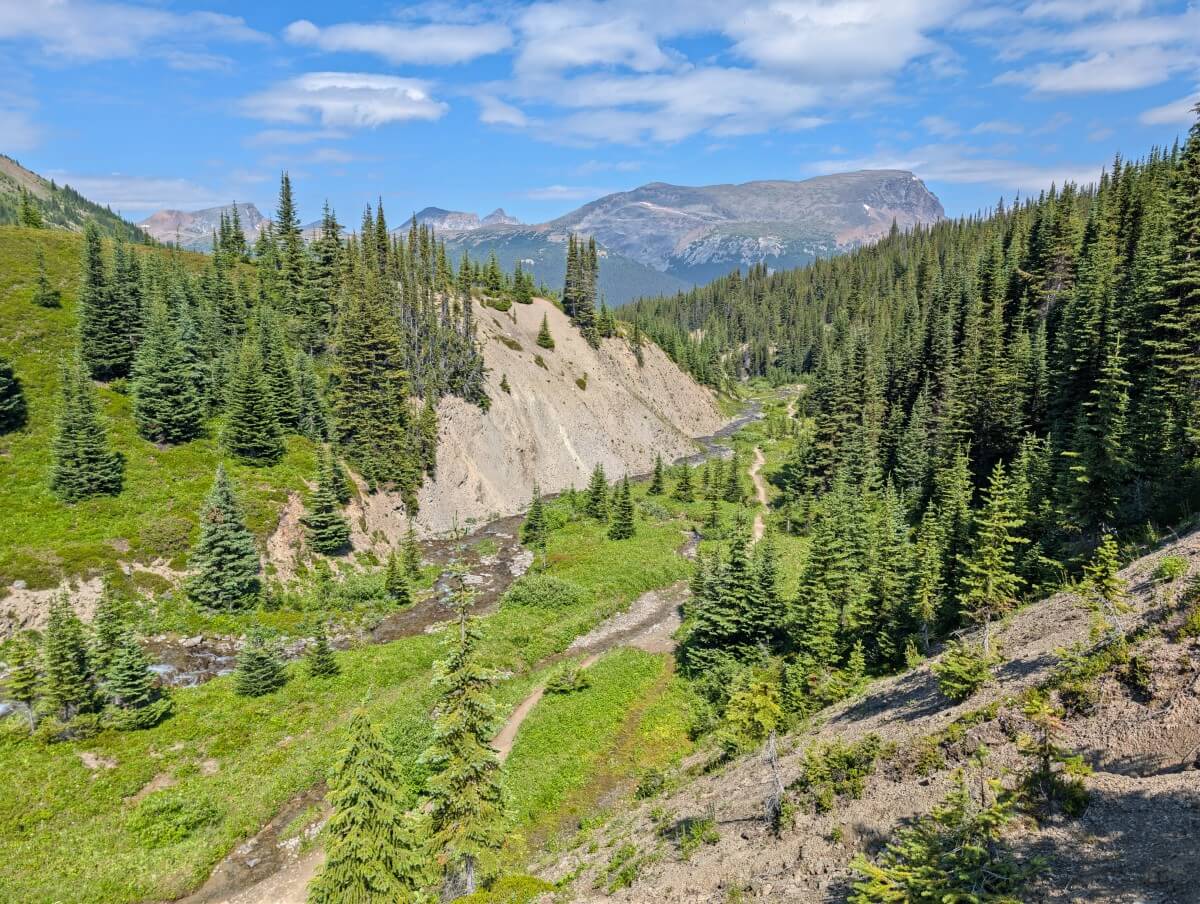
Leaving Tekarra involves some rock-hopping to cross the widest creek encountered on the trail so far. The next 3km is a gentle ascent in the trees and up to yet more wildflower meadows. A line of mountains forms a backdrop to the northeast.
After a few kilometres, views of the Athabasca River and Highway 1 appear. In the other direction, look for the pointed peak of Signal Mountain (2255m).
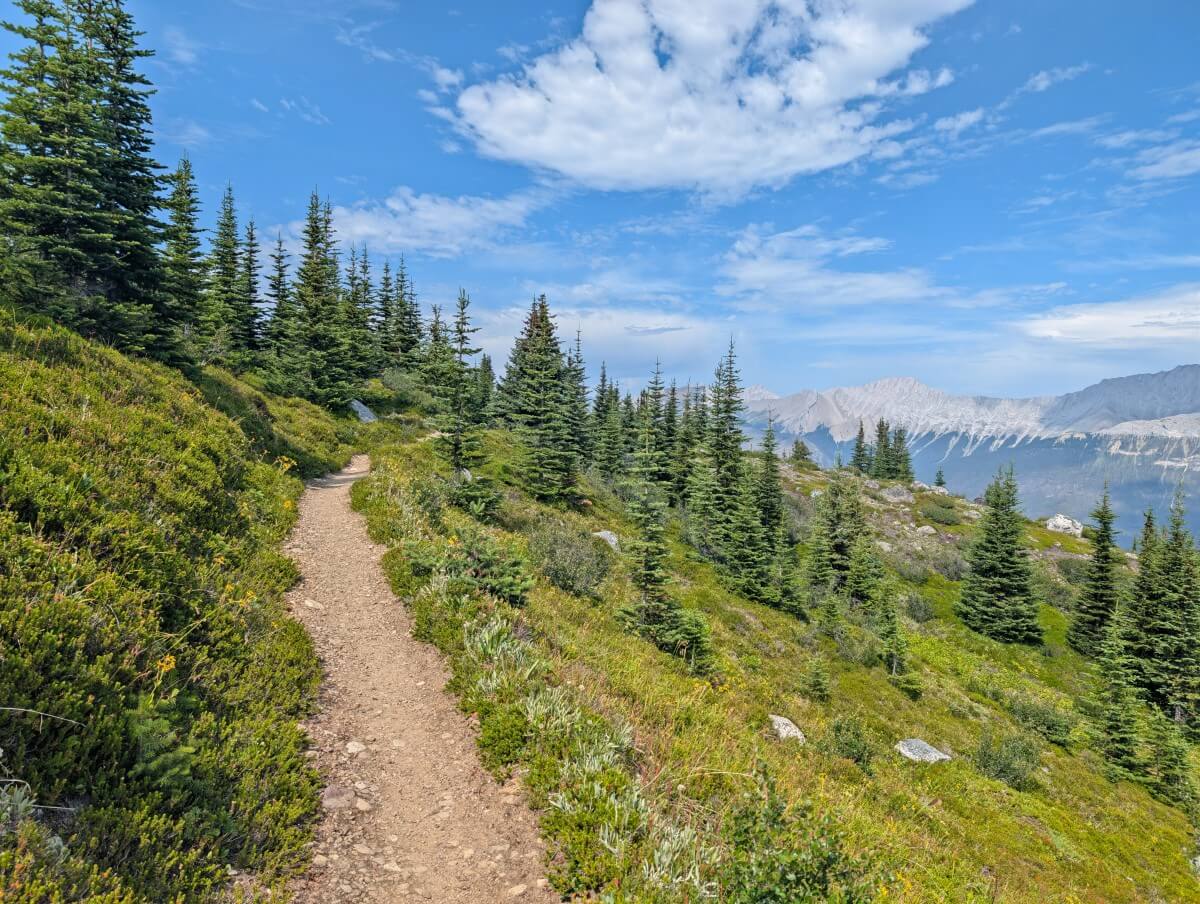
The trail weaves through the meadows and then steadily drops until the junction with the Signal Mountain Fire Road.
Turn right to continue along the Skyline to the Signal Trailhead, left for a side trip to the Signal Mountain summit. There is a bike rack here, as bikes are allowed on the Signal Mountain Fire Road. Just around the corner is the junction for Signal Campground (150m off trail).
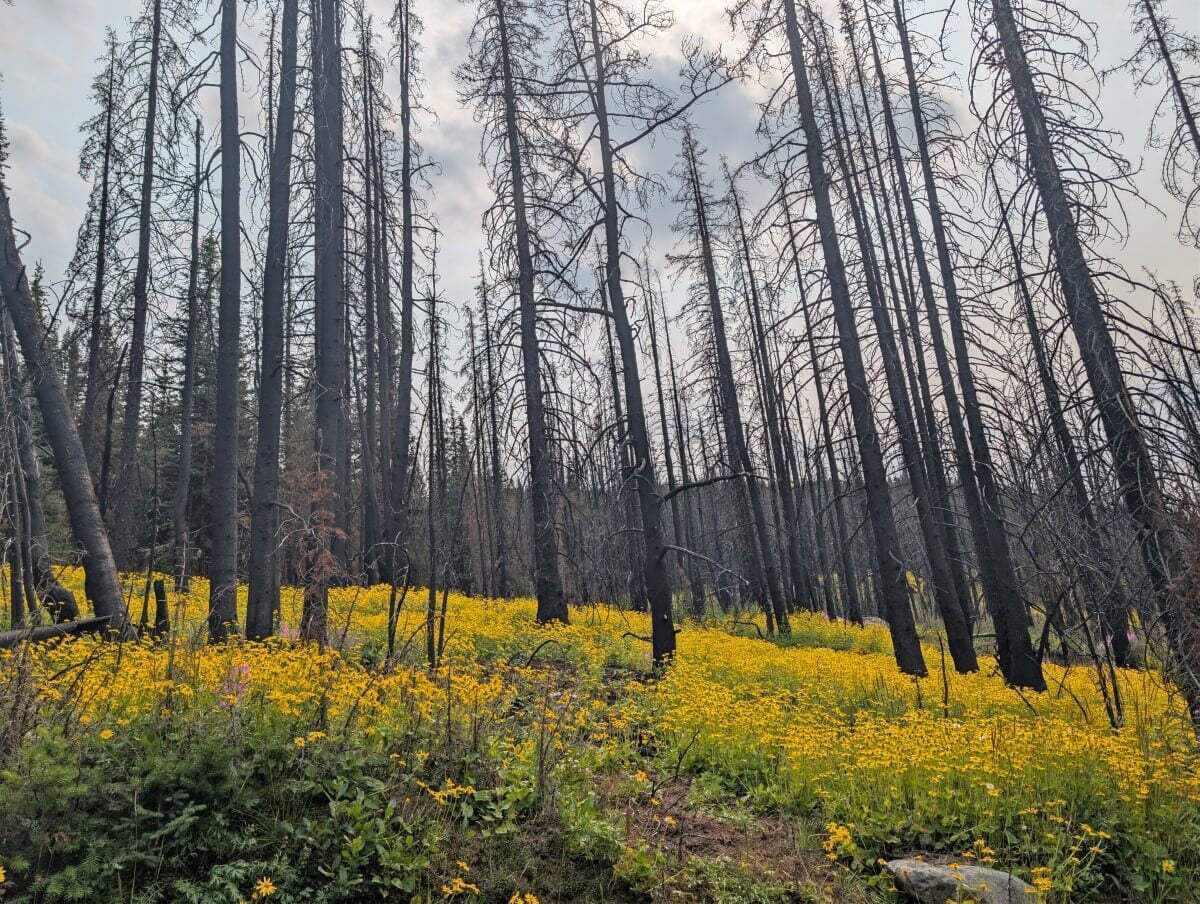
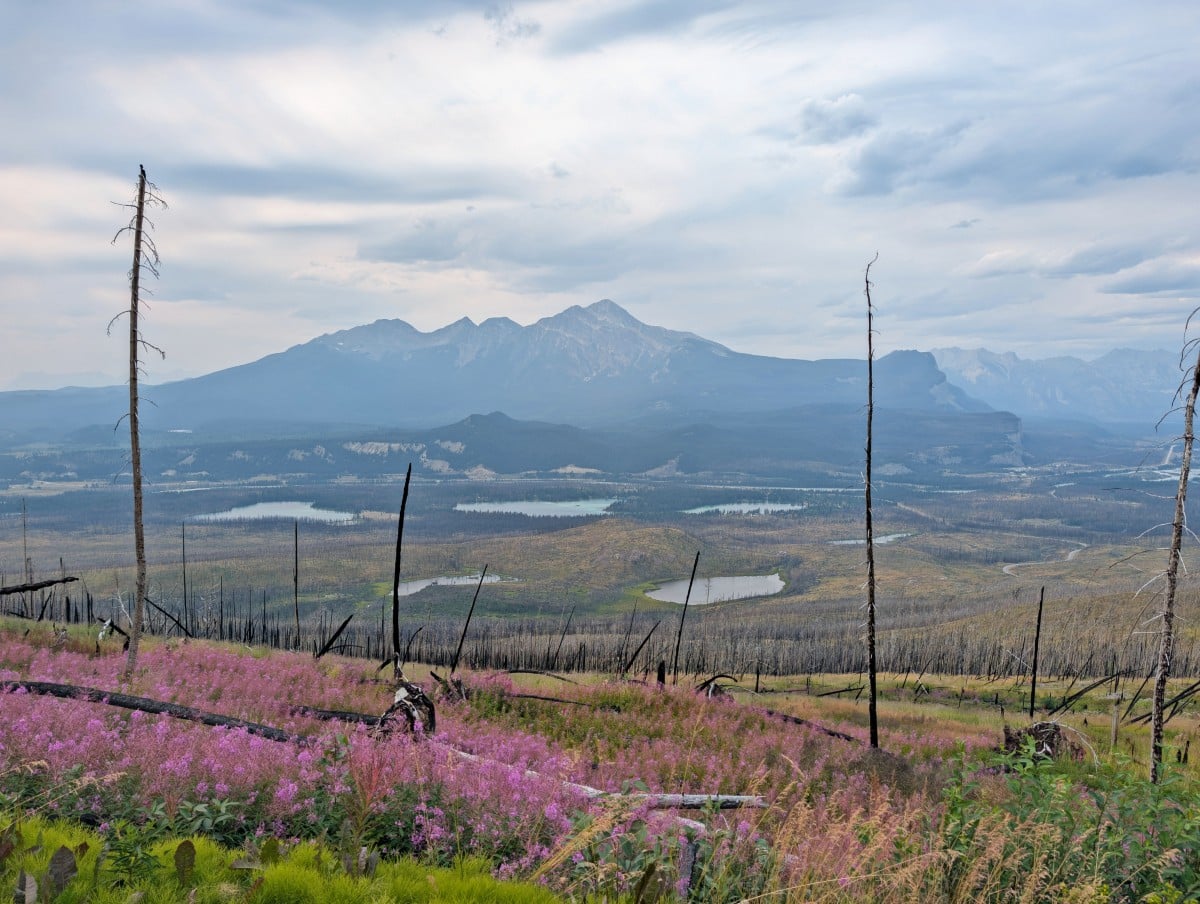
The rest of the Skyline takes place on the wide dirt road. This transition also marks the start of the fire damaged section of the trail. Prior to 2024, the long descent to the trailhead was completely forested with zero views.
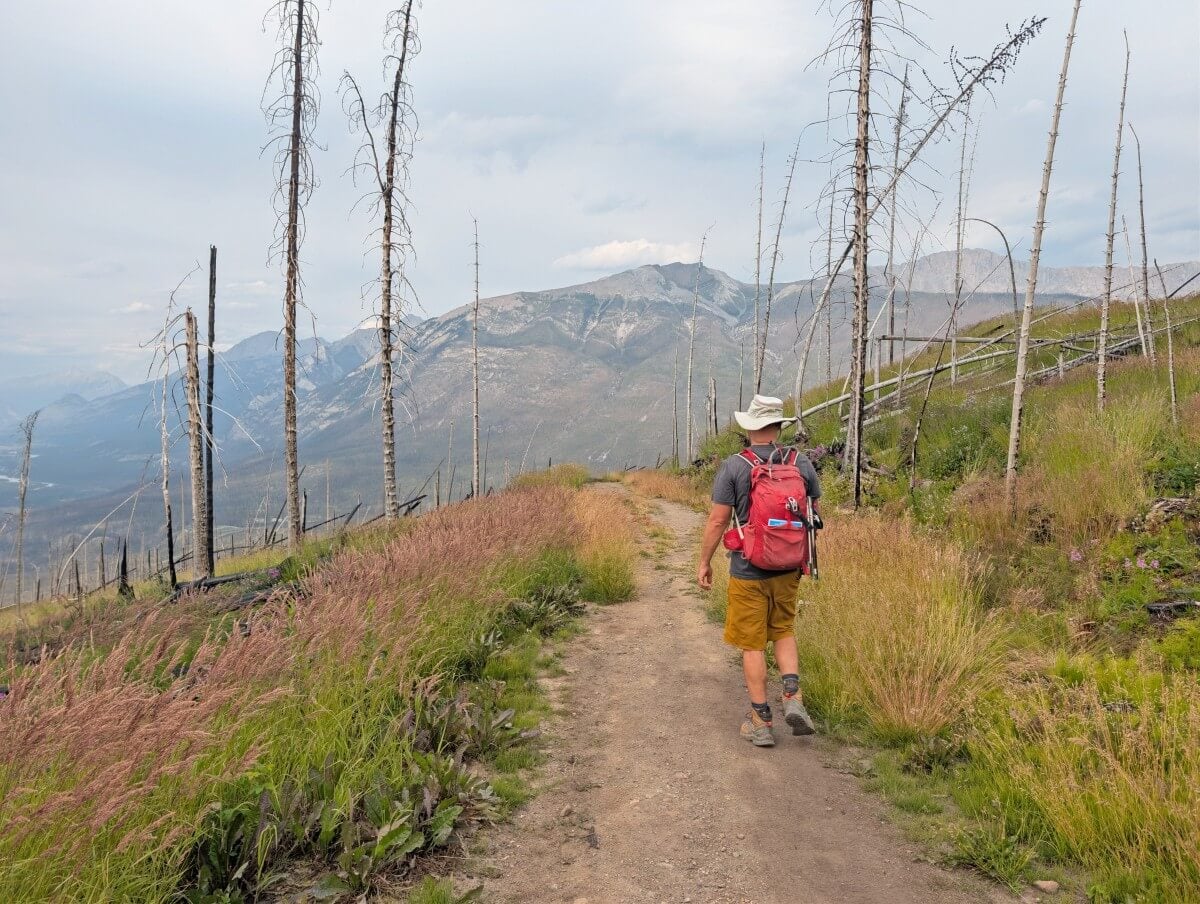
It’s quite different now, offering wide open panoramas towards Jasper, Edith and Annette lakes, the Athabasca River, Pyramid Mountain and many other peaks. In early August, the trail was surrounded by a colourful mix of wildflowers in full bloom.
Having said that, this section is still a bit of a slog (especially if you’re finishing a 20+km day). It starts with some switchbacks before curving along the slope. The trail loses about 900 m of elevation over 7 km, which sounds substantial, but the road’s gentle grade makes the descent feel easy.
Skyline Trail campgrounds and accommodation
The Skyline Trail has five campgrounds directly on, or very close to, the trail, plus two others within short detours. There’s also a lodge, an ideal option if you want to save weight and enjoy a bit of trail luxury!
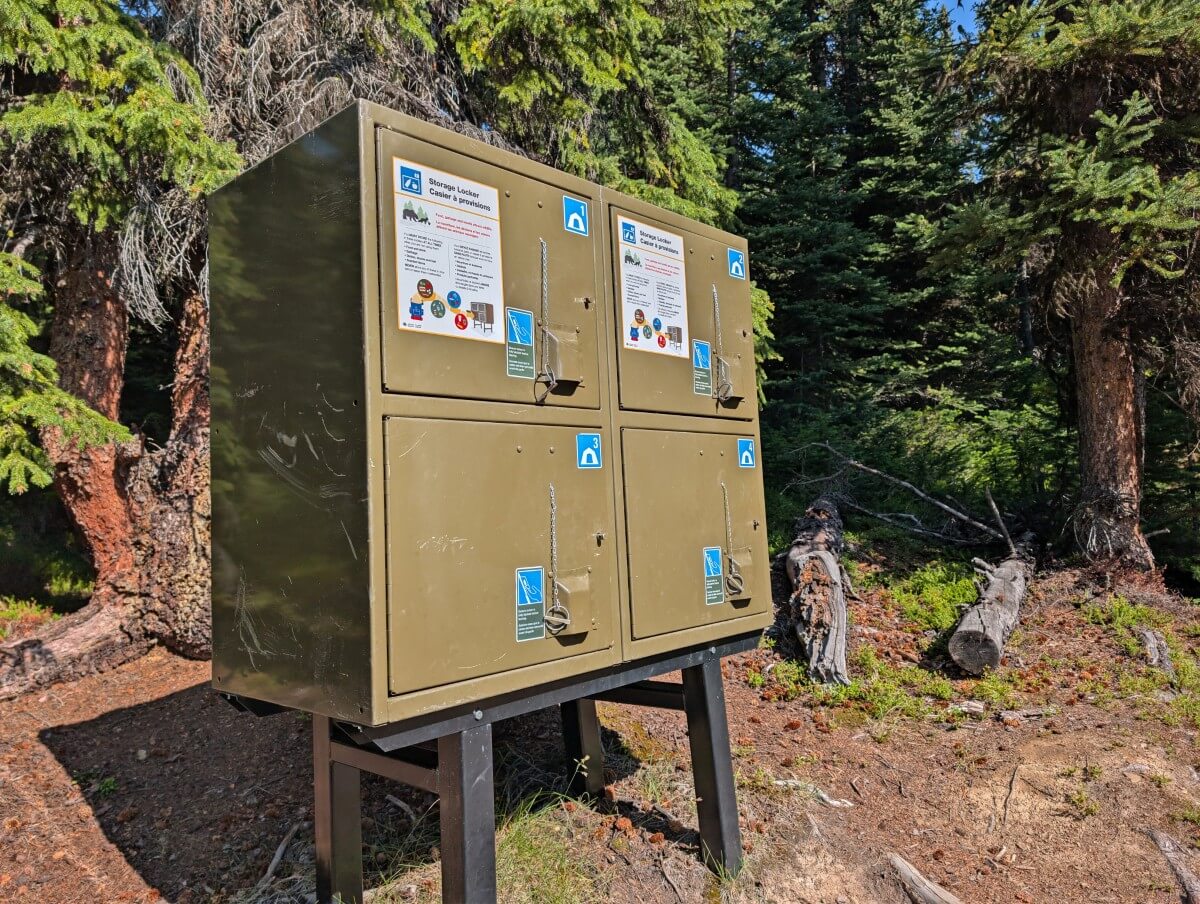
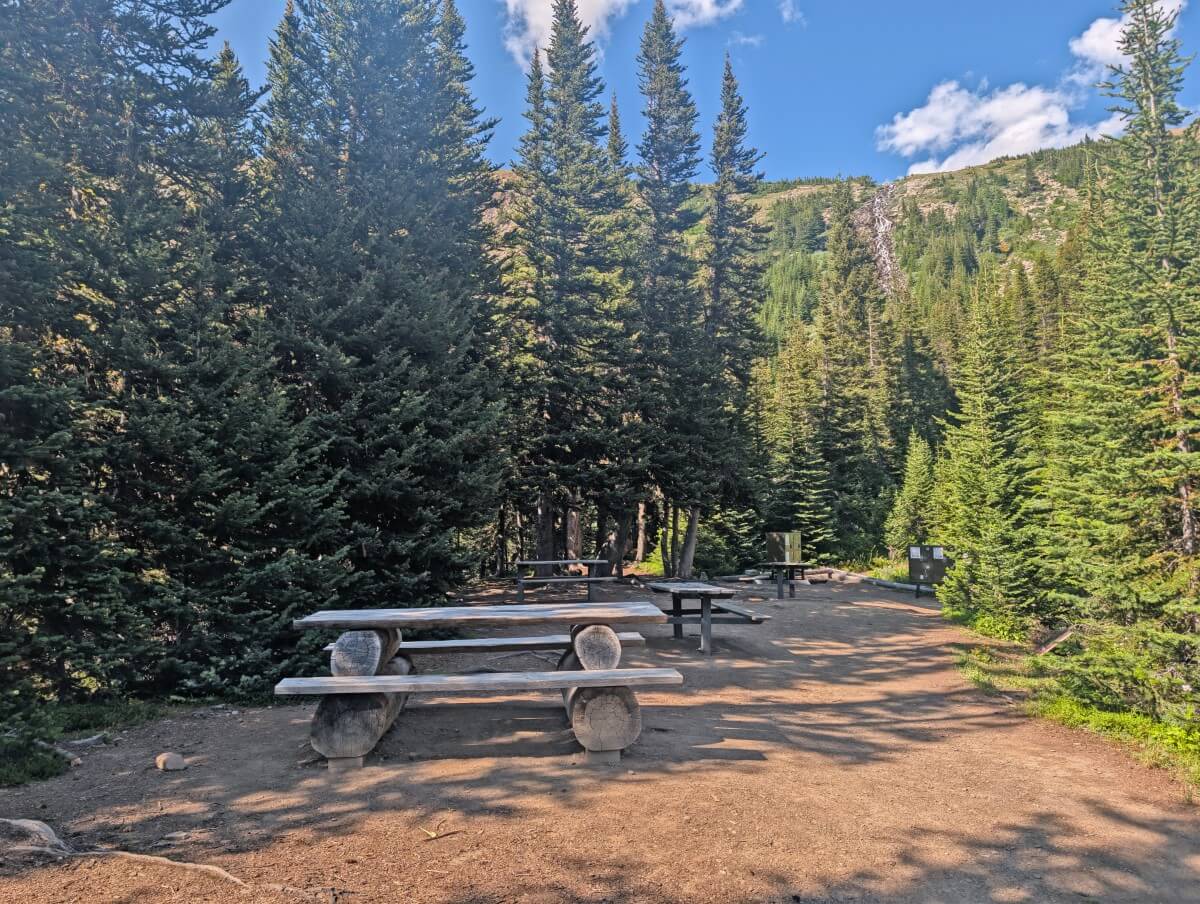
Each campground has a creek water source (treat the water first), dirt or plastic lumber tent pads, metal food caches (one for each tent pad), a handful of picnic tables and an outhouse.
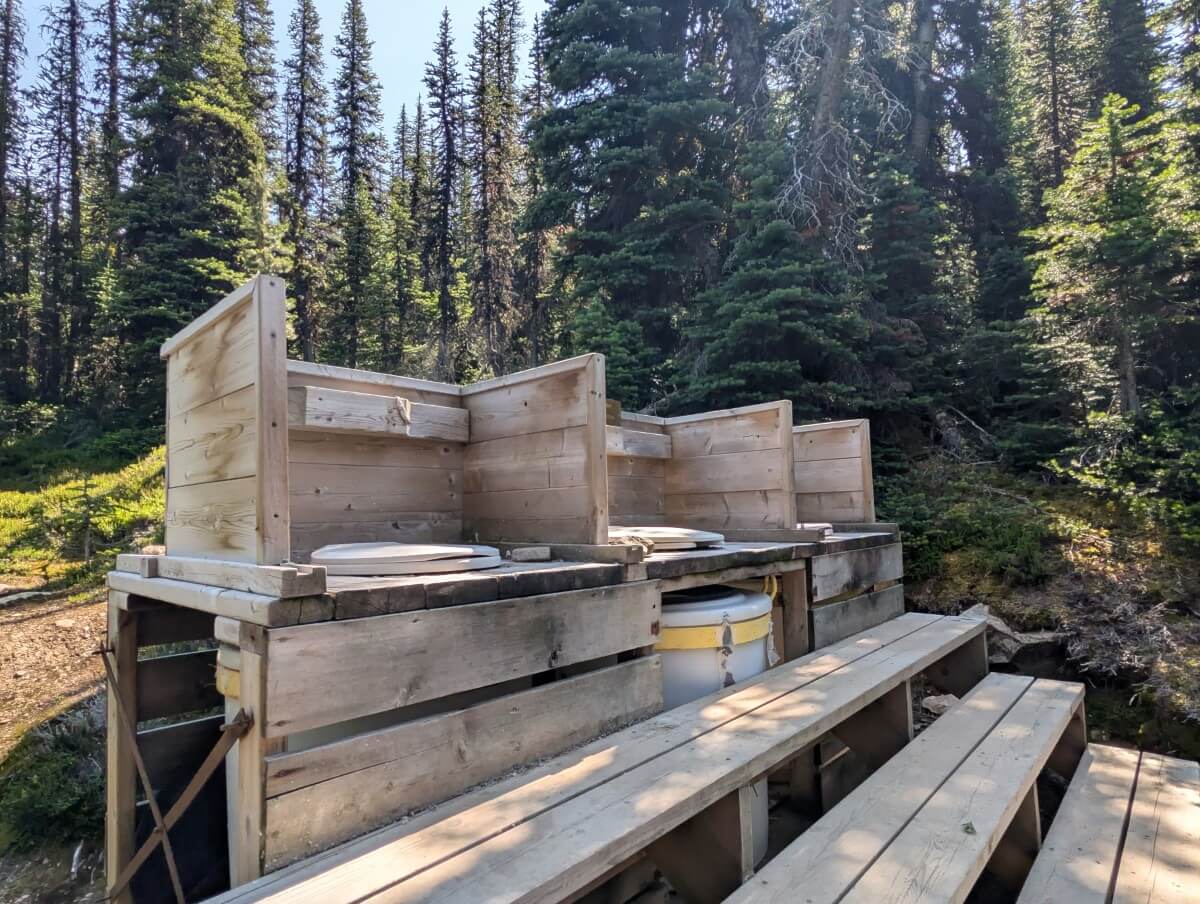
Most of the outhouses come in the form of an open air barrel system. Three barrels, three seats – but only one user at a time. The full barrels get flown out and replaced at least once a season by helicopter (this was happening during our hike!)
The exception is Evelyn Creek, which has a green throne toilet. Bring your own toilet paper for all campgrounds.
Please note that hammocks are not permitted at any of the Skyline Trail campgrounds. Watchtower is the exception since it is not considered part of the Skyline.
Evelyn Creek
Distance: 4.8km from southern trailhead (Maligne Lake)
Elevation: 1824m
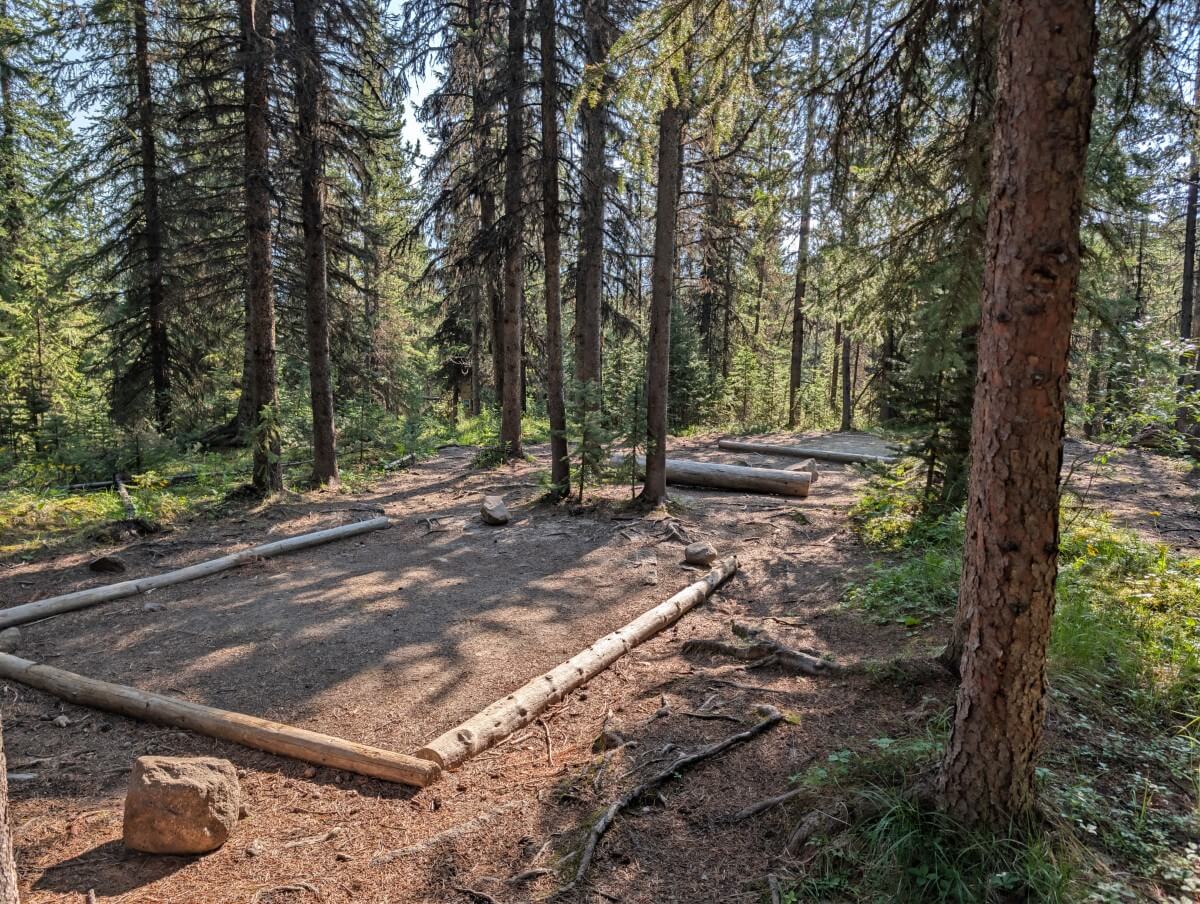
Number of sites: 4, all dirt pads
Evelyn Creek is the first campground on the Skyline Trail when hiking north. It takes just over an hour to hike here from the Maligne Lake trailhead. With only four tent pads, Evelyn Creek is one of the smallest campgrounds on the trail.
The cooking area and tent pads are located slightly uphill from the creek, surrounded by forest. It’s a pleasant enough place to spend the night, although for most hikers, it’s too early along the trail to make it a particularly useful stopping point.
Little Shovel
Distance: 8.3km from southern trailhead
Elevation: 2233m
Number of sites: 8, all dirt pads
Little Shovel is a spacious forested campground, located soon after the first real climb of the hike. The cooking area is spread out on either side of the trail, with the dirt tent pads set slightly uphill in two groups. Some of the picnic tables and tent pads have mountain views through the trees.
I found Little Shovel to be a nice enough place to stop, especially as it feels so much bigger than some of the other campgrounds. On the other hand, some of the tent pads seem like a good walk away from the outhouse and food caches.
Snowbowl
Distance: 12.2km from southern trailhead
Elevation: 2094m
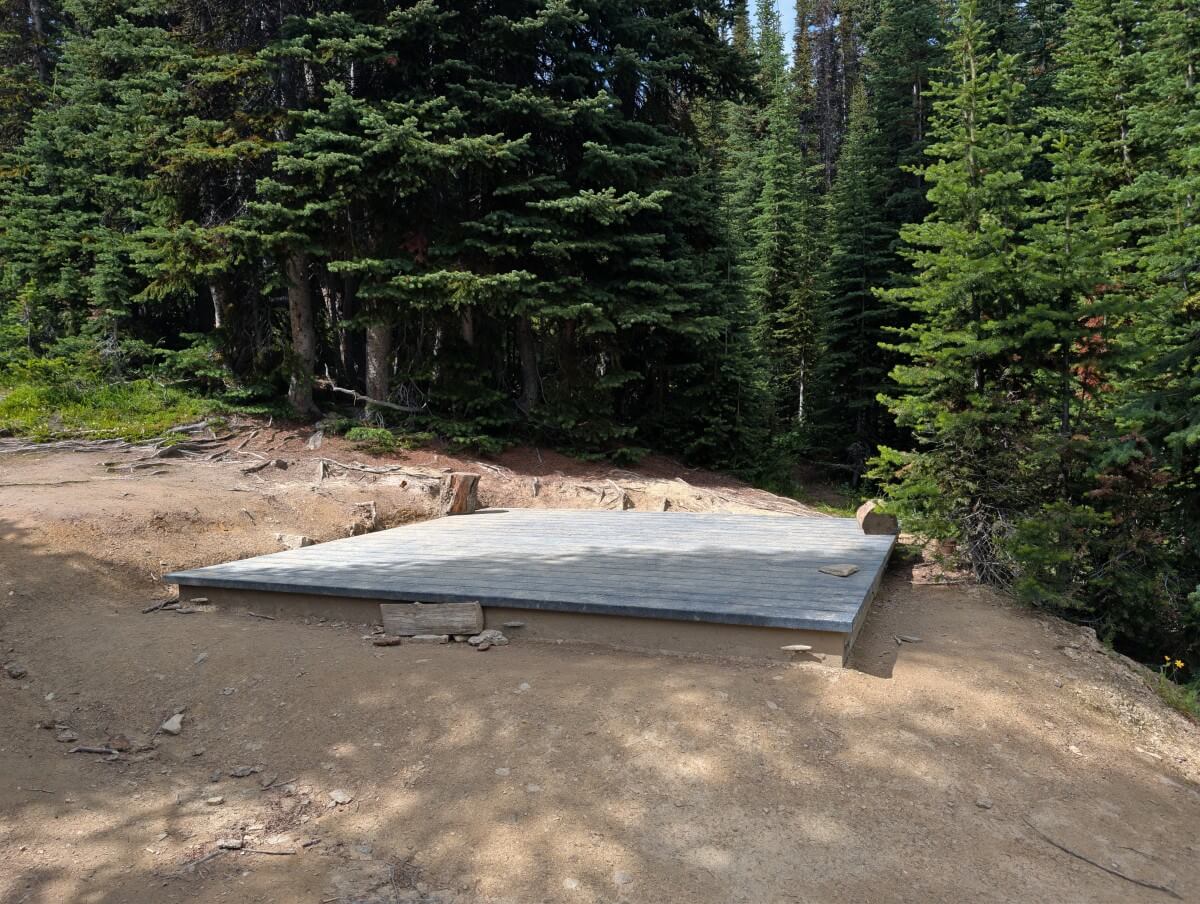
Number of sites: 8, mix of dirt pads and plastic lumber platforms
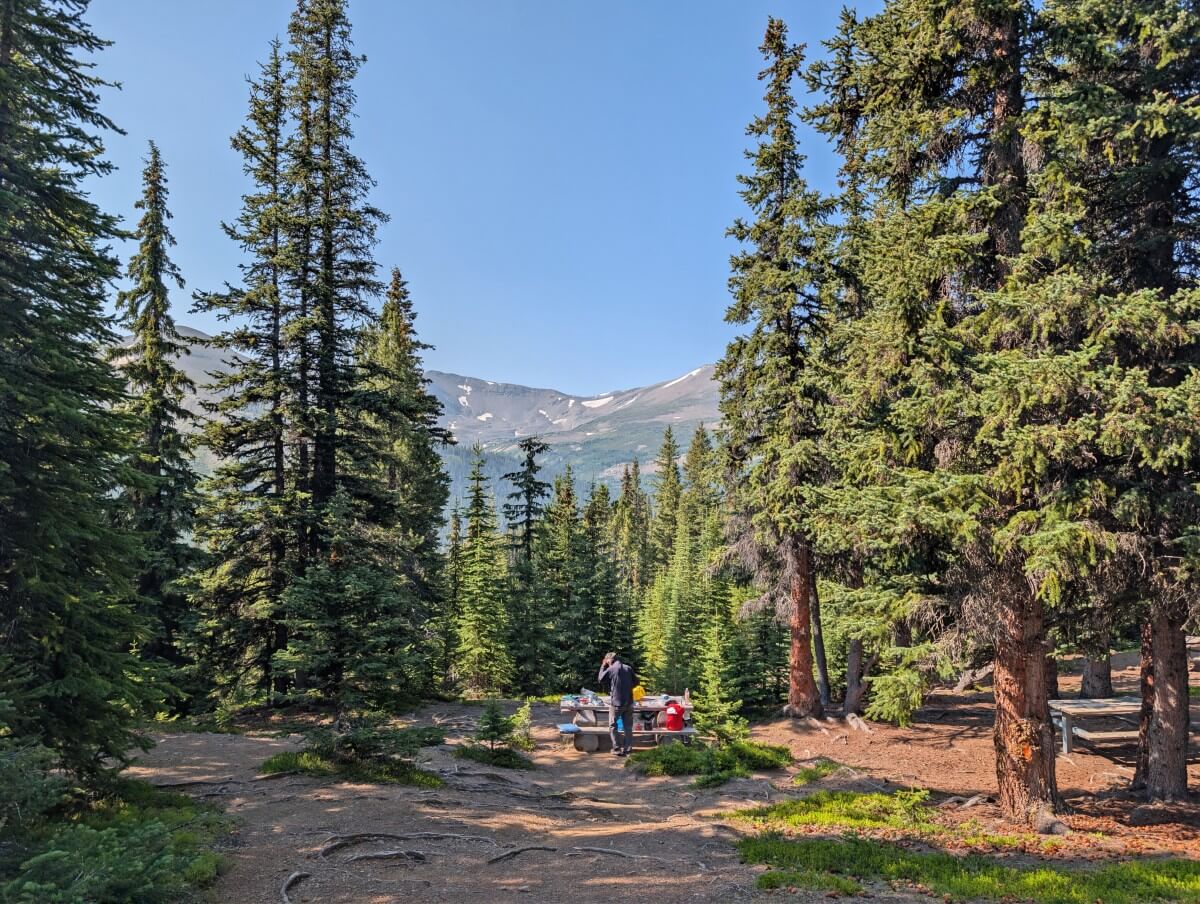
Snowbowl is one of the Skyline Trail’s most popular campgrounds due to its convenient location. Situated in a forest surrounded by meadows, it has a peaceful setting. There are some mountain views from the cooking area.
We found Snowbowl to be the second buggiest campground during our early August trip. If I reserved it and arrived early in the day, I would set up a tent and then go and spend some time elsewhere on the trail to avoid the bugs!
Watchtower
Distance: 18.3km plus 3.1km off trail (one way)
Elevation: Around 2380m
Number of sites: 4, all dirt pads
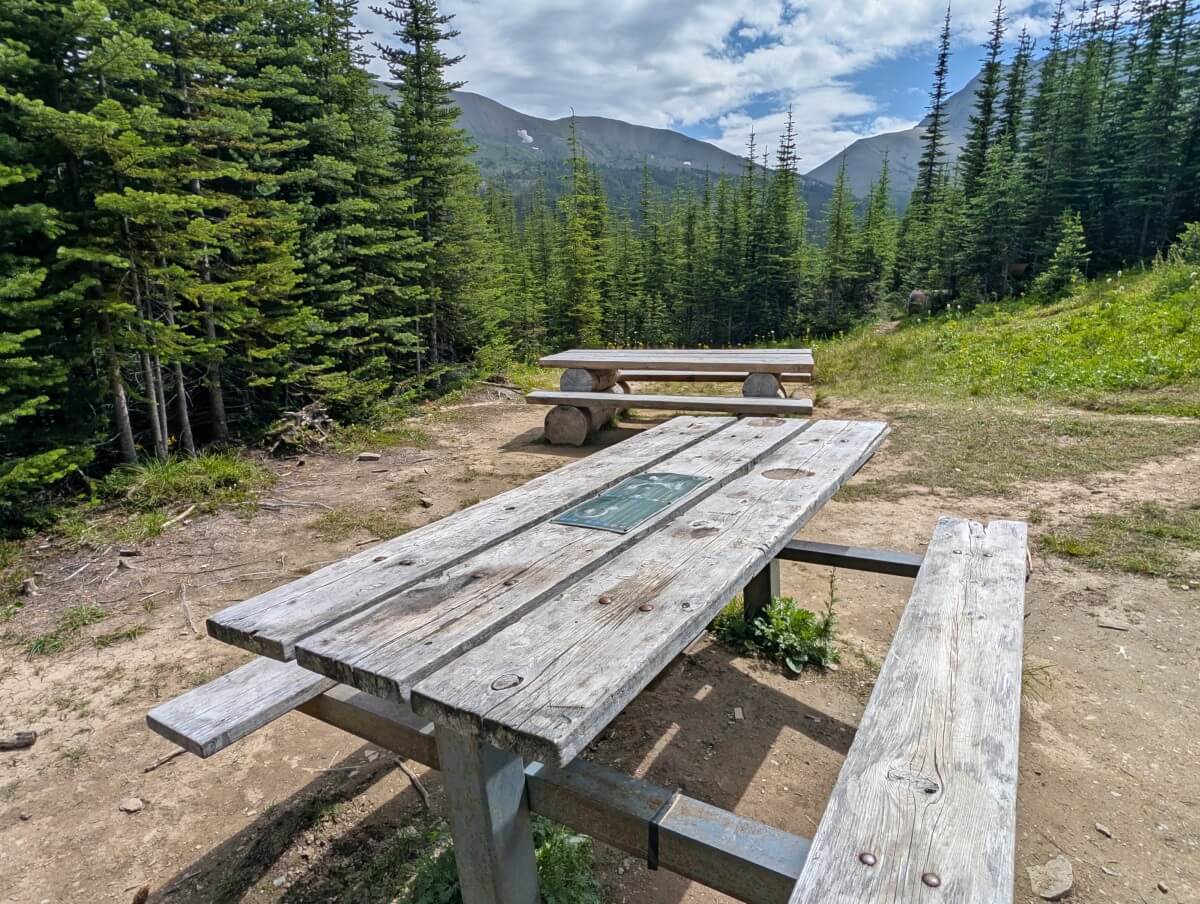
Watchtower is the only Skyline campground we haven’t personally visited but I know that it is used by hikers looking for an alternative to Curator. It’s located 3.1km off trail, on the other side of a small pass between Big Shovel Pass and the Notch. There is signage at the junction.
The Watchtower Trail is not maintained so the condition isn’t said to be as good as the Skyline. It’s also not as well used. From the Skyline, the trail traverses up to the pass and then a couple of hundred metres down into a forested valley. The additional views, so I’ve heard, are worth the detour.
Curator
Distance: 21km from southern trailhead, 1.1km off trail
Elevation: 2070m
Number of sites: 8, all dirt pads
Curator Campground is situated almost half way along the Skyline Trail. For this reason, it’s a popular destination on a two day itinerary, despite being located slightly off trail. It’s downhill all the way from the trail junction, steep at times. Total elevation loss is around 145m.
The campground itself is set into a forest with some peek through mountain views as well as a vantage point on a waterfall (see below). The tent pads are arranged in a line, with the eating area and food caches closest to the trail.
Note – Prior to the wildfire, campers were able to buy drinks and meals at nearby Shovel Pass Lodge. This is no longer possible due to changes in lodge ownership and supply route adjustments.
Shovel Pass Lodge
Distance: 20.3km from southern trailhead, 1.2km off trail
Elevation: 2060m
Number of cabins: 7
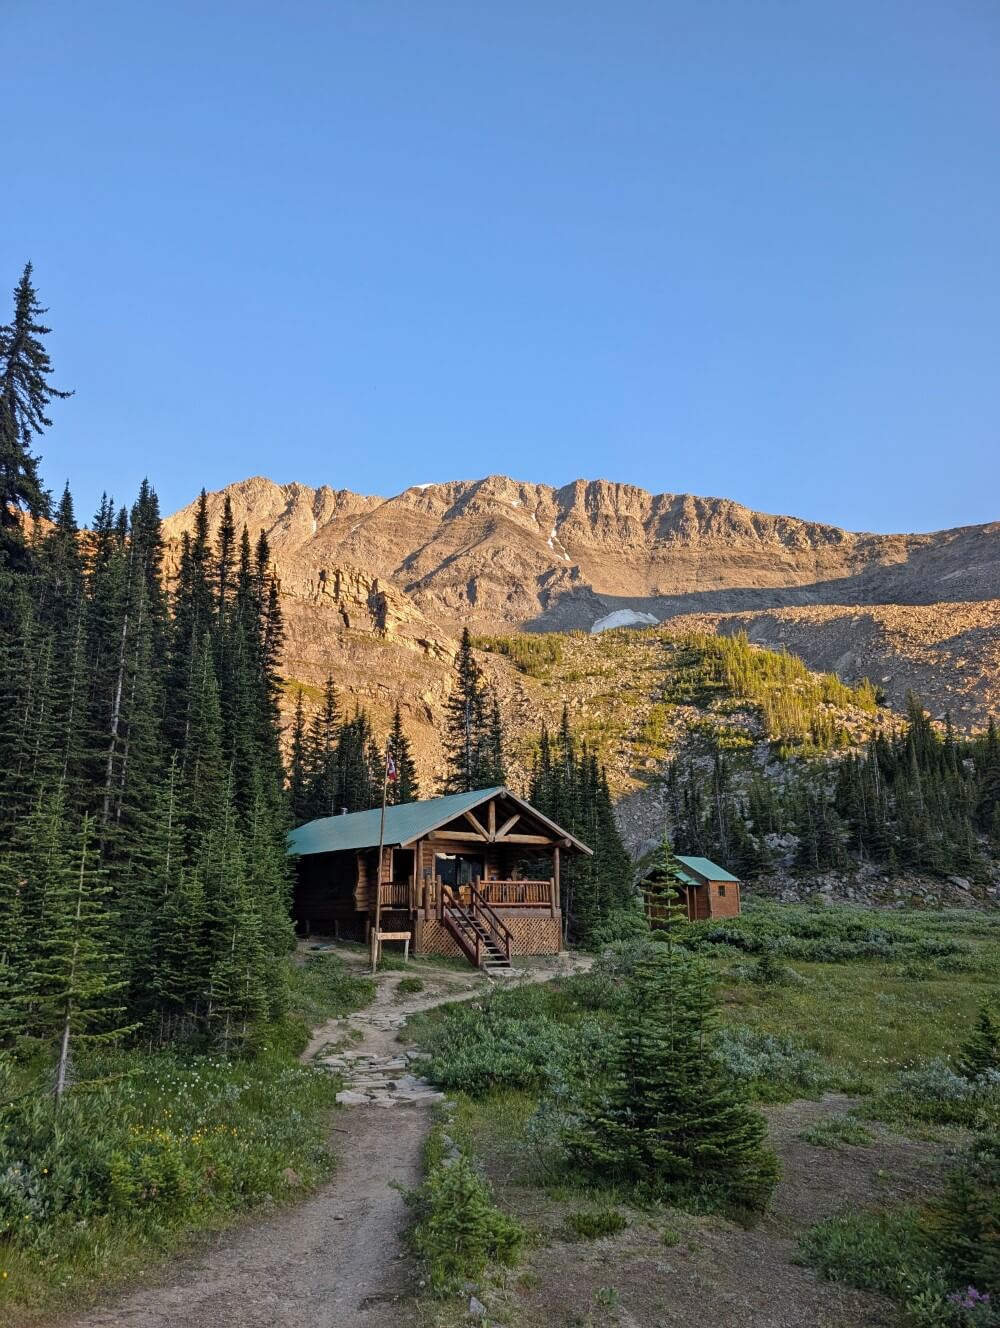
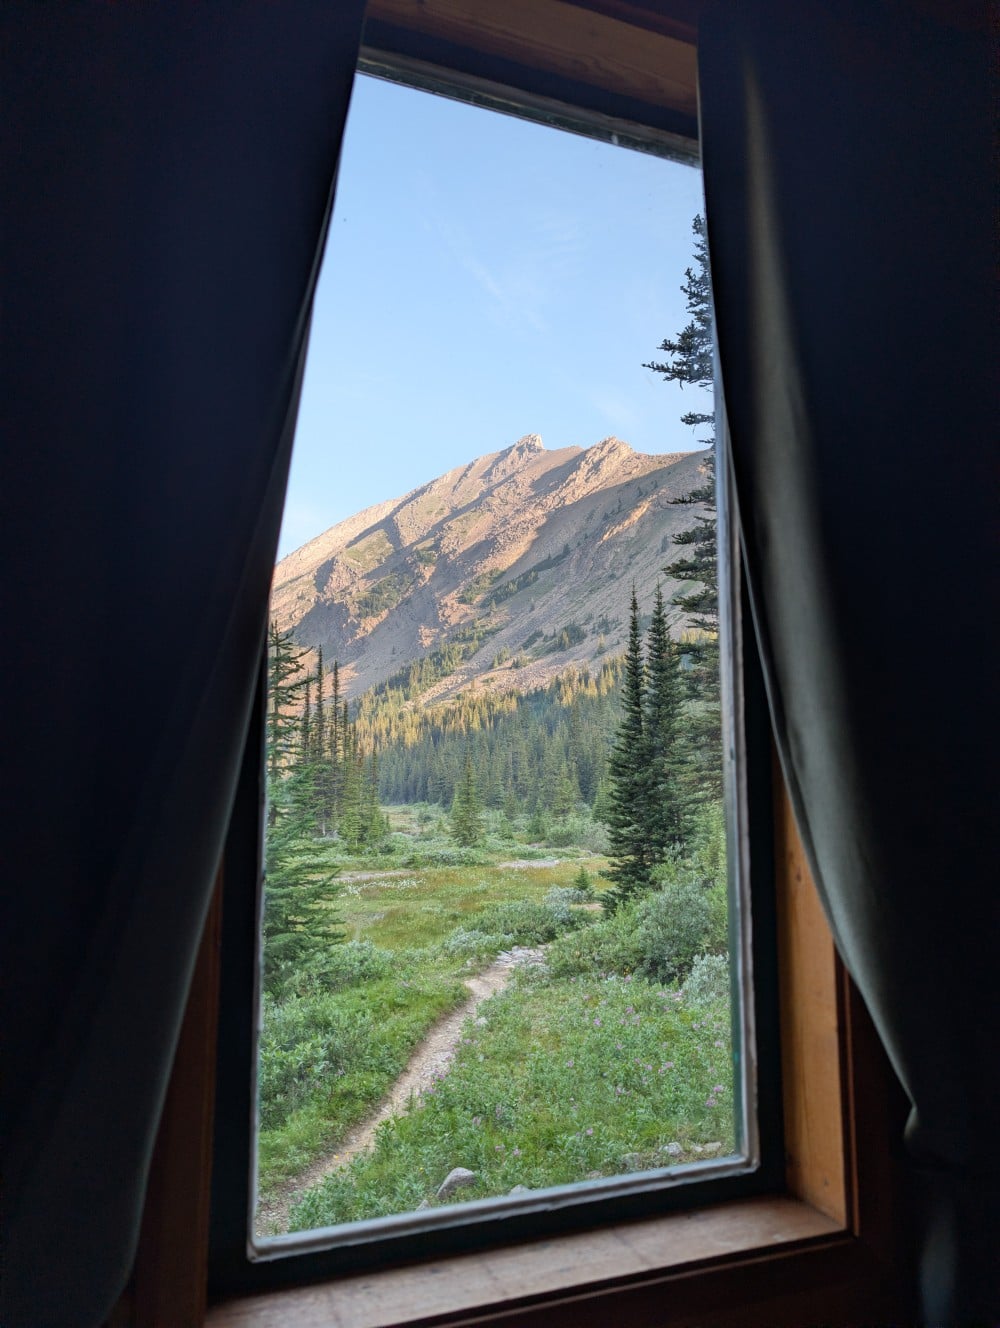
The Skyline Trail is remarkable in its own right, but our experience was made even more memorable by an overnight stay at Shovel Pass Lodge. This backcountry lodge has seven heated cabins (each hosting 2 to 3 people) and is the only one of its kind in Jasper.
Situated close to the halfway point of the trail, staying at the lodge enabled us to split the hike into two days and avoid carrying camping gear while enjoying home-cooked meals and a real bed. It also meant skipping the notoriously tricky campground reservation process!
Shovel Pass’ nightly rate includes all meals – charcuterie after arrival, dinner, breakfast and a packed lunch. Bedding is included, as is potable water and warm water for washing up (no showers). It’s a pretty luxurious way to sleep in the backcountry, especially after hiking 21km!
Personally, I think Shovel Pass is a great option for many different types of hikers – those looking for a little extra comfort, international or interprovincial visitors without backpacking gear, day hikers easing into overnight trips and anyone who wants to experience the Skyline without carrying a full camping setup. The lodge is open 1st July to mid September.
Tekarra
Distance: 30.4km from southern trailhead
Elevation: 2062m
Number of sites: 8, mix of dirt pads and plastic lumber platforms
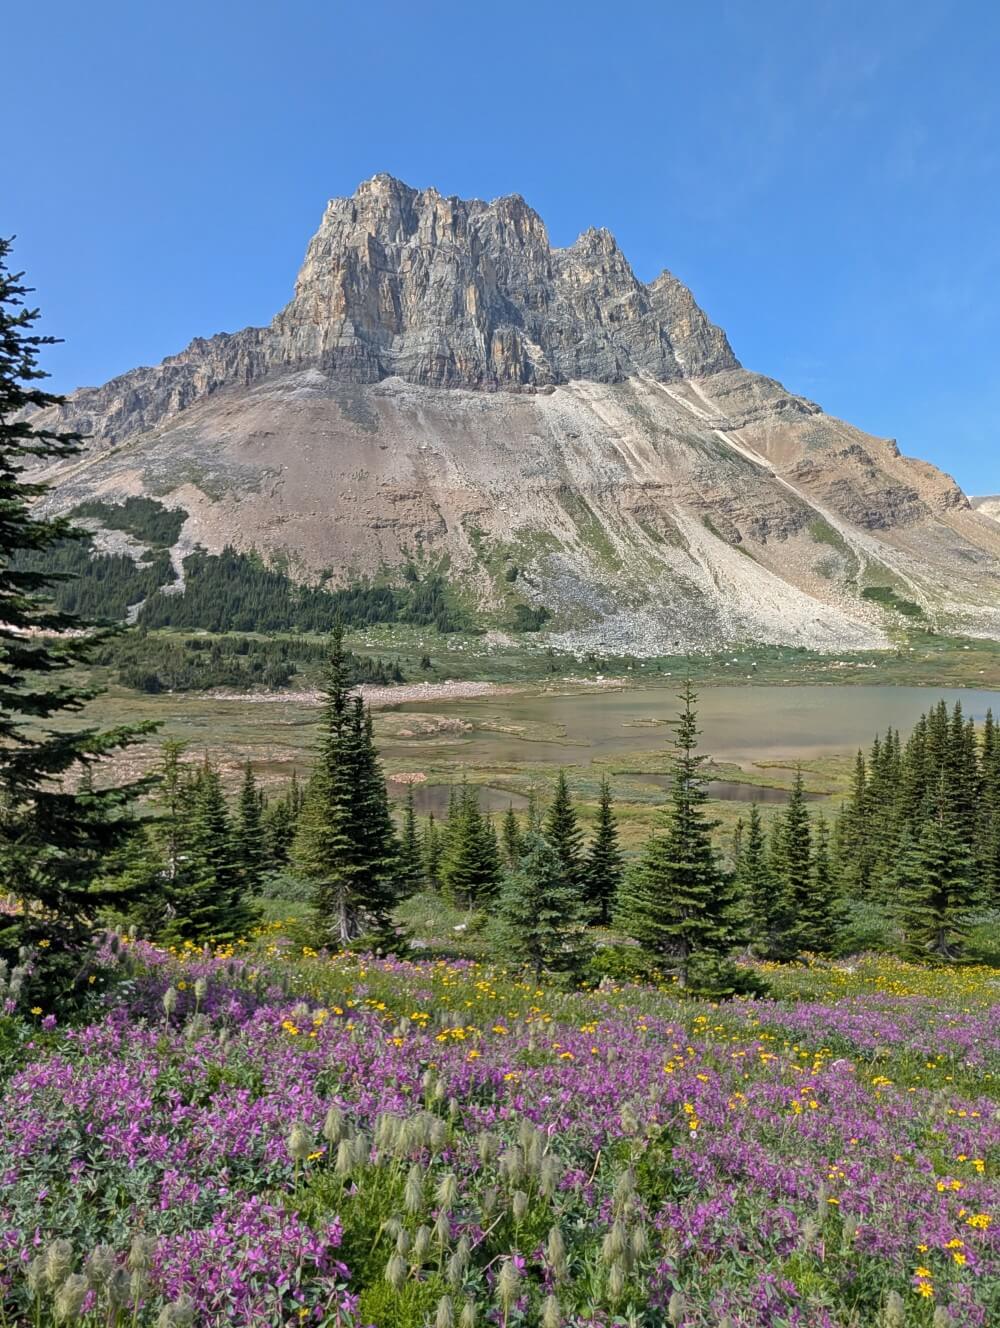
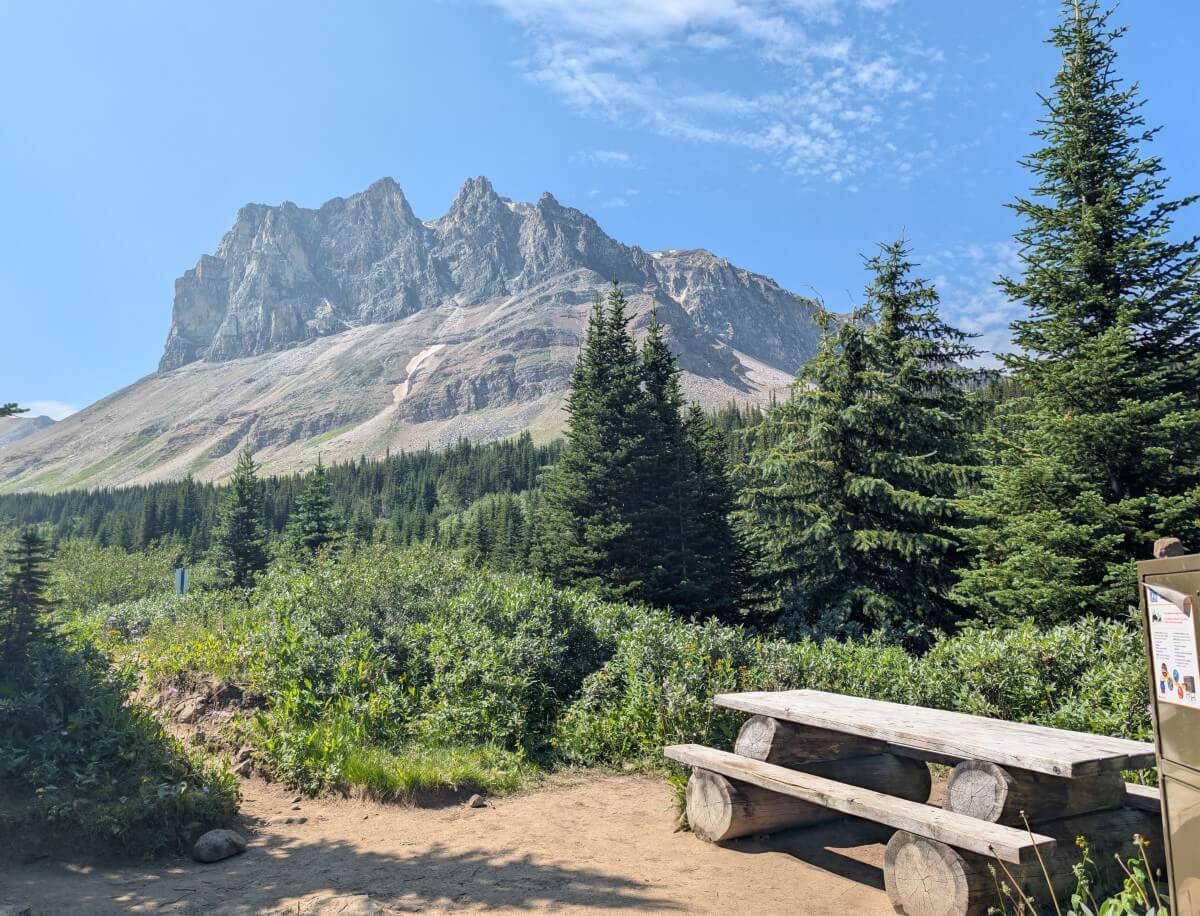
There’s no question that Tekarra is the most scenic campground on the Skyline Trail, which also makes it one of the hardest spots to secure a reservation. The tent pads are scattered among the trees behind the cooking area, with some picnic tables offering views of Mount Tekarra (2694m)
The wide creek is very close for collecting water. It was easy to rock hop across in early August but may be more difficult after rain or earlier in the season.
Signal
Distance: 35.7km from southern trailhead plus 150m (one way)
Elevation: 2014m
Number of sites: 4, all dirt pads
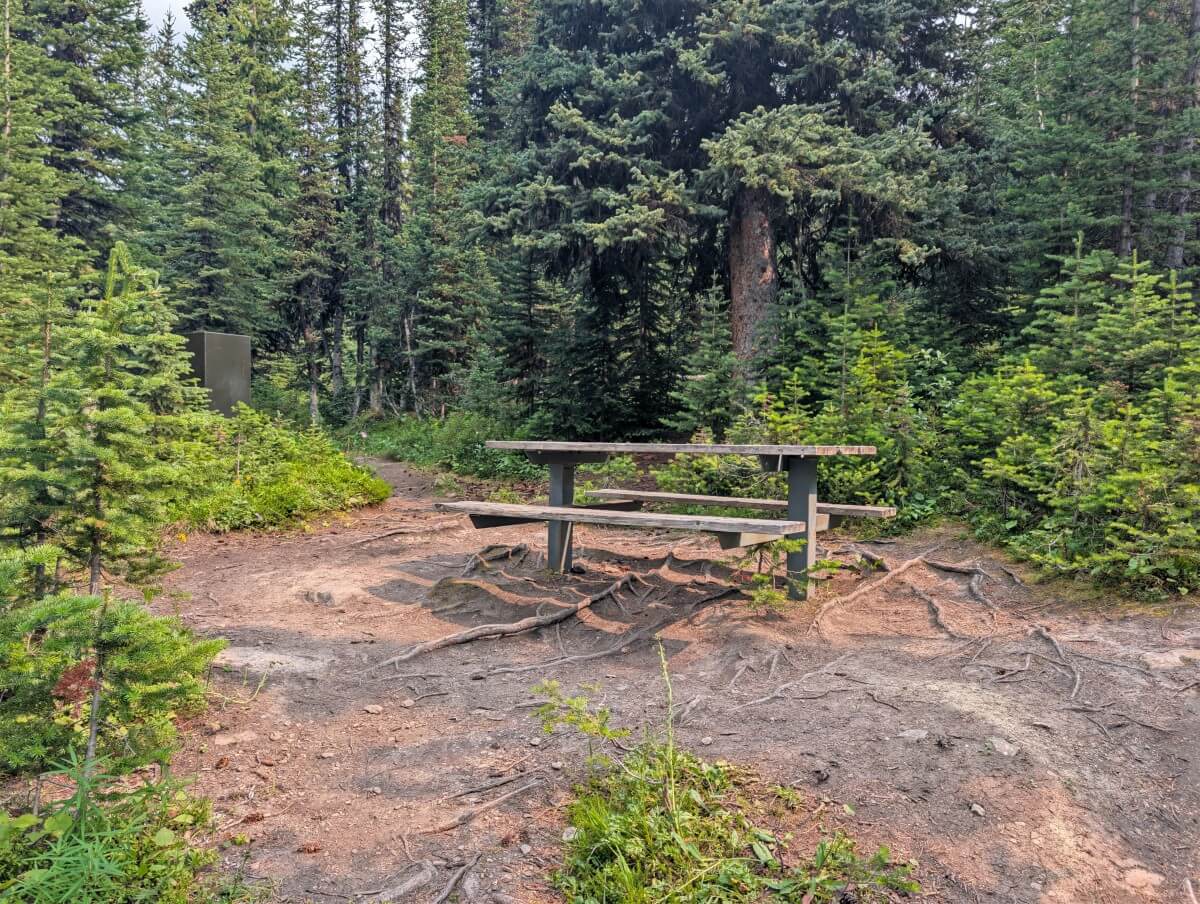
Signal Campground is located right at the start of the fire road descent to the northern trailhead. It is a 150m detour (300m return) from the trail. The campground is small and forested, with no views. The eating area is compact.
Of the campgrounds we visited in early August, Signal was by far the buggiest and least maintained. I wouldn’t stay here, particularly when hiking northbound. The fire road is very straightforward to walk – it took us just 1 hour 45 minutes from Signal.
Skyline Trail example itineraries
There are so many ways to structure a multi-day trip on the Skyline Trail.
Most hikers, however, find that their itinerary will be shaped by whatever you can secure through the reservation system. Having said that, it’s still worth having a plan in mind on reservation launch day.
Fast 2 day itinerary
Day 1 – Maligne Lake trailhead to Curator/Shovel Pass Lodge, 21km with approx. 840m elevation gain, 450m loss
Day 2 – Curator/Shovel Pass Lodge to Signal trailhead, 26km with 700m elevation gain, 1550m loss
This is the itinerary we followed. It involves two long days (and some additional elevation gain), but it’s a great way to experience the trail in a short period without having to worry too much about reservations.
If you’re camping, you only need to secure one night, while Shovel Pass Lodge generally has more availability than the campgrounds.
I loved being able to complete the Notch and the exposed ridge section early on in the day. The last 10km or so were definitely tiring, however. If I did this itinerary again, I’d plan to finish later in the day and build in more time for breaks along the way.
Standard 3 day itinerary
Day 1 – Maligne Lake trailhead to Snowbowl Campground, 12km with 550m elevation gain, 170m loss
Day 2 – Snowbowl Campground to Tekarra Campground, 19km with 650m elevation gain, 680m loss
Day 3 – Tekarra to Signal trailhead, 13km with 200m elevation gain, 1100m loss
The distance is well balanced between the three days, with Tekarra being the most scenic of all of the campgrounds.
The downside is that starting at Snowbowl on day 2 means arriving at the Notch around lunchtime and then heading out onto the most exposed section of trail in the early afternoon (thunderstorm risk).
And, of course, Tekarra and Snowbowl are two of the most sought-after campsites, so reservations are tough to come by.
Alternative 3 day itinerary
Day 1 – Maligne Lake trailhead to Curator/Shovel Pass Lodge, 21km with approx. 840m elevation gain, 450m loss
Day 2 – Curator/Shovel Pass Lodge to Tekarra Campground, 12km with 500m elevation gain, 510m loss
Day 3 – Tekarra to Signal trailhead, 13km with 200m elevation gain, 1100m loss
Honestly, it’s hard to come up with a better three day itinerary for the Skyline Trail than the standard one. There’s always going to be a very long day, while another will inevitably be much shorter.
If I were hiking the Skyline again and camping (and had my pick of reservations), this is the itinerary I’d choose.
The first day is 20km but manageable, with slow and steady elevation gain. Staying at Curator Campground (or Shovel Pass Lodge) involves additional mileage the next day but it allows for an early ascent of the Notch.
The scenery between the Notch and Tekarra is some of the best on the trail and this itinerary allows you to really enjoy it. Tekarra Campground is also the most scenic, making it a particularly rewarding place to spend the night.
Itinerary tips
As mentioned, what you can secure on the reservation system will likely determine your Skyline itinerary. With that in mind, here are some general tips for planning your trip:
- Snowbowl, Curator and Tekarra are the most popular campgrounds. While each has 8 sites, reservation availability still disappears very quickly
- Watertower is sometimes used as an alternative to Curator but reaching this campground involves a 6.2km round trip detour on an unmaintained trail
- Little Shovel Pass is a great option for those starting the trail late in the day. It’s a nice enough campground with some peek through views and is easier to get a reservation for. I’d also suggest it as a base for day hiking to the Snowbowl Pass area
- While Evelyn Creek is a lovely little campground, it is very close to the Maligne Lake trailhead. Most hikers will take only an hour or so to reach it
- Signal Campground is most helpful for southbound hikers who start late in the day. The trail leading northbound is so straightforward that it is not really worth staying there overnight (it took us 1 hour 45 minutes).
- If you manage to get at least one campground reserved, consider setting up a cancellation notification for your missing night(s). I’m always shocked how often people cancel backcountry campgrounds but their loss is our gain! We use and recommend CampNab
- Want a quick one night adventure and have a bike? Start at Signal and then bike the first 8km of the trail. Then hike to Tekarra/Curator/Shovel Pass Lodge for the night. Return the same way.
- One night adventure without a bike – Start at Maligne Lake and set up camp at Snowbowl and hike to Big Shovel Pass before returning. This offers a good taste of the first half of the trail
Navigation, safety and other essential information
Prepare to have very limited phone signal along the trail. Tell someone where you are going and when you plan to be off the trail again. We carried a satellite Inreach device for emergencies.
Stay on the trail and look for signage. The Skyline Trail is popular and well established, so route-finding is generally straightforward. We used Organic Maps to double check distances and elevation.
The Notch is the one difficult section and is harder to follow in places, but the challenging part is very short (less than 200m)
Though exceptionally popular, hiking the Skyline Trail can feel quiet at times. Since most hikers travel northbound, you may only meet a few people heading in your direction. Having said that, you’re unlikely to be completely alone.
Weather can change quickly in the mountains. Snow and cold temperatures are possible even in summer. Be prepared for all conditions, with plenty of layers. Campfires are not allowed along the trail.
Be sure to store food properly. Use the provided metal caches to store all your smelly items (food, toiletries, trash) overnight and when not in use.
Keep a clean camp and Leave No Trace while hiking. After eating, make sure you haven’t left any food or wrappers around.
Make noise while hiking. This alerts wildlife to your presence and gives them a chance to avoid you. As a general rule, animals don’t want to be close to humans.
Give wildlife space. If you do see any animals, keep your distance – ideally 100m or more. This offers them an escape route.
Skyline Trail difficulty
I would rate the Skyline Trail as a moderate hike, due to the low amount of overall elevation gain (when hiking northbound), the slow and steady ascents/descents and the very small amount of technical terrain.
The latter is the Notch, a steep, high elevation pass that can hold snow until mid/late July. The majority of Skyline hikers travel northbound to enjoy a lower amount of elevation gain (1400m vs. 2000m) and to avoid traversing down the Notch. Late July to September is the best time to go.
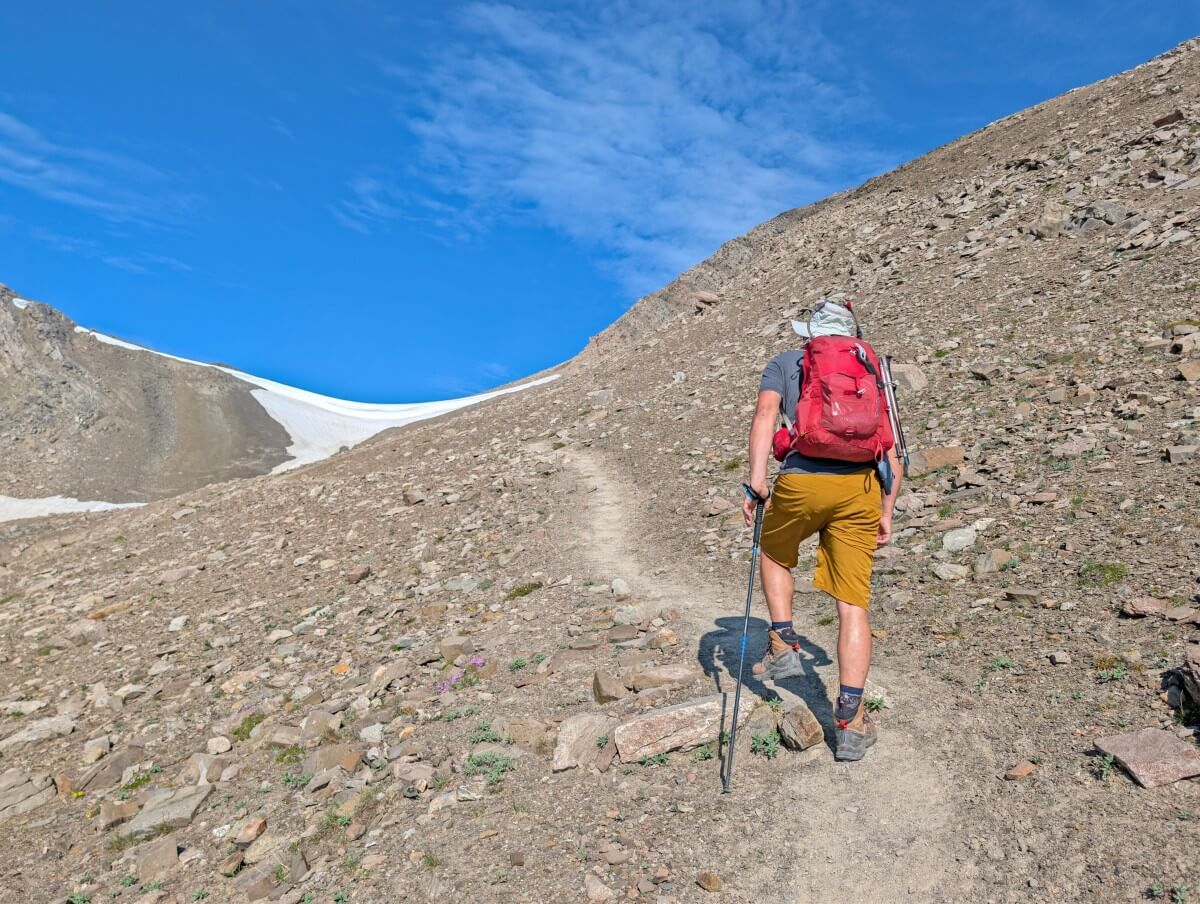
The majority of the trail features a dirt path, sometimes with small or large rocks as well as roots. Some areas of the trail can be muddy, especially after rain and during the early hiking season.
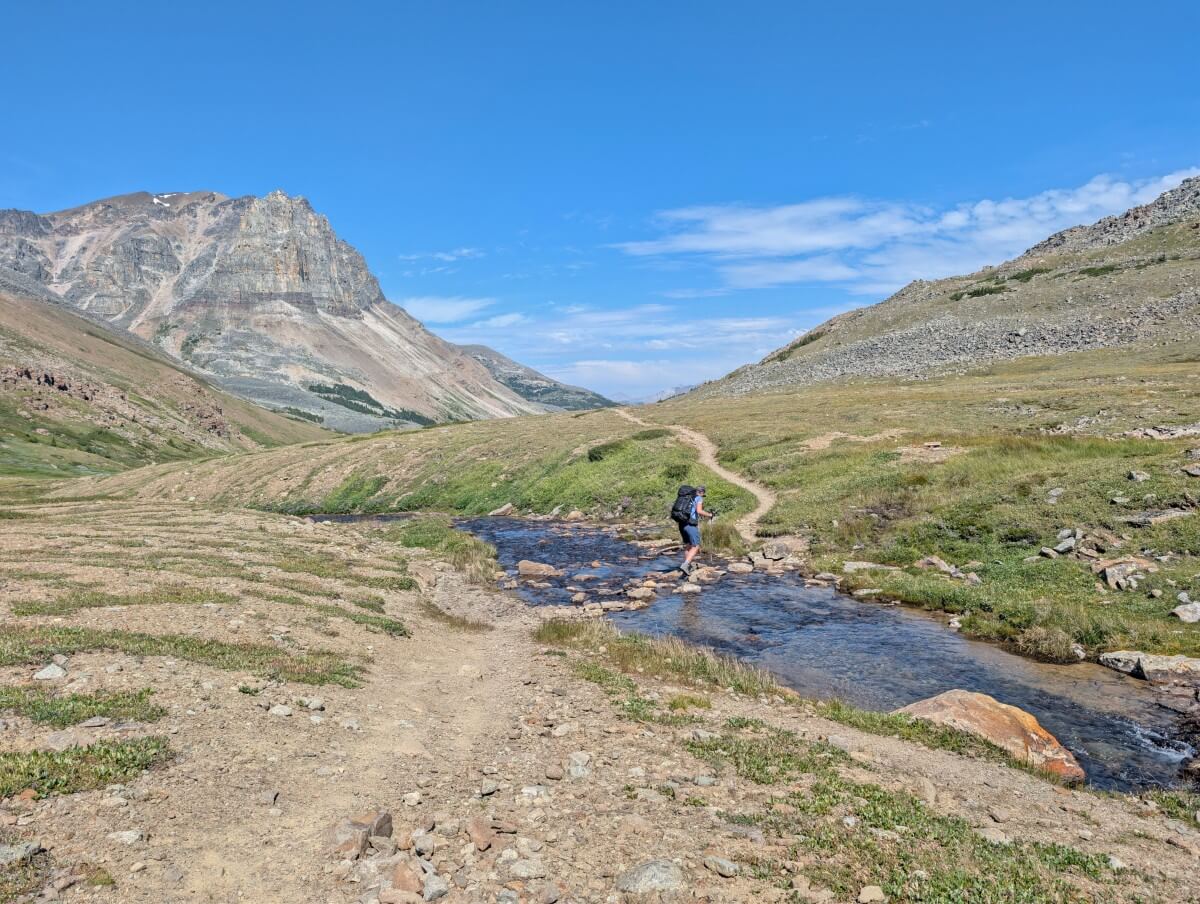
There are over half a dozen creek crossings, with the largest being on the north side of Tekarra Campground. In early August, we were able to rock-hop across all of the creeks without getting our feet wet.
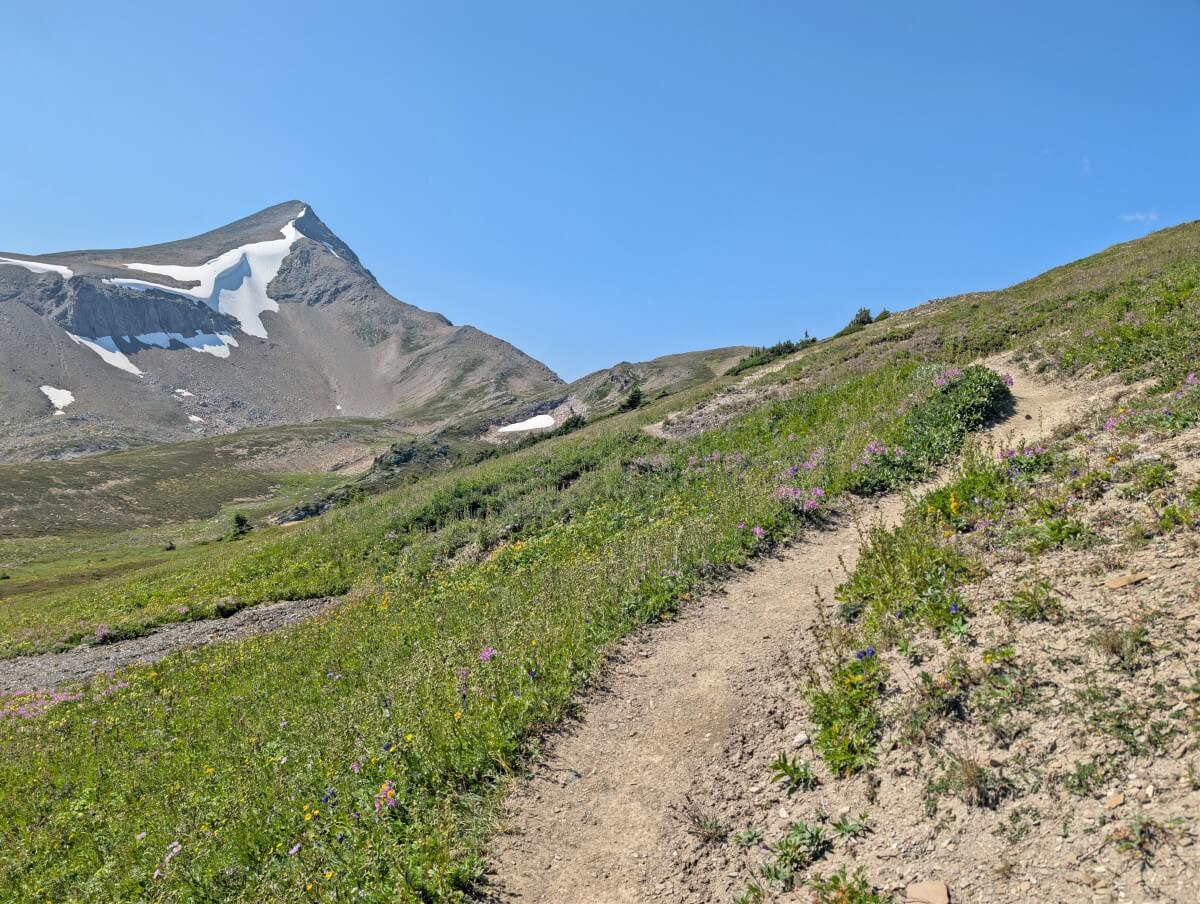
One factor that can make the Skyline considerably more challenging is the weather. Around half of the trail is above treeline, meaning that rain or snow can make the exposed sections more difficult to navigate and significantly less enjoyable to hike. On sunny days, it can also get really hot.
Ascending the Notch in poor visibility is dangerous as a fall could result in serious injury. It is not uncommon for hikers to avoid the Notch in bad weather (or if it is still holding too much snow) and return to the same trailhead they started from.
The Wabasso Trail near Curator can also be used as an escape route – it finishes on the Icefields Parkway, where there is phone signal (call a Jasper taxi for pick-up).
Recommended items to bring
The lighter your backpack, the easier and likely more enjoyable your Skyline Trail experience will be. That said, it’s all about balance, as you still need to carry everything necessary to stay self-sufficient and comfortable while on the trail.
In addition to your regular backpacking gear, here are some items that I would specifically recommend to bring on the Skyline:
- Campground permit – Bring a printed copy of your campground reservation
- Toilet paper – There is none provided anywhere on the Skyline
- Satellite communication device – There is zero phone signal in this region. For emergency purposes, we carried an InReach device. Some newer smartphones have satellite messaging
- Bear spray – This is bear country (both grizzly and black). Bear spray is helpful to have as a last resort in the unlikely event you need it. Carry the canister in an accessible place and know how to use it
- Bug repellent – We found the Skyline campgrounds to be pretty buggy as well as some of the trail sections (Little Shovel Pass, for example).
Where to stay before and after the Skyline Trail
Jasper has a choice of hotels, inns, B&Bs and campgrounds. Keep in mind that the 2024 wildfire reduced Jasper’s accommodation inventory by around 20%, so booking early is especially important. Two new hotels are currently under construction.
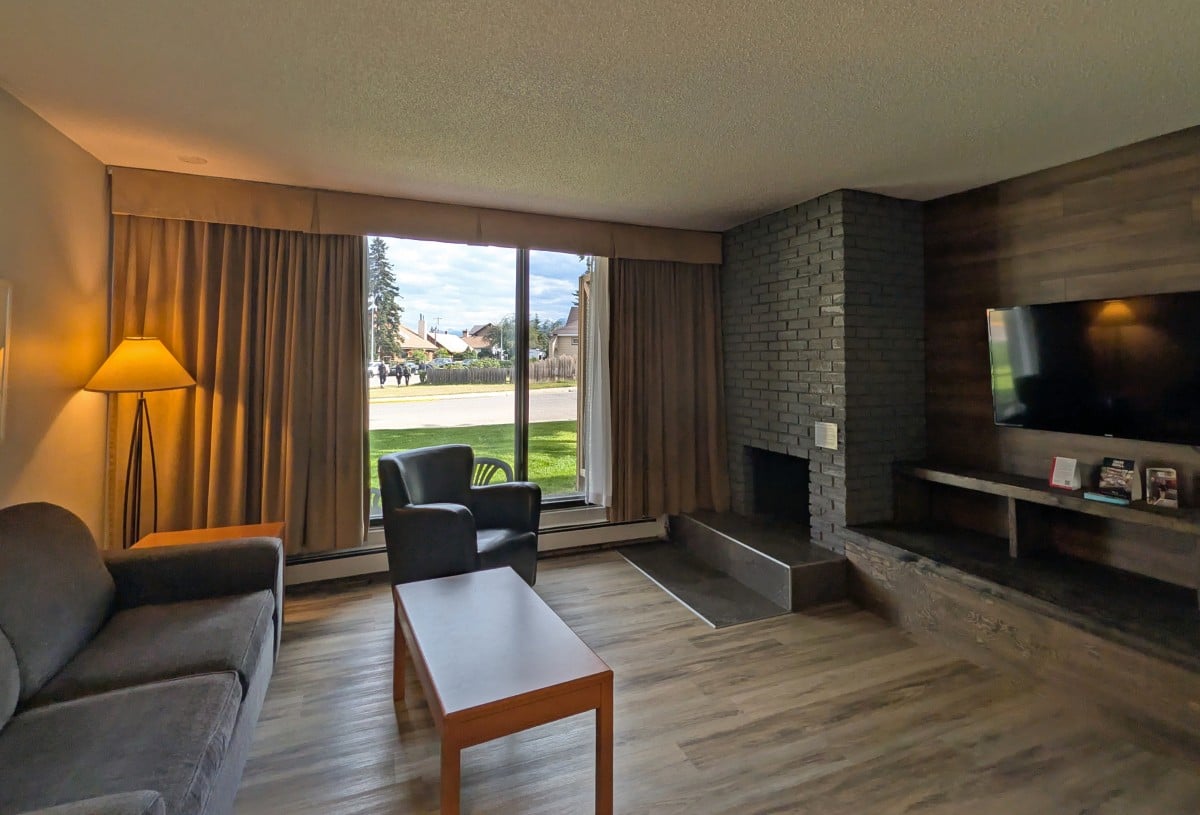
During this visit, we stayed at Jasper Inn & Suites before hiking the Skyline. We liked the motel style set-up as being able to park right by our room was helpful when packing.
Our suite had a separate bedroom and full kitchen, making it a good option for two couples looking to save on accommodation and meals. The property is a 15 minute walk from downtown.
After the Skyline, we overnighted at the Crimson. This centrally located hotel has a modern feel, comfortable beds and everything we needed before driving home.
Downstairs, you’ll find Terra, a beautiful restaurant focused on locally farmed and foraged ingredients. I particularly loved how vegetable-forward the menu was. The main downside is the parking, as the hotel has limited spaces and we had to use street parking.

For camping, Whistlers Campground is always our go to (15 minutes drive from the Signal trailhead). It’s huge and has spacious shower buildings. I also really like that it has areas without firepits – a good money saver and nice when you want to avoid that smoky campfire smell.
Reservations for frontcountry camping in Jasper usually open in late January. If its raining, however, there is a good chance you can score a last minute site (as we last did in 2025).
Related posts you may find helpful
The Best Things to Do in Jasper National Park, Alberta
Baker Lake and the Skoki Loop Hiking Guide, Banff National Park
The Best Things to Do in Kootenay National Park, BC
The Hermit Trail, Glacier National Park: Complete Hiking Guide
The Best Things to Do in Yoho National Park, BC
Lake O’Hara Alpine Circuit Hiking Guide
Check out these recently published posts:

One half of the Canadian/British couple behind Off Track Travel, Gemma is happiest when hiking on the trail or planning the next big travel adventure. JR and Gemma are currently based in the beautiful Okanagan Valley, British Columbia, Canada. Consider buying us a coffee if you have find any of our guides helpful!