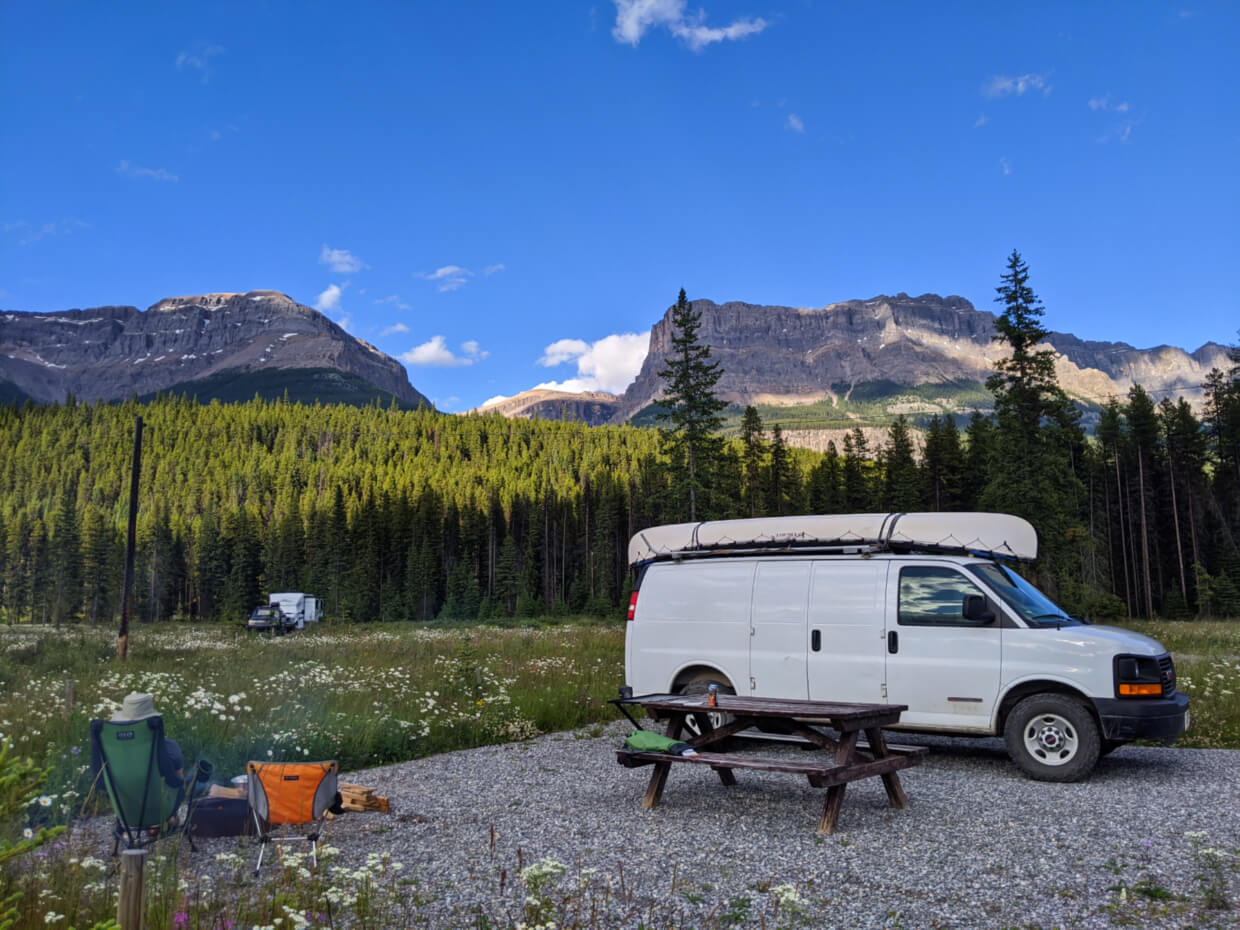
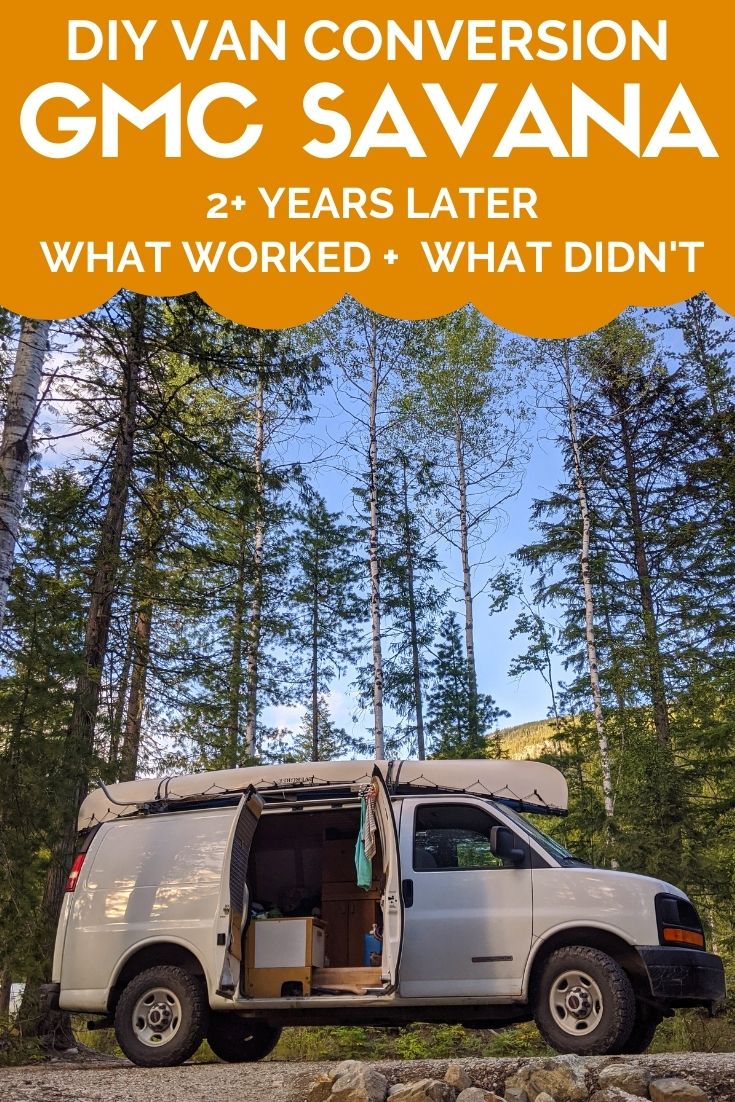
Time for a van update! We converted our GMC Savana van back in April/May 2018 and have since driven over 50,000 kilometers across Canada, living in it full time for over fourteen months (2 x 7 months).
In this post, I’m going to talk you through which aspects of our van conversion worked (and those we love!) as well as the ones we have since had to change and even remove.
This post includes affiliate links. If you make a purchase through one of these links, I may receive a percentage of the sale at no extra cost to you.
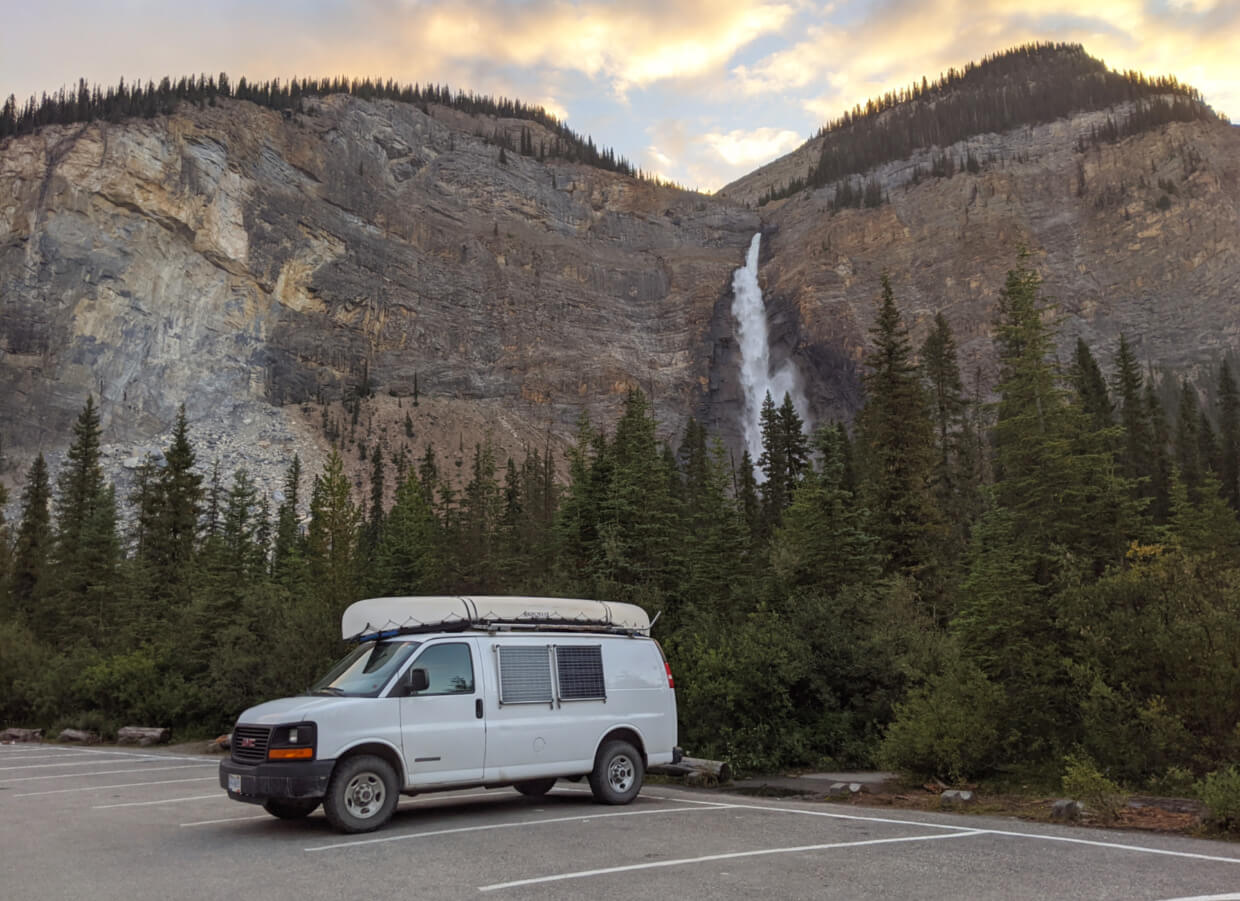
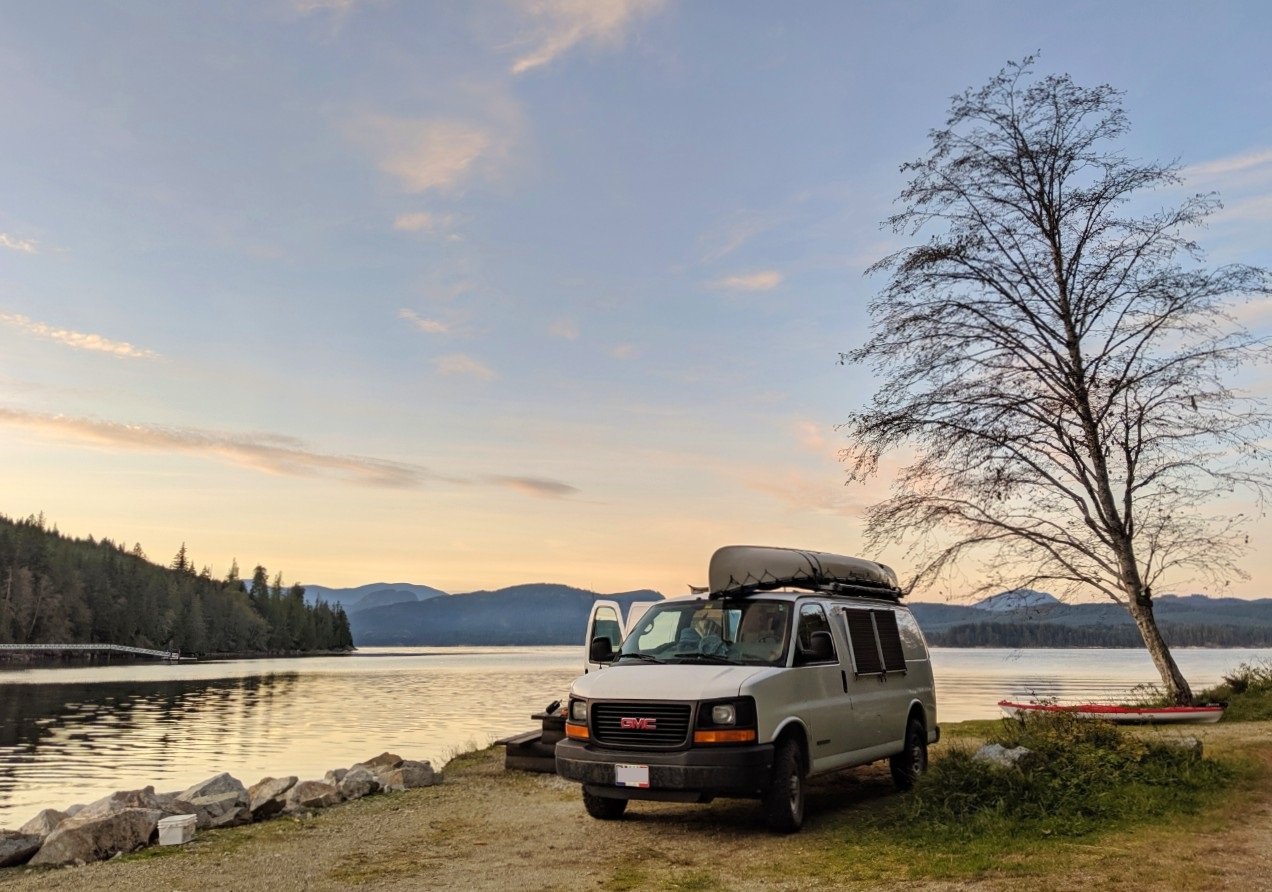
Our GMC Savana Van
For reference, we have a 2005 GMC Savana 2500. We believe it is the most basic model of its kind since the windows are manual and there is no air conditioning.
Besides not having the latter (we now live in a very hot area of Canada and air con would be wonderful to have), we are still very happy with our choice of vehicle.
- When we first purchased the van in June 2017, it had just 78,000 kilometres on the clock. It now has around 150k. It still runs very well (touch wood)
- Besides regular maintenance (oil, brake, transmission fluid changes), we’ve spent very little on repairs
- The most expensive fix was an incident with the exhaust recirculation (EGR), which we had to fix quickly to pass a provincial inspection after moving back to British Columbia
In terms of choice of van style, the Savana is still a winner for our lifestyle.
For example, we love being able to fit into regular parking spaces and not having to pay extra length surcharges on ferries.
Travelling with two kayaks and a canoe on the top of our roof, we prioritised being able to get our boats down easily. If we had a higher vehicle (such as a Sprinter), that would require a lot more effort. The other factor is overall height – the kayaks on top already make us tall enough!
Converting our van
If you’d like to see the step-by-step process of our van conversion, check out the links below.
The first four updates chronicle the original purchase, our first basic conversion and then our drive across Canada in winter. Updates 5 and 6 detail the final conversion.
Building a temporary bed: Update 2
Crossing Canada in Winter: Update 4
Starting the real conversion: Update 5
An almost finished van: Update 6
Final conversion tour with cost breakdown
If you enjoy this post or find it helpful, watch this space for more van content in the near future!

GMC Savana Van conversion: What worked
Let’s start with the positives, the features of our van conversion that worked and we love. Luckily, there are many!
Layout
We agonised over the layout of the van for some time before even starting our conversion. I’m glad we did because I wouldn’t change a thing. Here’s why:
- Bed is always made up and ready to use. This allows us to pull up somewhere late at night and be in bed within 5 minutes
- Counter by the side door is incredibly versatile for cooking and sitting (more info below)
- Most of the underbed storage contains gear we do not use as often (backpacking, paddling gear, snowboards etc.), reserving the easier access storage for everyday items
- Multiple seats allow for flexibility (useful for visitors too!)
- Shelf above bed is so convenient for small well-used items (Kindle, wash bag, medication etc.)
Aesthetics
To this day, I am so pleased with the interior look of our van. It is surprisingly light, bright and clean looking, but still with a cosy feel. It came out a lot better than I ever imagined.
One aesthetic aspect we really wanted to avoid with our Savana van conversion was the ‘sauna look.’ I find wood heavy van designs to be quite oppressive. This was especially a concern for us since our Savana van does not have any windows in the back.
The cushion covers, with a world map print, are definitely one of my favourite features of our Savana van conversion. It was something of a last minute decision and really worked out!
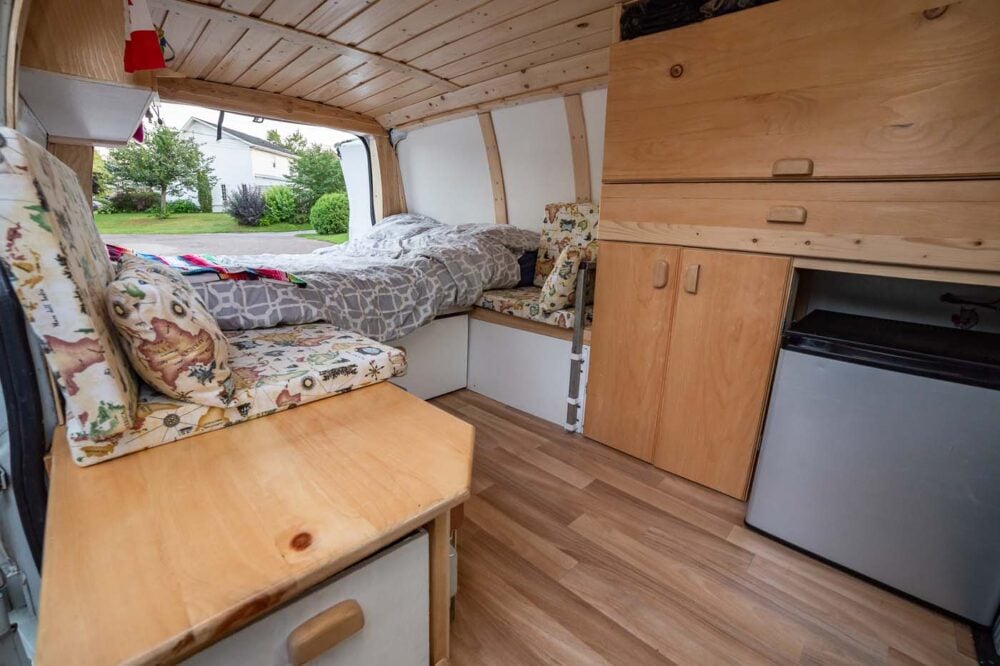
Kitchen counter
Our kitchen corner is the closest thing to a centerpiece in our van. It’s the perfect height to cook or prep food on while sat inside the van or standing outside. We also use it as a seat, when the side door is open or closed.
Being able to cook inside the van is a revelation and enables us to be much more autonomous. It also makes things so much easier on rainy and windy days.
Not only is it versatile, but the countertop is pretty attractive too. Made from pine (a soft wood), we’ll have to replace it at some point, however. In hindsight, we should have used epoxy on it first and this would have helped to protect the wood.
Storage
This van was designed with storage in mind. JR and I like to backpack, day hike, climb, paddle, and snowboard so we have a huge amount of gear in addition to clothing, cooking equipment and other personal items. We also have a full sized banjo, ukulele and violin.
Needless to say, it’s a lot of stuff!
Our storage set-up is great for the most part –
- JR and I each have an individual storage area for our own clothes. I use the in-van underbed drawer while JR uses the cupboard opposite the side-door (sufficient for our needs)
- The three instruments have their own drawer (very secure)
- Jackets, gloves and hats live above JR’s clothing cupboard (convenient)
- Dry food is stored on three shelves in a cupboard opposite the side-door (perfectly adequate)
- Cooking equipment is found under the counter (quick access in and out of the van)
- Our cookstove and propane tank are nestled under the counter, closer to the bed (this needs fixing, see below)
- Most of our outdoor gear is stored under the bed and is accessible from the back of the van (so awesome!)
On the latter point, I love having just one area for our outdoor gear (backpacks, tent, sleeping mats, camp chairs, snowboards, fishing equipment and more). Not only does this help keep the rest of the van cleaner and tidier but it means we can find what we need a lot easier too!
After a backcountry trip, it is SO satisfying to open the back doors of the van and put everything back in its place. We can then enter the main part of the van without gear all over the place.

Wooden ceiling
Waking up in the van to see JR’s perfectly crafted wooden ceiling is amazing. He put so much time and effort into building this feature and it really paid off.
The ceiling has two levels of wooden slats, with the narrower (and thinner) part simply resting on top of the wider slats. As JR hoped, we haven’t had any issues with the wood swelling. It looks almost as good as when JR finished it back in 2018.
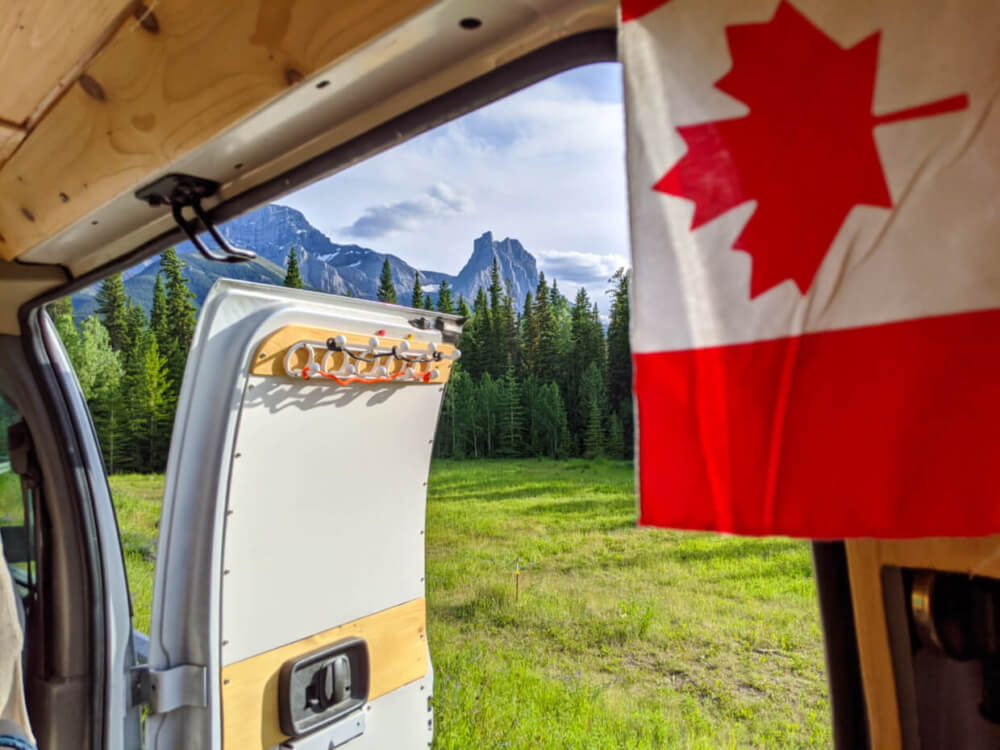
On a side note, the wood is from his father’s land in New Brunswick so it’s lovely to have a bit of the East Coast with us wherever we are!

Side panels
To avoid the ‘sauna look’ in our van, we used thin plywood panels on the walls, painted white to reflect light and brighten up the space I painted each panel with one coast of primer and then two to three coats of semi-gloss paint. This means they can be wiped clean easily if needed.
I may give the panels something of a touch up this autumn with a new lick of paint but even if I didn’t, they still hold up well.
Solar system
We LOVE having a built-in solar system. Primarily used to power our small electronics (phones, Kindle etc) and string LED lighting, having a solar system has really upgraded our van lifestyle. We also charge our laptops occasionally and previously ran a fridge on it.
Believe it or not, our solar system has worked perfectly ever since we set it up in May 2018.
Our system uses two 75 Watt solar panels and a deep cycle marine battery. The panels are mounted on the left hand (driver’s side) side of the van. JR did put them on pivots but we’ve never had to use them – it always charges enough anyway.
With the panels being so visible, we get asked about our solar system A LOT. It’s a great conversation starter. I like to think we’ve encouraged at least a couple of people to go solar over the years!
The other aspect I love about the solar system is always having a back-up battery in the van.
Insulation
JR insulated all the van walls with 1″ extruded foam and filled almost every cavity with insulating spray foam. This makes vanlife comfortable down to around 5/6c. Lower than that and condensation is a bigger issue. This is one of the reasons we avoid camping in low temperatures (fine with me!)
The black curtain hung up behind the front seats helps to prevent cold temperatures coming directly to the back of the van. It probably increases the temperature by 1 degree Celsius.
Lino flooring
So easy to clean, the lino flooring of our van is a definite win. The pattern and colour is just he style I wanted – not too dark, not too light and certainly not too ‘busy’. We got lucky and found an Lino offcut at a carpet store which fitted perfectly so it was also pretty cheap.
GMC Savana Van conversion: What didn’t work
Now for some #vanlife reality – our van conversion was definitely not perfect. There were a number of things that just didn’t work and we had to change. In addition, some aspects to our original van design are still a work in progress.
Fridge
To cut a long story short, we have recently removed the fridge from our van. It was a Koolatron AC/DC Hybrid 1.7 cubic feet fridge. For us, it had two major issues:
- Exceptionally bulky for the amount of food it can store
- It never stopped running
To expand on the latter, the fridge struggled to cool anything down. We had enough solar power to run it for 2-3 days continuously but it could never achieve the optimum temperature. Not only was the noise annoying but it just felt like such a waste of power and space. When the solar power would run out, the resulting temperature was ideal for mold growth. Yuck!
Instead, JR plans to build his own custom cool box to make better use of the space. It’ll have some kind of ice system to keep food cold.
Heating system
Though we have not spent a winter in our van, we have experienced some pretty cold temperatures. To help, we bought a propane Mr Heater.
Unfortunately, we hated it. The heater itself works great but is not useable in our small space.
After using it for a short time in the evening, we would both wake up with foggy heads and extremely dry eyes. I figure it was oxygen depletion (due to lack of ventilation, see below), but honestly we did not even bother to look into it and stopped using the heater after a couple of tries.
If we decide to use a heater again, it would be a diesel system like this. JR has seen similar systems work in other conversions of similar size with a lot of efficiency.
Ventilation
At the time of writing, our van does not have any built-in ventilation. We have a plan to add a vent in the side door but have not followed through yet.
So far, it has not been a major issue for us with the exception of a hot week or two every summer. Living in Canada and spending so much time in the mountains means that temperatures are generally cooler.
In 2019, we bought a 12V USB air fan. It came with a clip on base that we use to attach it to the shelf above our bed. This helps immensely during warmer nights. It is surprisingly quiet as well! We run this fan on an external battery (from our portable SunJack solar charger, similar here).
As a side note, I wanted to add that we always open the door (at least partially) when cooking in the van.
Insulation
Yes, insulation features in both ‘what worked’ and ‘what didn’t work’ sections of this van conversion evaluation!
As mentioned above, we used extruded foam and spray foam for insulation. Under the bed, JR decided to leave the van ribs (metal frame) exposed. This turned out to be a mistake.
After two years, we noticed some rot on some of the items left near the metal ribs. Luckily, these were items we didn’t use much but it was still annoying. Consequently, JR will be buying more spray foam and fixing this issue soon.
Besides this, we also wish there was a little more insulation underneath the Lino flooring. The Lino itself can be quite cold to the touch during the cooler months. Of course, another way to solve this is to use a rug when needed.
Propane and water storage
We use a 5lb propane tank for cooking and store it securely (as in, it has no way to move) underneath our kitchen counter. However, we’ve always had the plan to move it outside as we know this is not the safest solution. Again, it’s just something that we haven’t got around to fixing yet.
Something else that needs a permanent storage solution is our 10 liter water container. At the moment, it just moves around the living space as needed.
As with many van conversions, ours remains a work in progress. Keep your eyes peeled for another future van conversion update!


Check out these related posts next:
The Complete Guide to Finding Free Camping in Canada
Ultimate Two Week Coastal Quebec Road Trip Itinerary
Car Camping 101: A Beginner’s Guide
East Coast Canada Road Trip | 2 and 4 Week Itineraries
25+ of the Best Campgrounds on Vancouver Island, BC
Okanagan Valley Road Trip, BC: What to Do and Where to Stop
How to Go Camping in British Columbia Without a Reservation
Beyond the Beaten Path Vancouver Island Road Trips
Essential Travel Tips for a Winter Road Trip in Canada
Recently published posts:
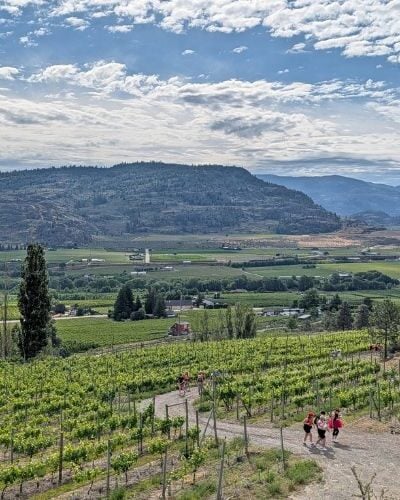


One half of the Canadian/British couple behind Off Track Travel, Gemma is happiest when hiking on the trail or planning the next big travel adventure. JR and Gemma are currently based in the beautiful Okanagan Valley, British Columbia, Canada. Consider buying us a coffee if you have find any of our guides helpful!
Thanks! I enjoyed reading your van conversion stories and especially this page.
Good luck with your future adventures!
Greg
Calgary
Thanks so much Greg – really appreciate you taking the time to comment and let me know that you enjoyed these posts! Good luck with your own conversion, if you plan to do one.