Finally, it is time to start our full DIY van conversion! A quick revision for newcomers – we purchased our GMC Savana van back in June last year. We built a temporary bed, added insulation and then drove the van across Canada at the start of winter to JR’s home province of New Brunswick.
The plan was to start afresh and convert the van as soon as it started to warm up. Let’s see how that went….
There are affiliate links in this post. If you make a qualifying purchase through one of these links, I may receive a small commission at no extra cost to you.
Delayed by winter
New Brunswick suffered a particularly cold and prolonged winter this year. It’s too bad it just happened to be the winter we spent here but life is unpredictable.
In an ideal world, we would have started the van conversion in March. As it was, our start date was actually April 18th.
The reason is simple. We were waiting for the temperatures to reach at least 5c. The end of March came and went (and so did the blizzards) with temperatures in the minus figures.
Mid-April arrived and the time to say “c’est la vie.” Time was of the essence since we were leaving May 1st for a two-week long trip to Quebec.
Consequently, everything you see in this post was done in less than 12 days. The bulk of the work was completed by JR with some invaluable help from his dad and, very occasionally, me.

Designing our DIY GMC Savana conversion
The long winter was good for one thing though. We planned a lot. By the time mid-April came around, we had revised the design about a dozen times.
Initially, the plan was to stay with the natural wood look as much as possible. After realising that this may prove too dark with the lack of rear windows, our final design features mostly white and light wood.
The layout has also changed from our original plan. I’ll talk about that more in our next update though as it will be more relevant then.
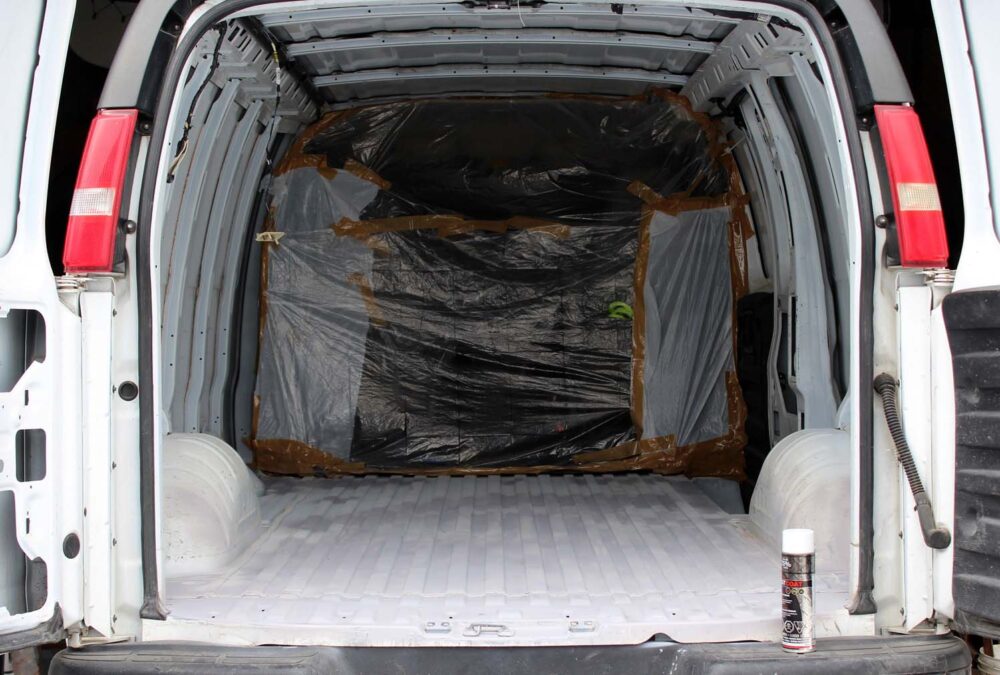
Starting the van conversion: Rustproofing and painting
The first real step was to completely empty the van, including the temporary bed we built a few months ago. Next, we needed to rustproof and paint the floor.
This was one of the reasons we had been holding off from warmer weather. Painting in cold weather is not just uncomfortable but also hard to dry.
Insulating the walls and ceiling of our GMC Savana conversion
After much debate, JR came to the conclusion that foam boards (R value of 3.3) and spray foam were the way to go for wall and ceiling insulation. This is where the weather conditions became an issue. As it turns out, spray foam doesn’t expand properly in cold temperatures.

After much trial and error (plus plenty of frustration and props to hold the panels in place) we got there.
JR decided not to insulate the floor to avoid moisture issues (heat rises after all). Having no insulation in the flooring will hopefully leave enough space for airflow.

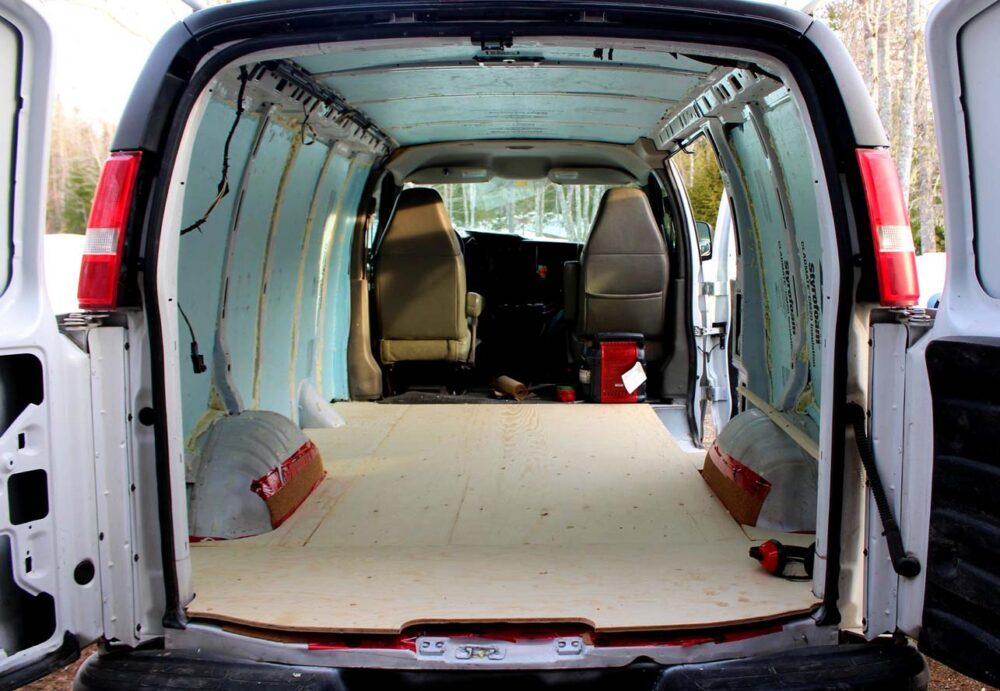
Cork, plywood and vinyl flooring
Another topic of a major discussion was the van’s flooring. In the end, we opted for a cork underlay, plywood in the middle and then vinyl on the top. This was our reasoning:
- Cork – lightweight, cheap, high resistance to water, compressible
- Plywood (half inch) – strong, durable, provides a good base for future framing requirements
- Vinyl – easy to clean, soft feel underfoot, warmer in the cold than other options

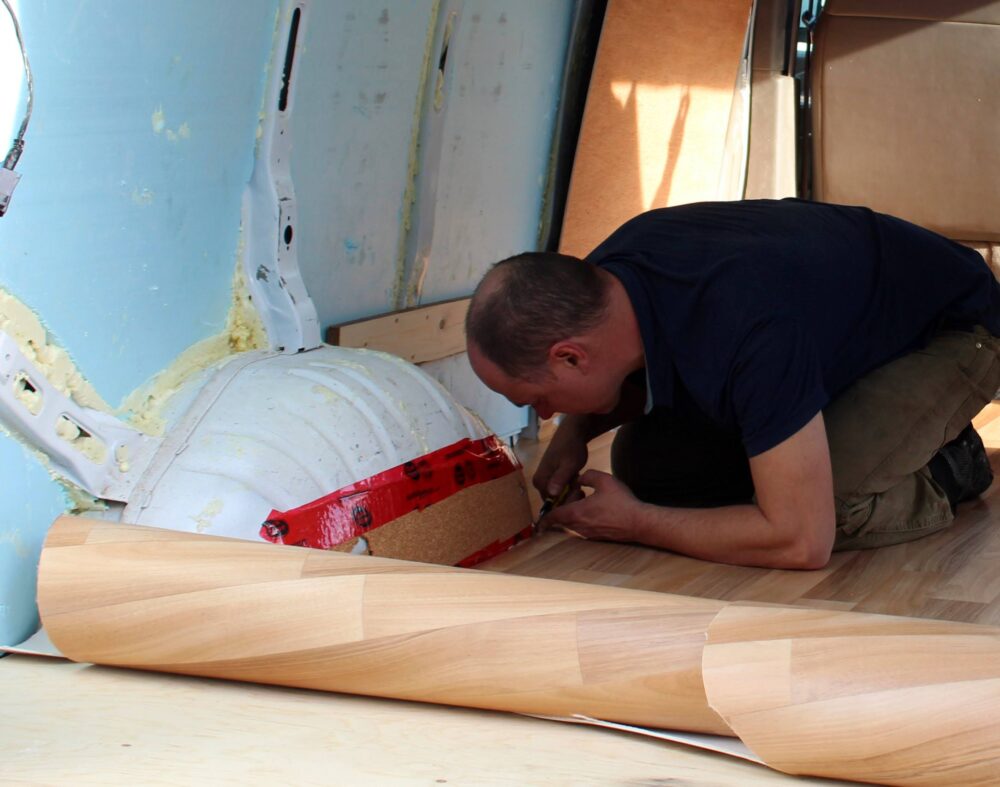
The cork was purchased in rolls from Dollarama (8 rolls x $2, similar available here) and affixed with sheathing tape.
We found the plywood boards in JR’s dad’s workshop (free). The vinyl was an odd-shaped offcut from a local flooring store. For this reason, it is actually two separate pieces.
Welding the bed frame
The bed frame would have been wooden if JR’s dad hadn’t recently taken up welding.
However, since he did, the bed frame is welded metal which is lighter and probably stronger than a wooden version. It is physically fixed to the walls of the van.

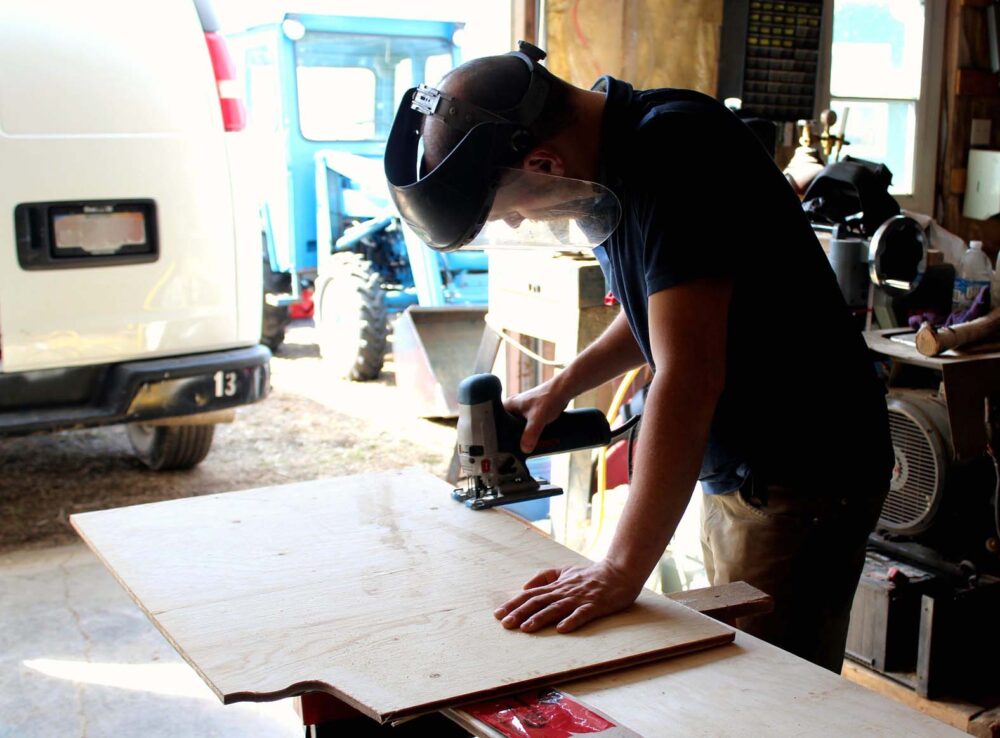
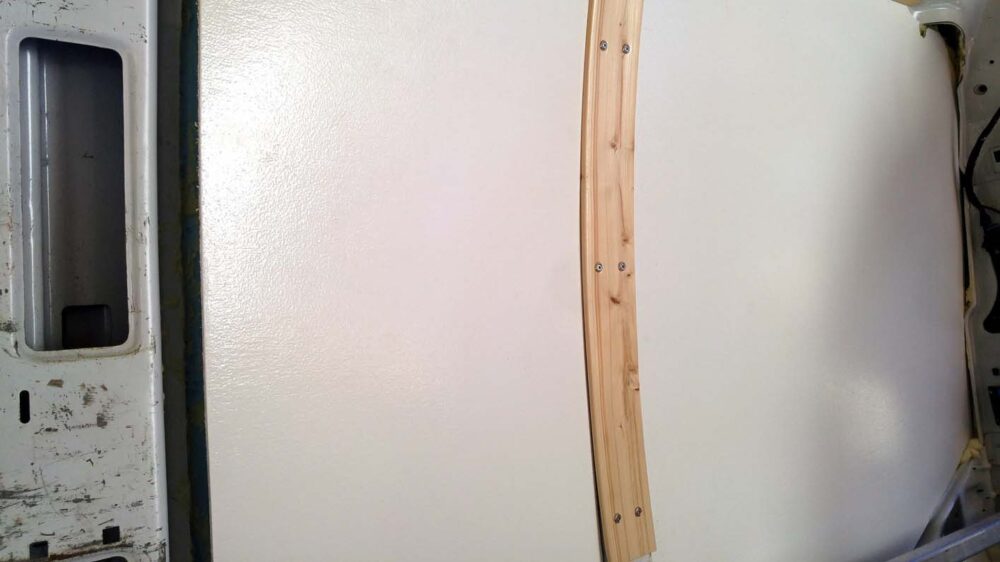
Wall panels
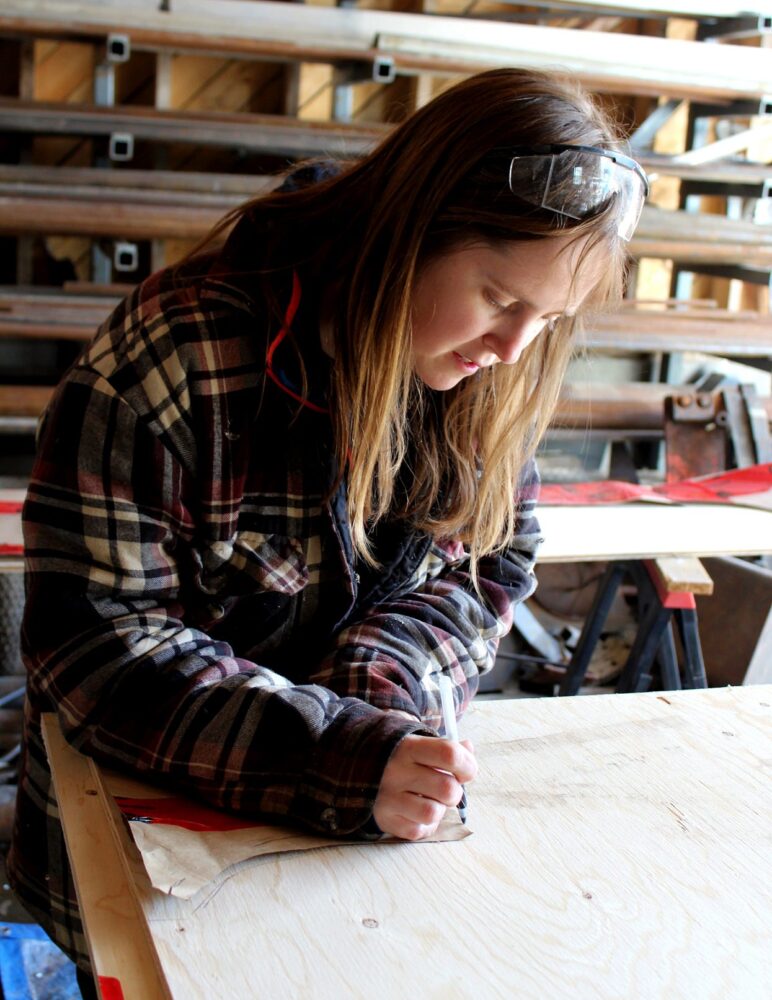
The installation of the wall panels was the biggest aesthetic change to the van so far. After helping JR measure and cut the luan plywood panels, I added two coats of white primer and three coats of semi-gloss for a shinier finish.
The gloss should also make them easier to keep clean. JR and his dad then fitted them into the van with varnished wooden ‘ribs’ to finish.

A work in progress
Around 12 hours after the final wall panel was screwed in, we left for Quebec City. The van conversion certainly wasn’t finished but it would be usable for our two-week trip.
Obviously, the wish was to be further along with the build but considering the weather and time constraints, JR did exceptionally well.
Arriving back to New Brunswick in the middle of May, there were another two weeks left of building time before we needed to hit the road for the summer. Building work left includes:
- Underbed storage
- Cabinet and seat on driver’s side
- Kitchen counter by side door
- Ceiling panels
As I’ve discovered, as much as two weeks sounds like a long time, it is amazing how long even small tasks take on a conversion such as this.
Writing and publishing this with just a few days of the van build left, I’ll give you a spoiler: things are looking good!

Challenges and performance
I may sound like a broken record at this point, but the biggest challenge of this build has been, by far, the cold weather.
Thankfully, we did have some warm days near the end of the month. With these, JR wouldn’t have been able to put in the 10 hour days that he did. And the paint on the wall panels would probably still be wet!
As mentioned above, the van was certainly livable for during two weeks of travel in Quebec. In truth though, we only slept in it three times!
This worked out for the best though as the paint fumes were still pretty fresh. Without any built-in storage, it was also a pain to keep things tidy.
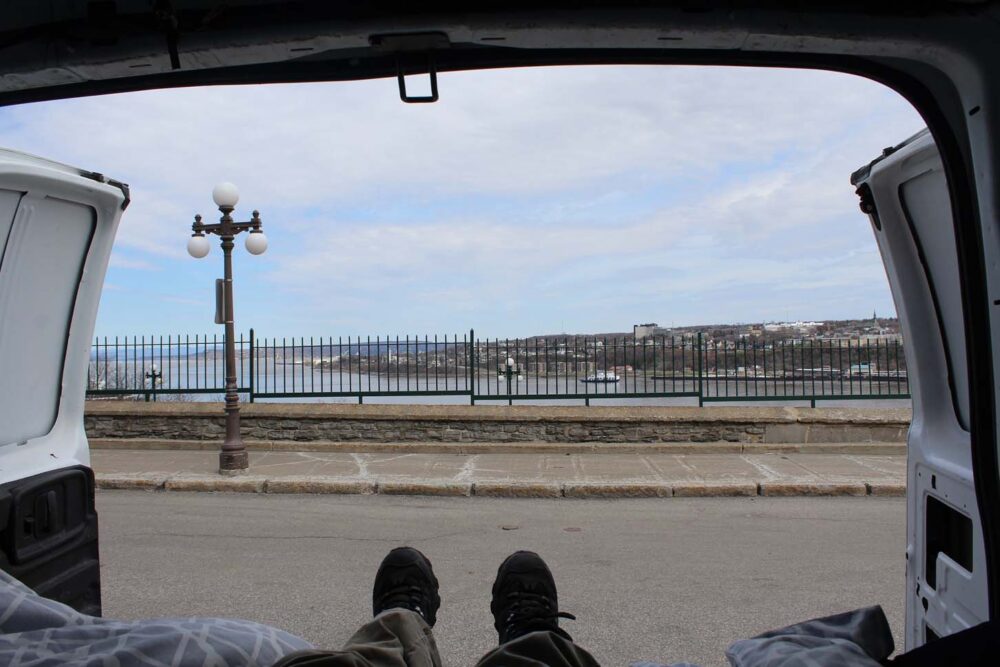
While in Quebec City, the van was lucky enough to have what must be the best parking space in the Old Town (view below), only a 200m walk from the famed Chateau Frontenac.
Read other construction updates
Would you try van life?

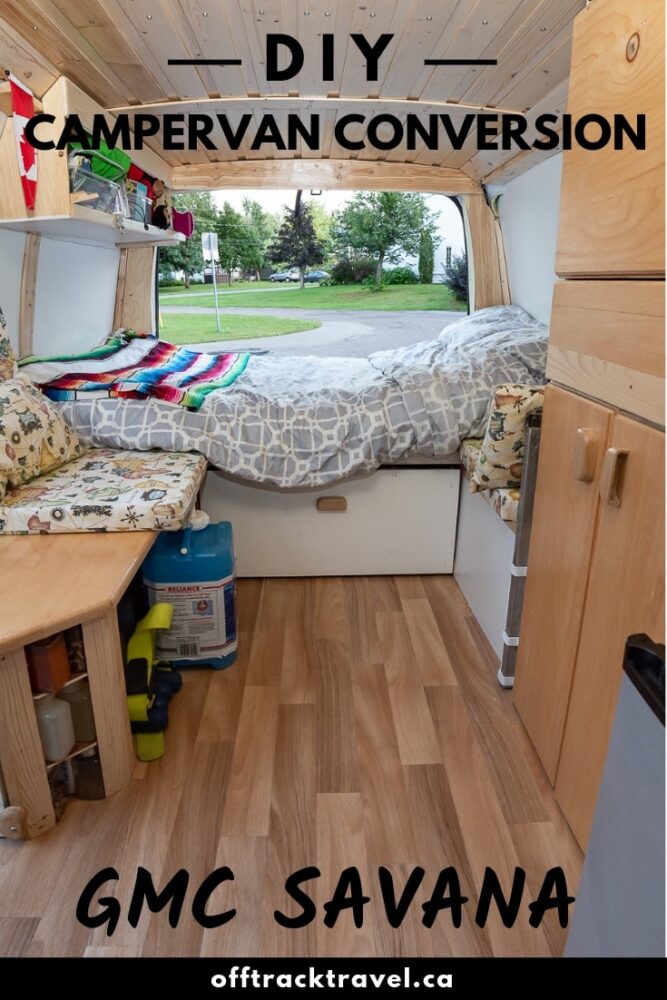
If you’ve found this post helpful, PIN or save it for future reference with the above image!


One half of the Canadian/British couple behind Off Track Travel, Gemma is happiest when hiking on the trail or planning the next big travel adventure. JR and Gemma are currently based in the beautiful Okanagan Valley, British Columbia, Canada. Consider buying us a coffee if you have find any of our guides helpful!
What are you doing with the floors/insulation in the cockpit area of the van? I am starting down the conversion process and can’t seem to find much info about what people do for this area.
For our conversion, we’re actually doing very little. I’ll have a new conversion post up within the next couple of weeks so be sure to look out for that!
How did you fix the plywood to the van floor.
Thanks
Jean
Hi Jean,
The plywood is not actually fixed to the floor. It is just simply laid down. There’s enough weight on top of it now to keep it in place.
What is the length of land width of the van behind the driver seat to the back of the va ?
It’s about 120 inches 🙂
What thickness plywood did you use for your walls?
Hi Lexie,
It’s 1/4 inch plywood.