Long time, no van update! The truth is, when summer comes around we spend the whole time either working or camping.
As it’s now autumn and we’re shortly moving up a mountain for the next ski season, Jean Robert has been getting down to work in preparing the van for our Western Canada road trip.
Read on for the latest improvements to our Astro Van camper conversion. Published 2013.
Building a cabinet
The main improvement since you last saw the van is the cabinet, built between the bed and the driver’s seat. The cabinet is an important feature to us as it drove us (well, me at least) nuts always having to search for clothes and other stuff underneath the bed in our last conversion.
It also provides a solid worksurface, either for preparing food inside on bad weather days or storing items when stopping in one place for a while.


The height of the cabinet was limited by the window, as the open/close fixings are right at the bottom. As we only have two opening windows at the back, we wanted to keep this functioning.
The shape of the cabinet is not a standard rectangle as Jean Robert didn’t want to feel claustrophobic when he was sleeping (the red cushion is where his head will be). Having the small shelf next to the bed will be super helpful to store things like a torch, alarm clock, cell phone etc.
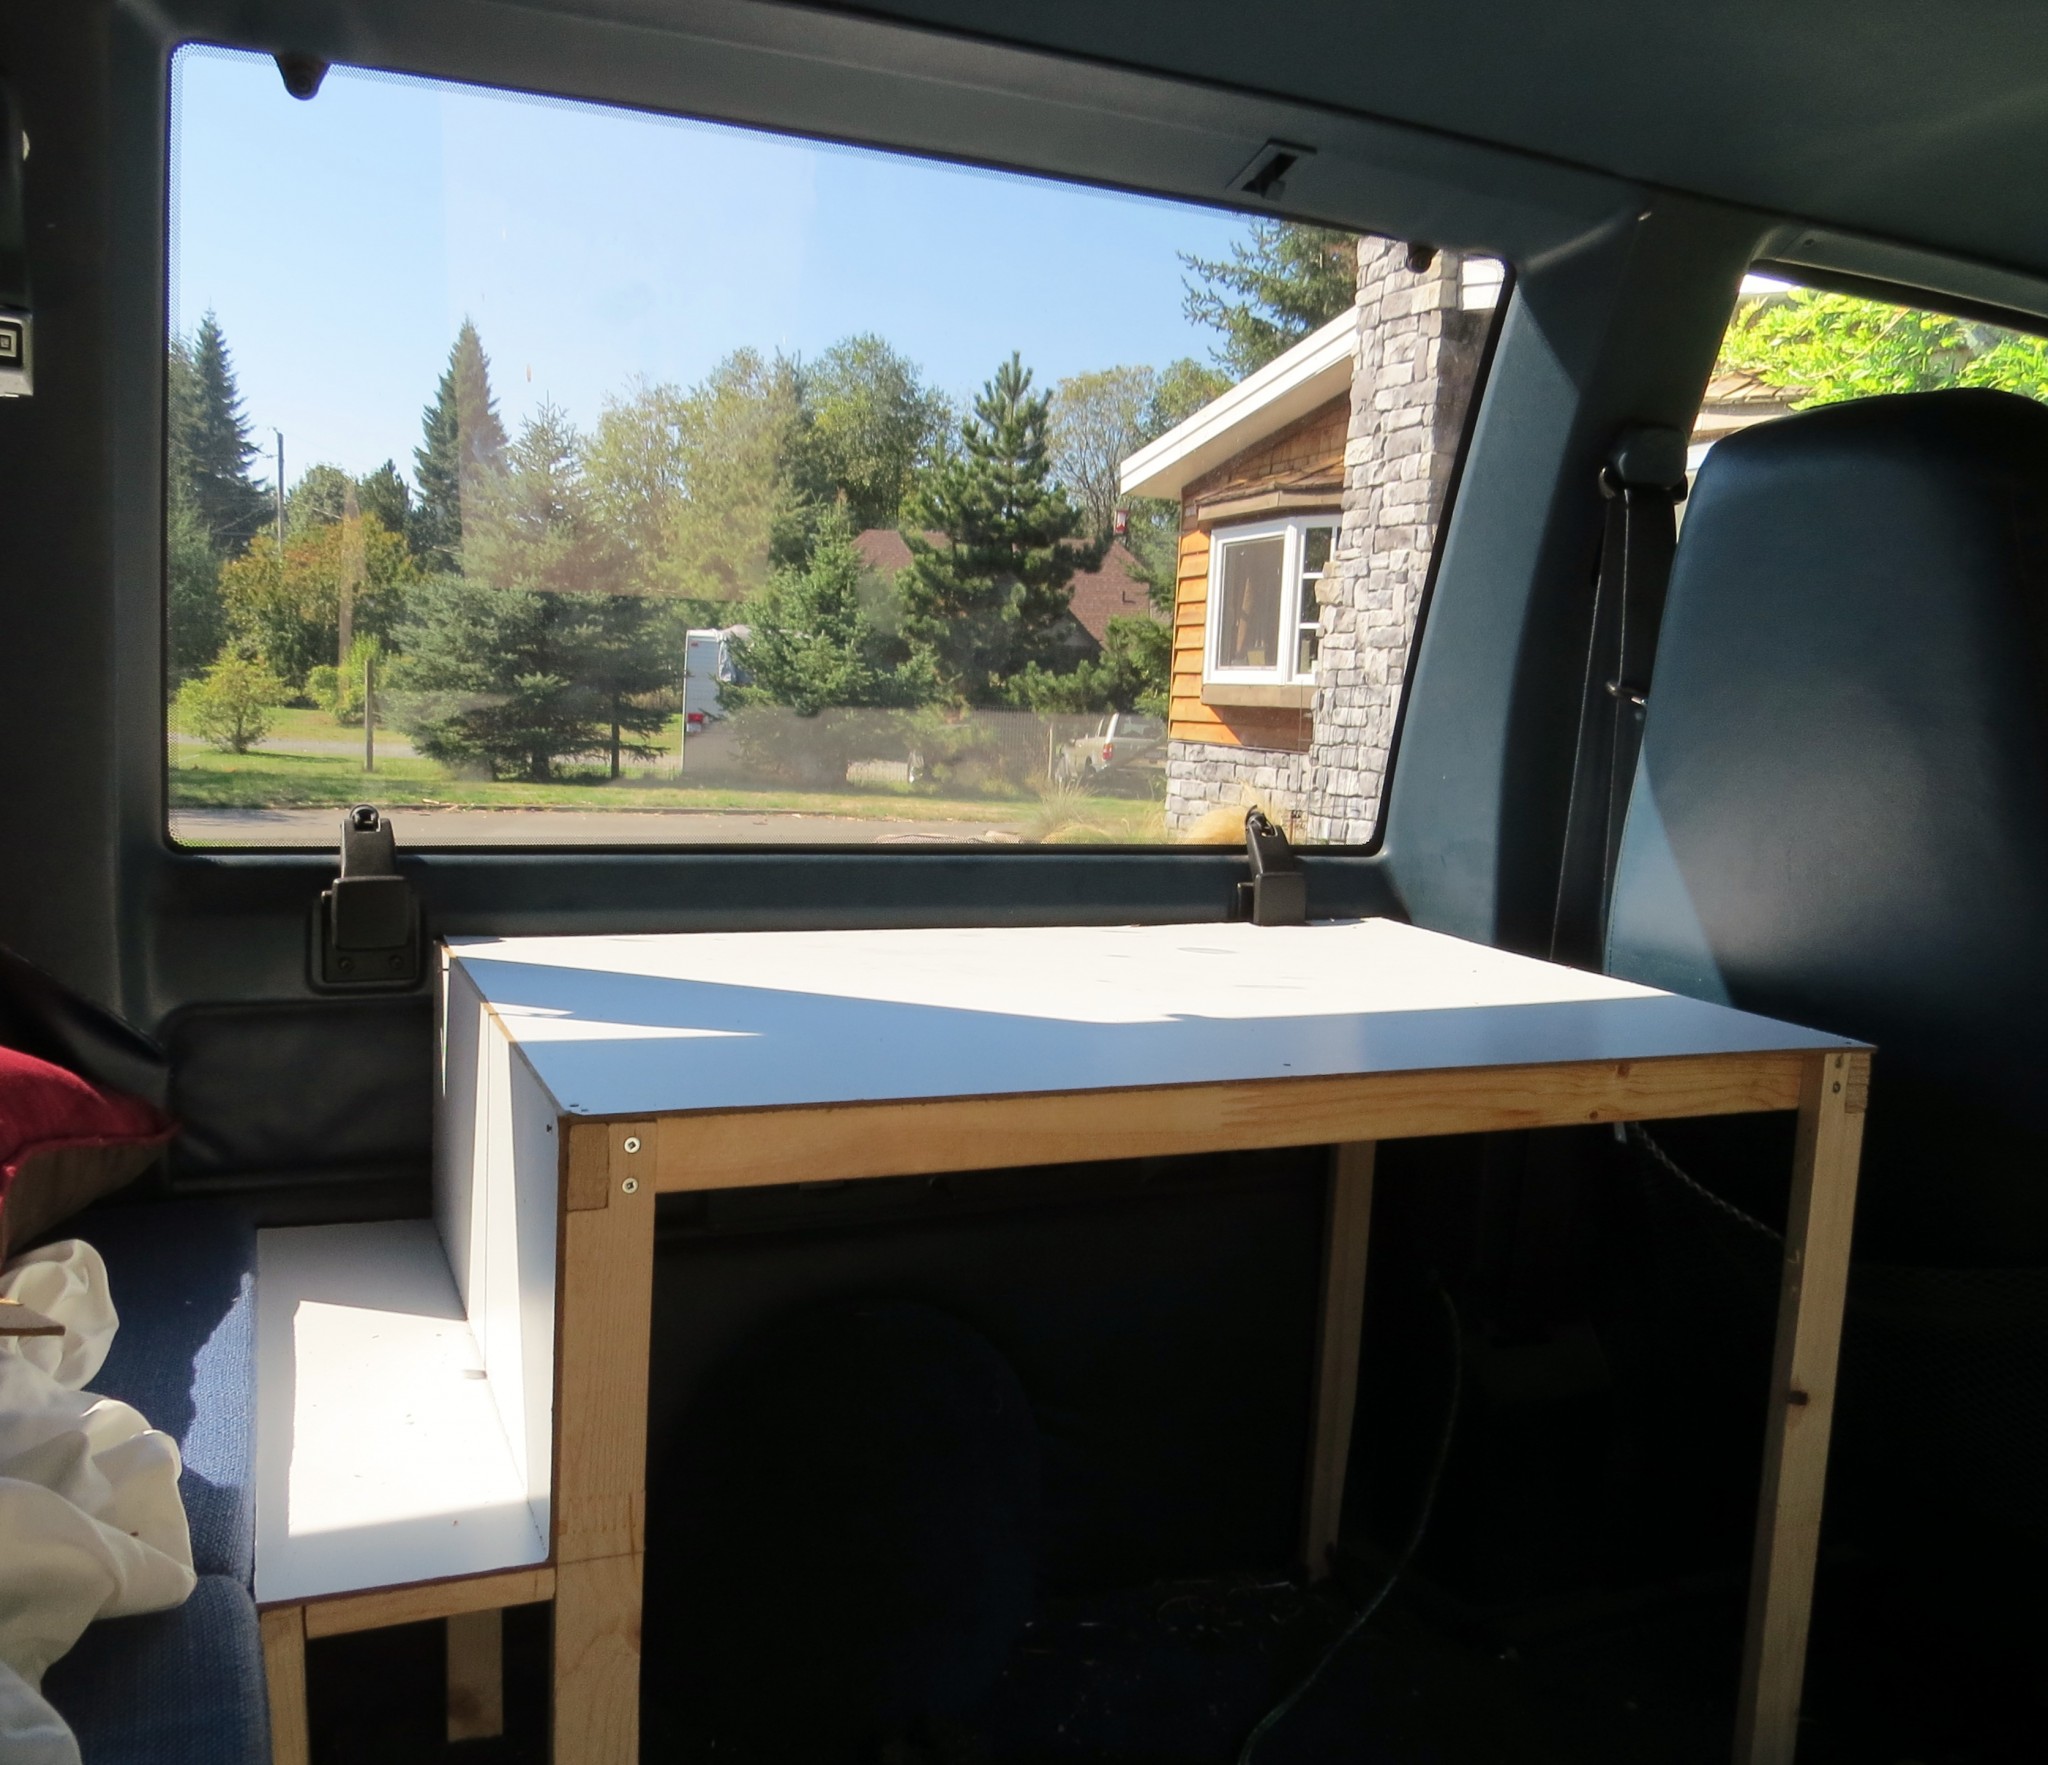

The table top and shelf are simple hardboard; we didn’t really need anything fancy for this. Jean Robert chose to not put flooring on the cabinet to make the most use of the space.
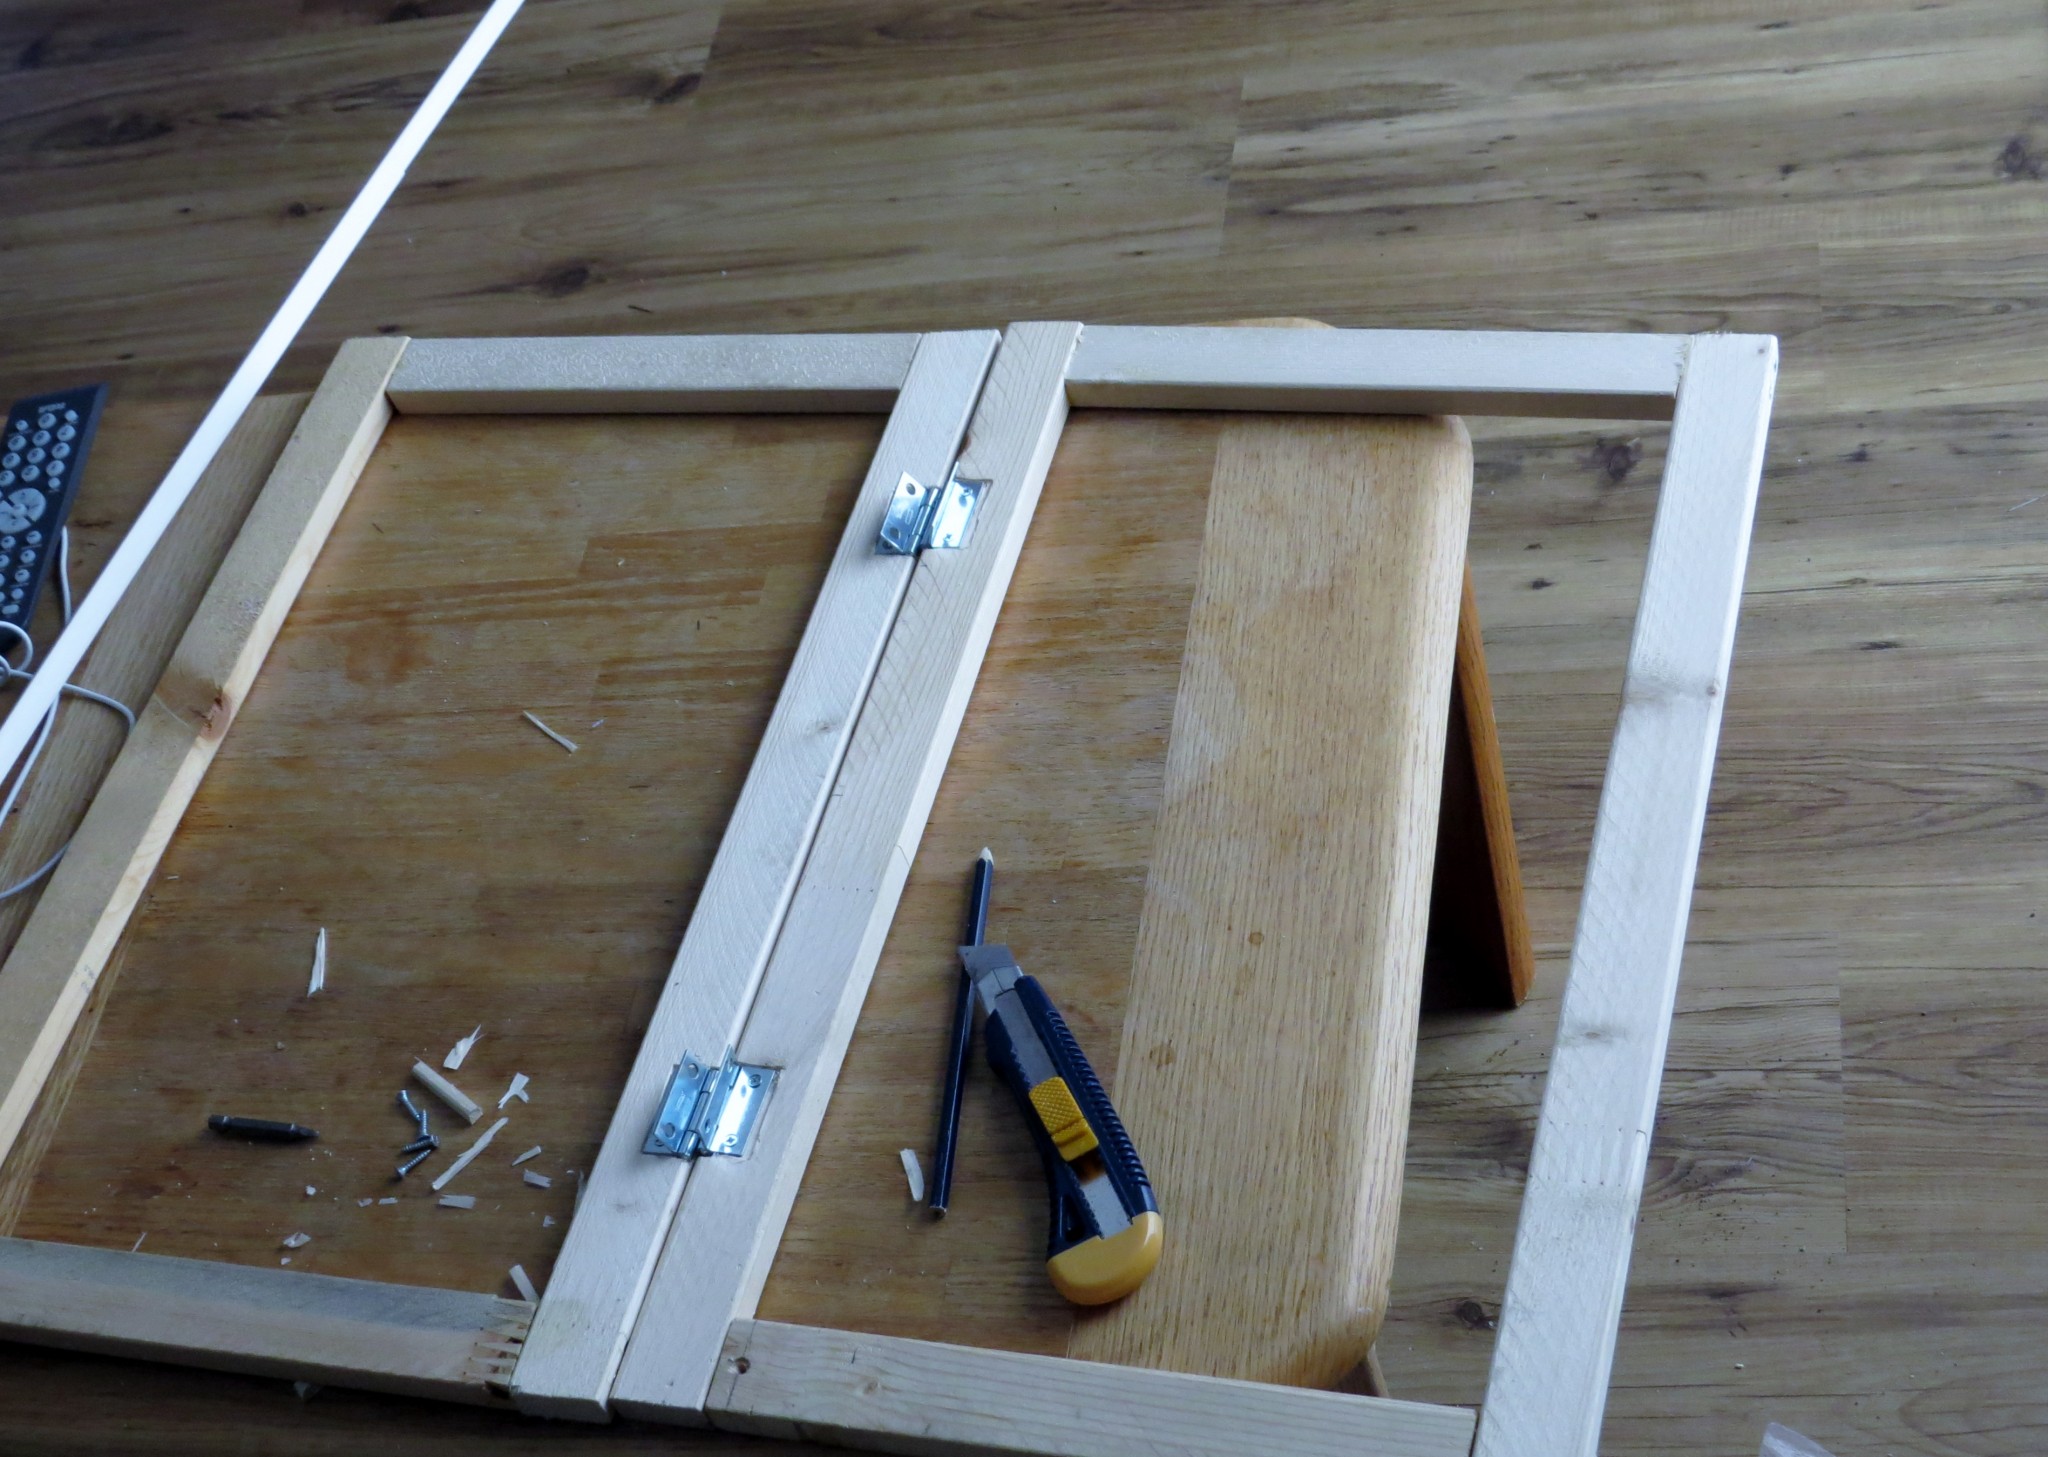

The doors connect with the cabinet in the middle with ball bearing clips; they hold really well


Inside the cabinet
With the doors on, Jean Robert stuffed the cabinet with everything lying around the car so apologies for the mess. He built one higher shelf and may still add another, we’re still working out exactly what we will keep in the cabinet.
In the bottom section, you can see our new 5l propane tank on its side. Although the small propane bottles are great, a large tank like this will last so long (for relatively little $$ too) and it is convenient to get filled up.
Most gas stations seem to offer this service. We had a fair amount of trouble in Europe with finding places that stocked the type of stove gas we used – we definitely won’t have a problem in North America!


The finished cabinet! Jean Robert has finished the edges and corners with caps, usually found on protective plastic walls.

Pull out bed storage
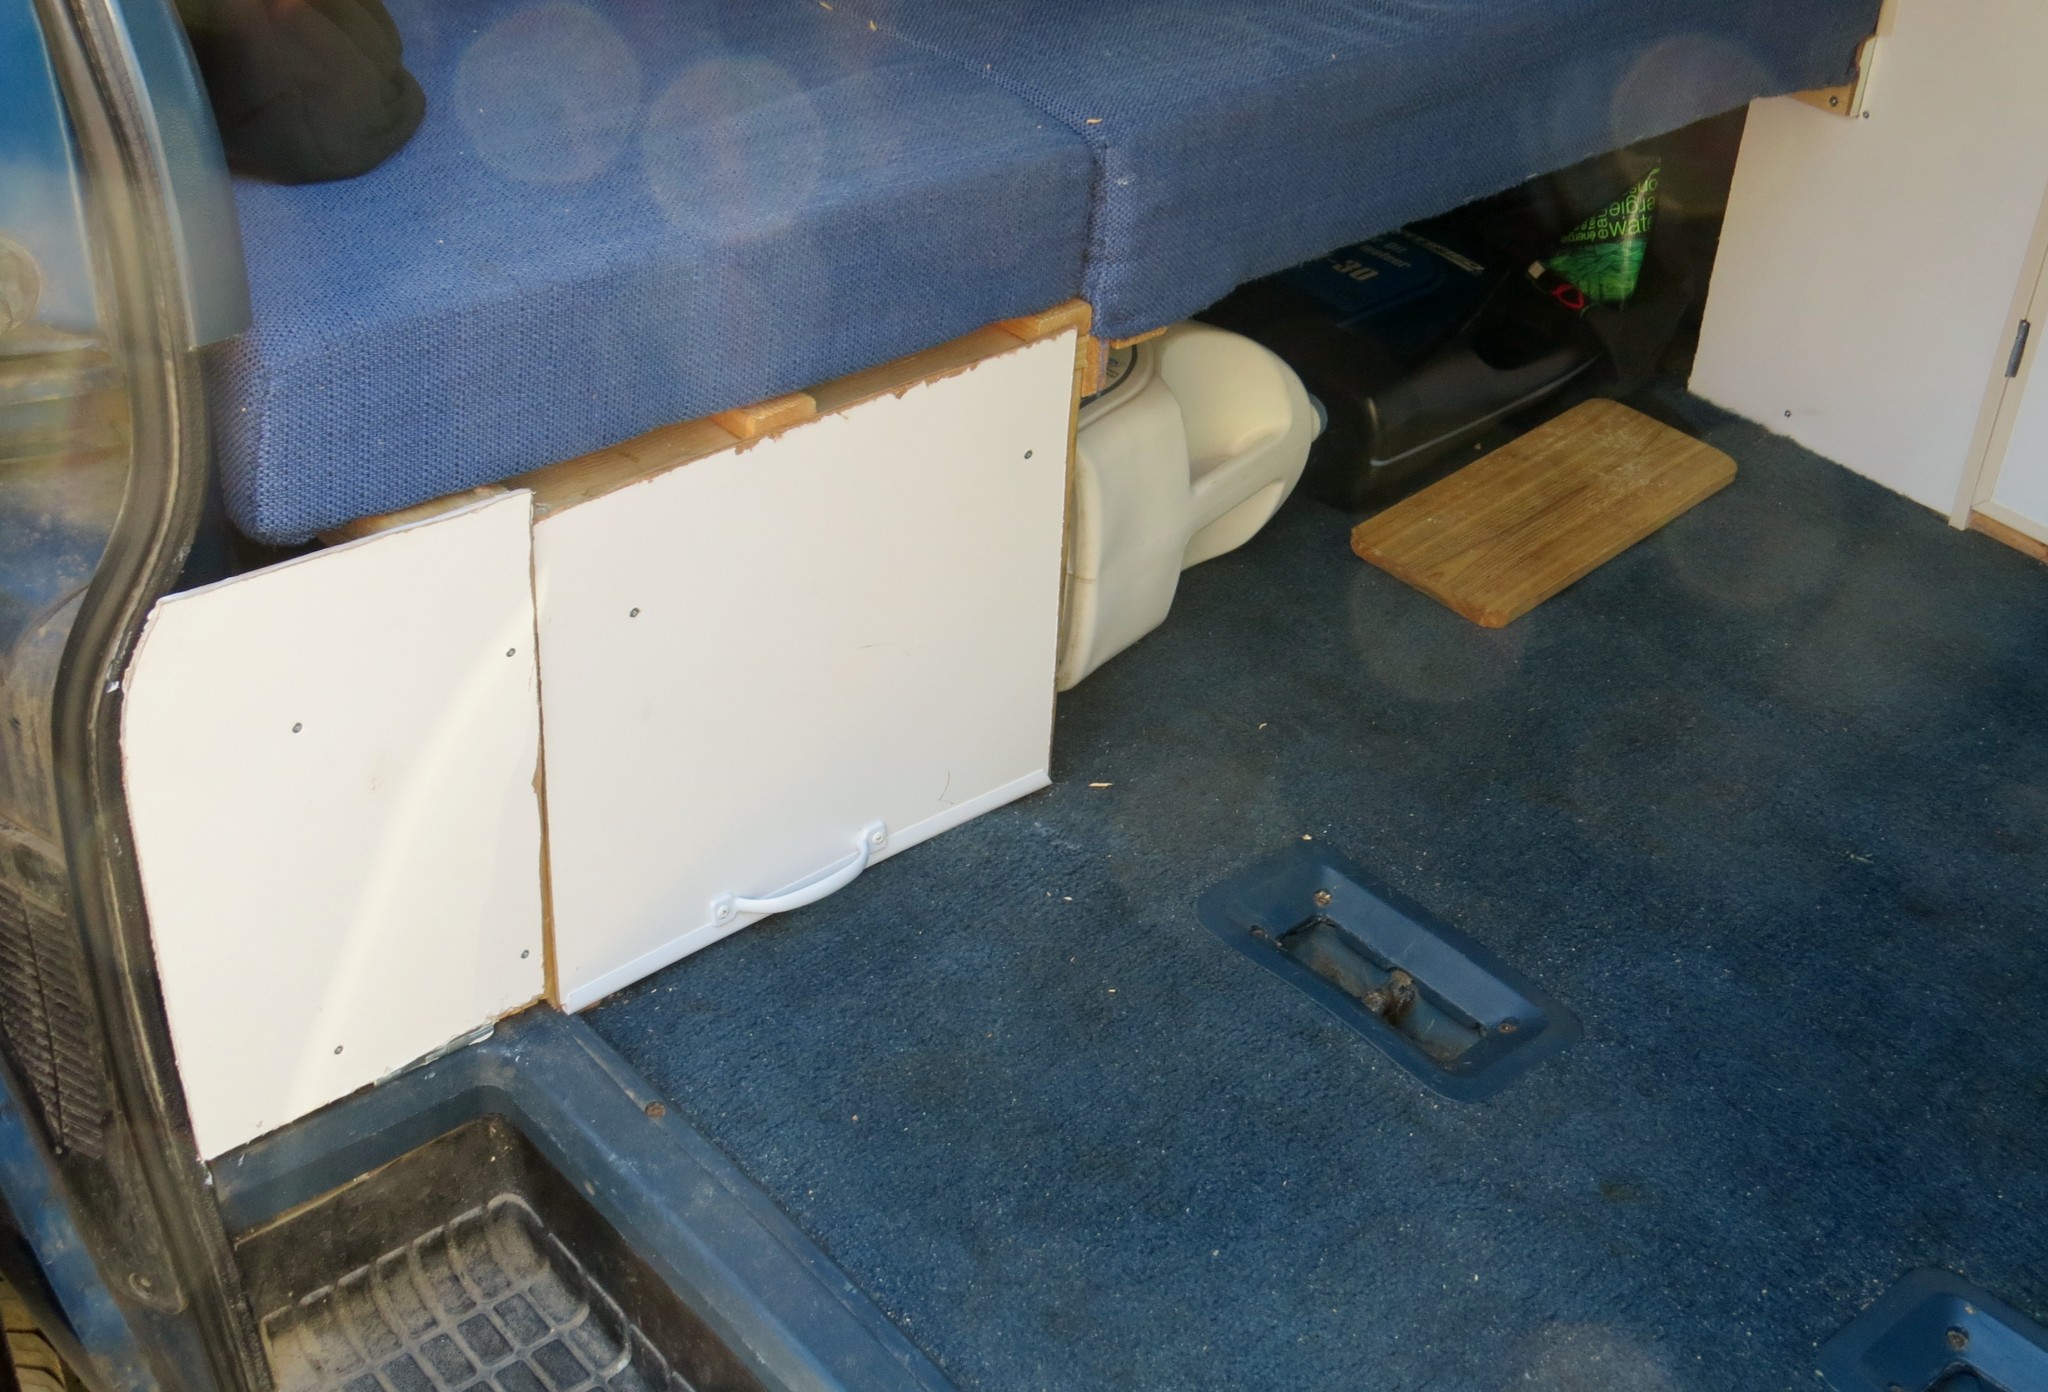
Another section Jean Robert has been working on is the front under-bed storage. This was originally where JR was going to store his own clothes but we have since decided to keep all clothes in the cabinet and put kitchen equipment here.
This is a great place to keep cooking items as the storage box slides out into the middle of the van and so can be accessed from inside or outside.
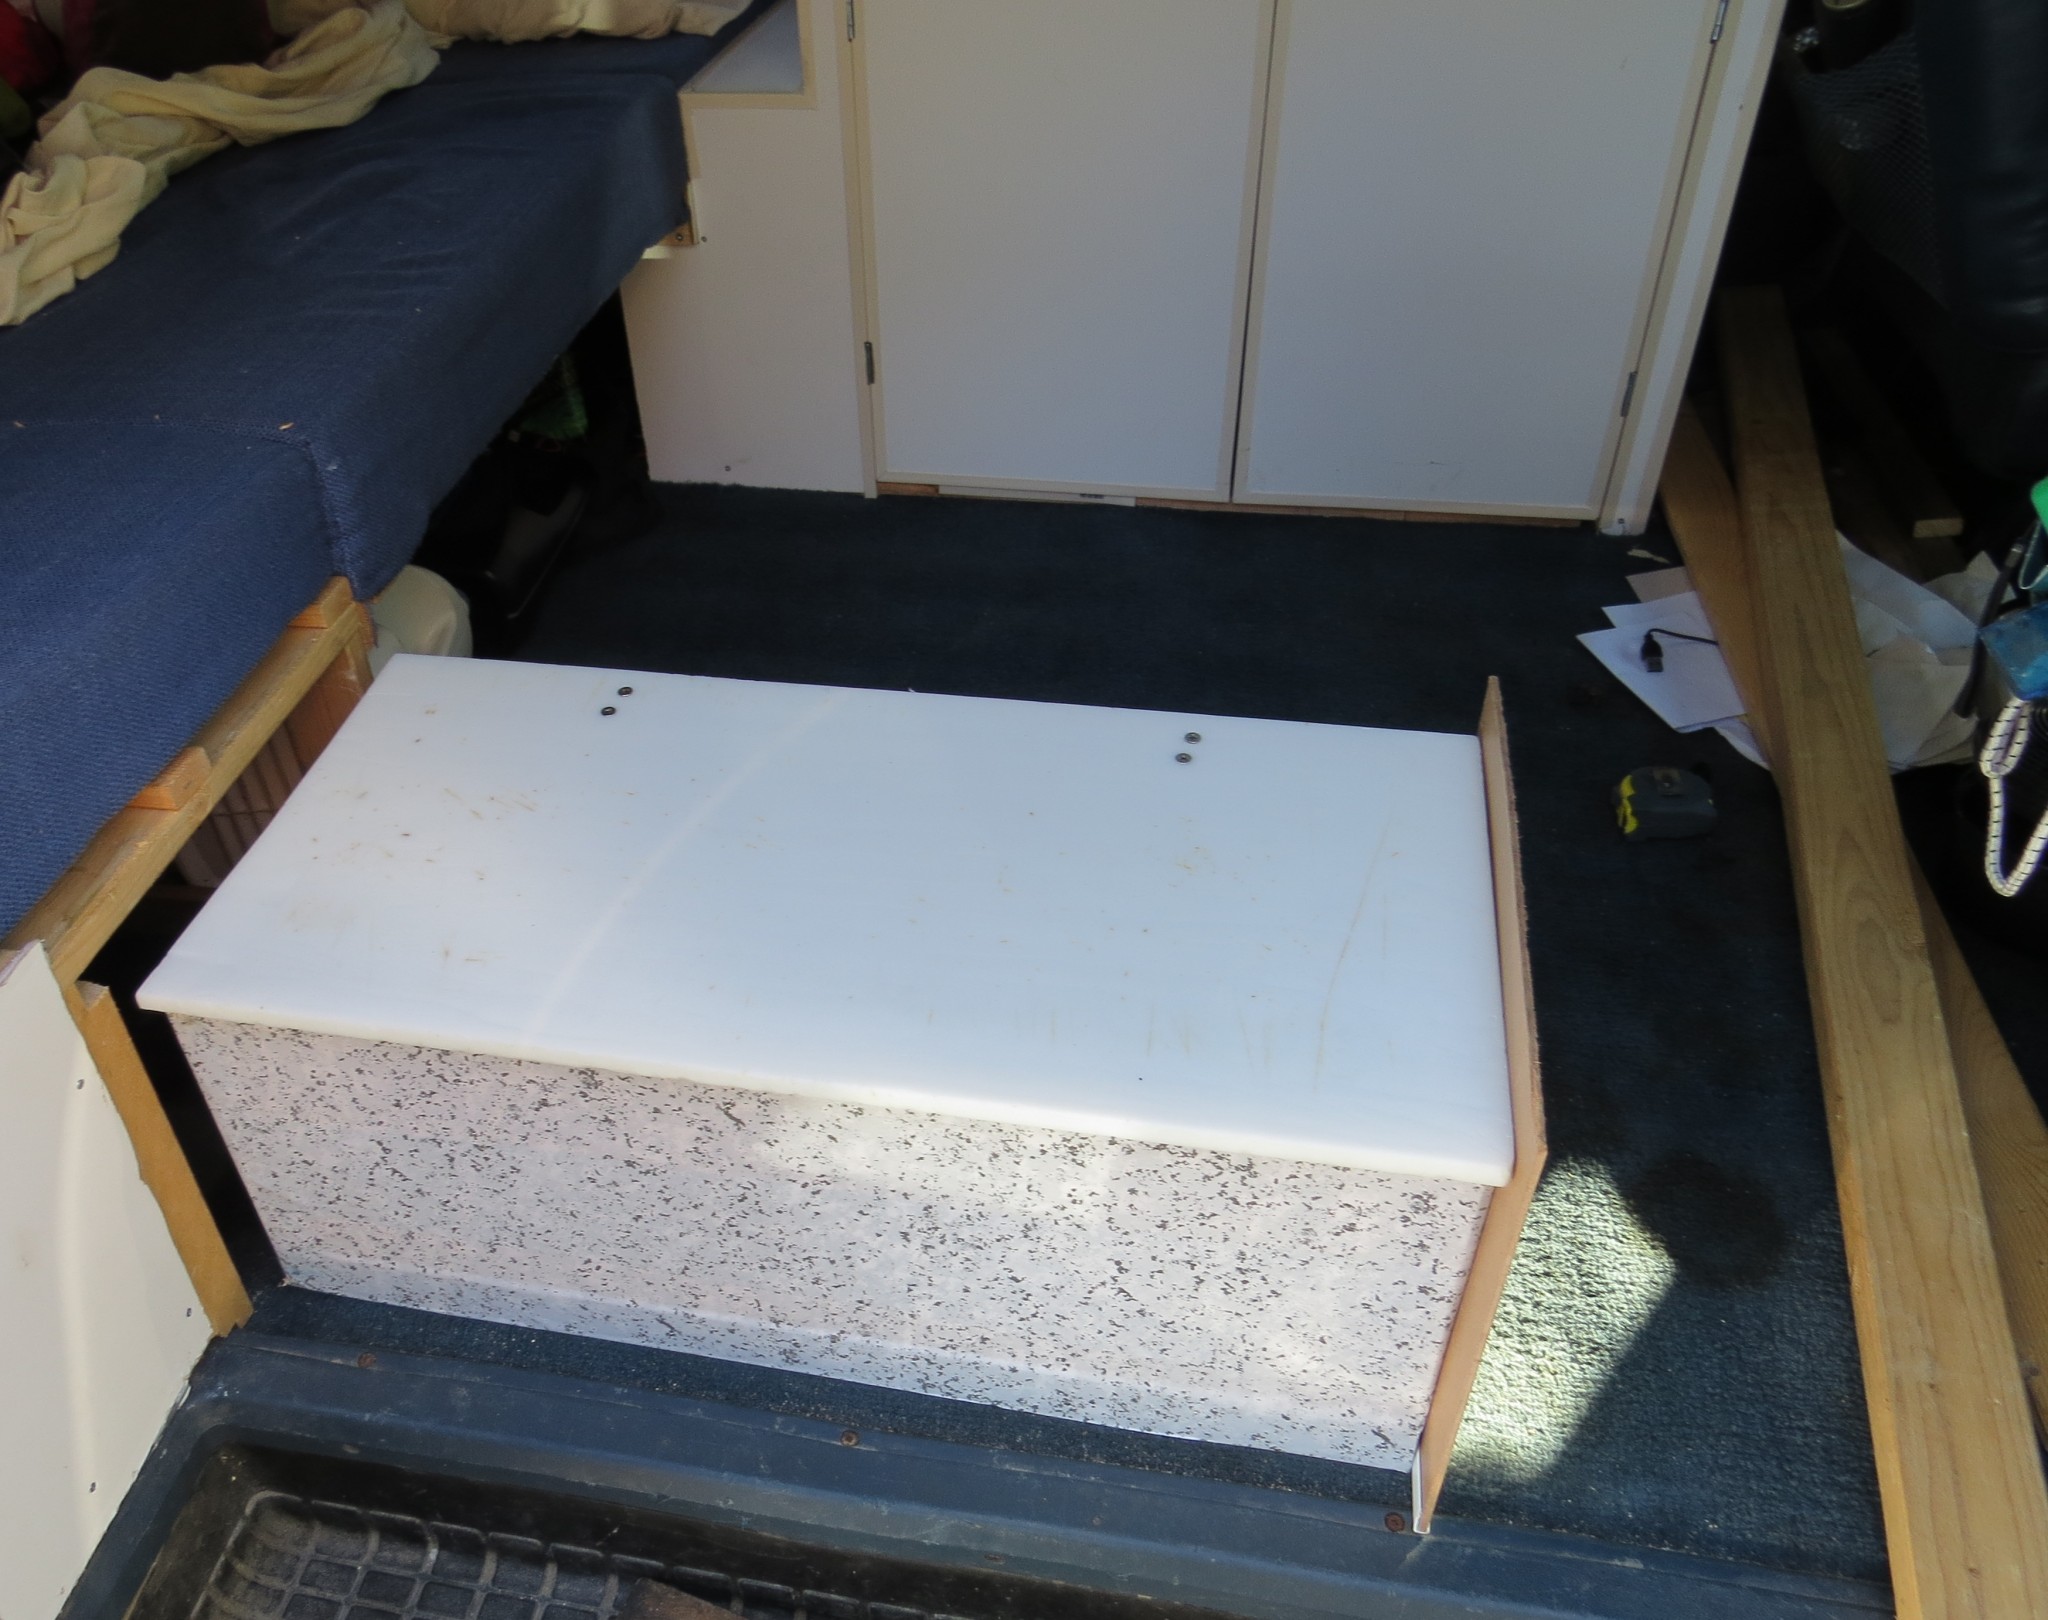

The box, built within the bed frame, slides out and has a chopping board as the lid. Bonus multi-function!
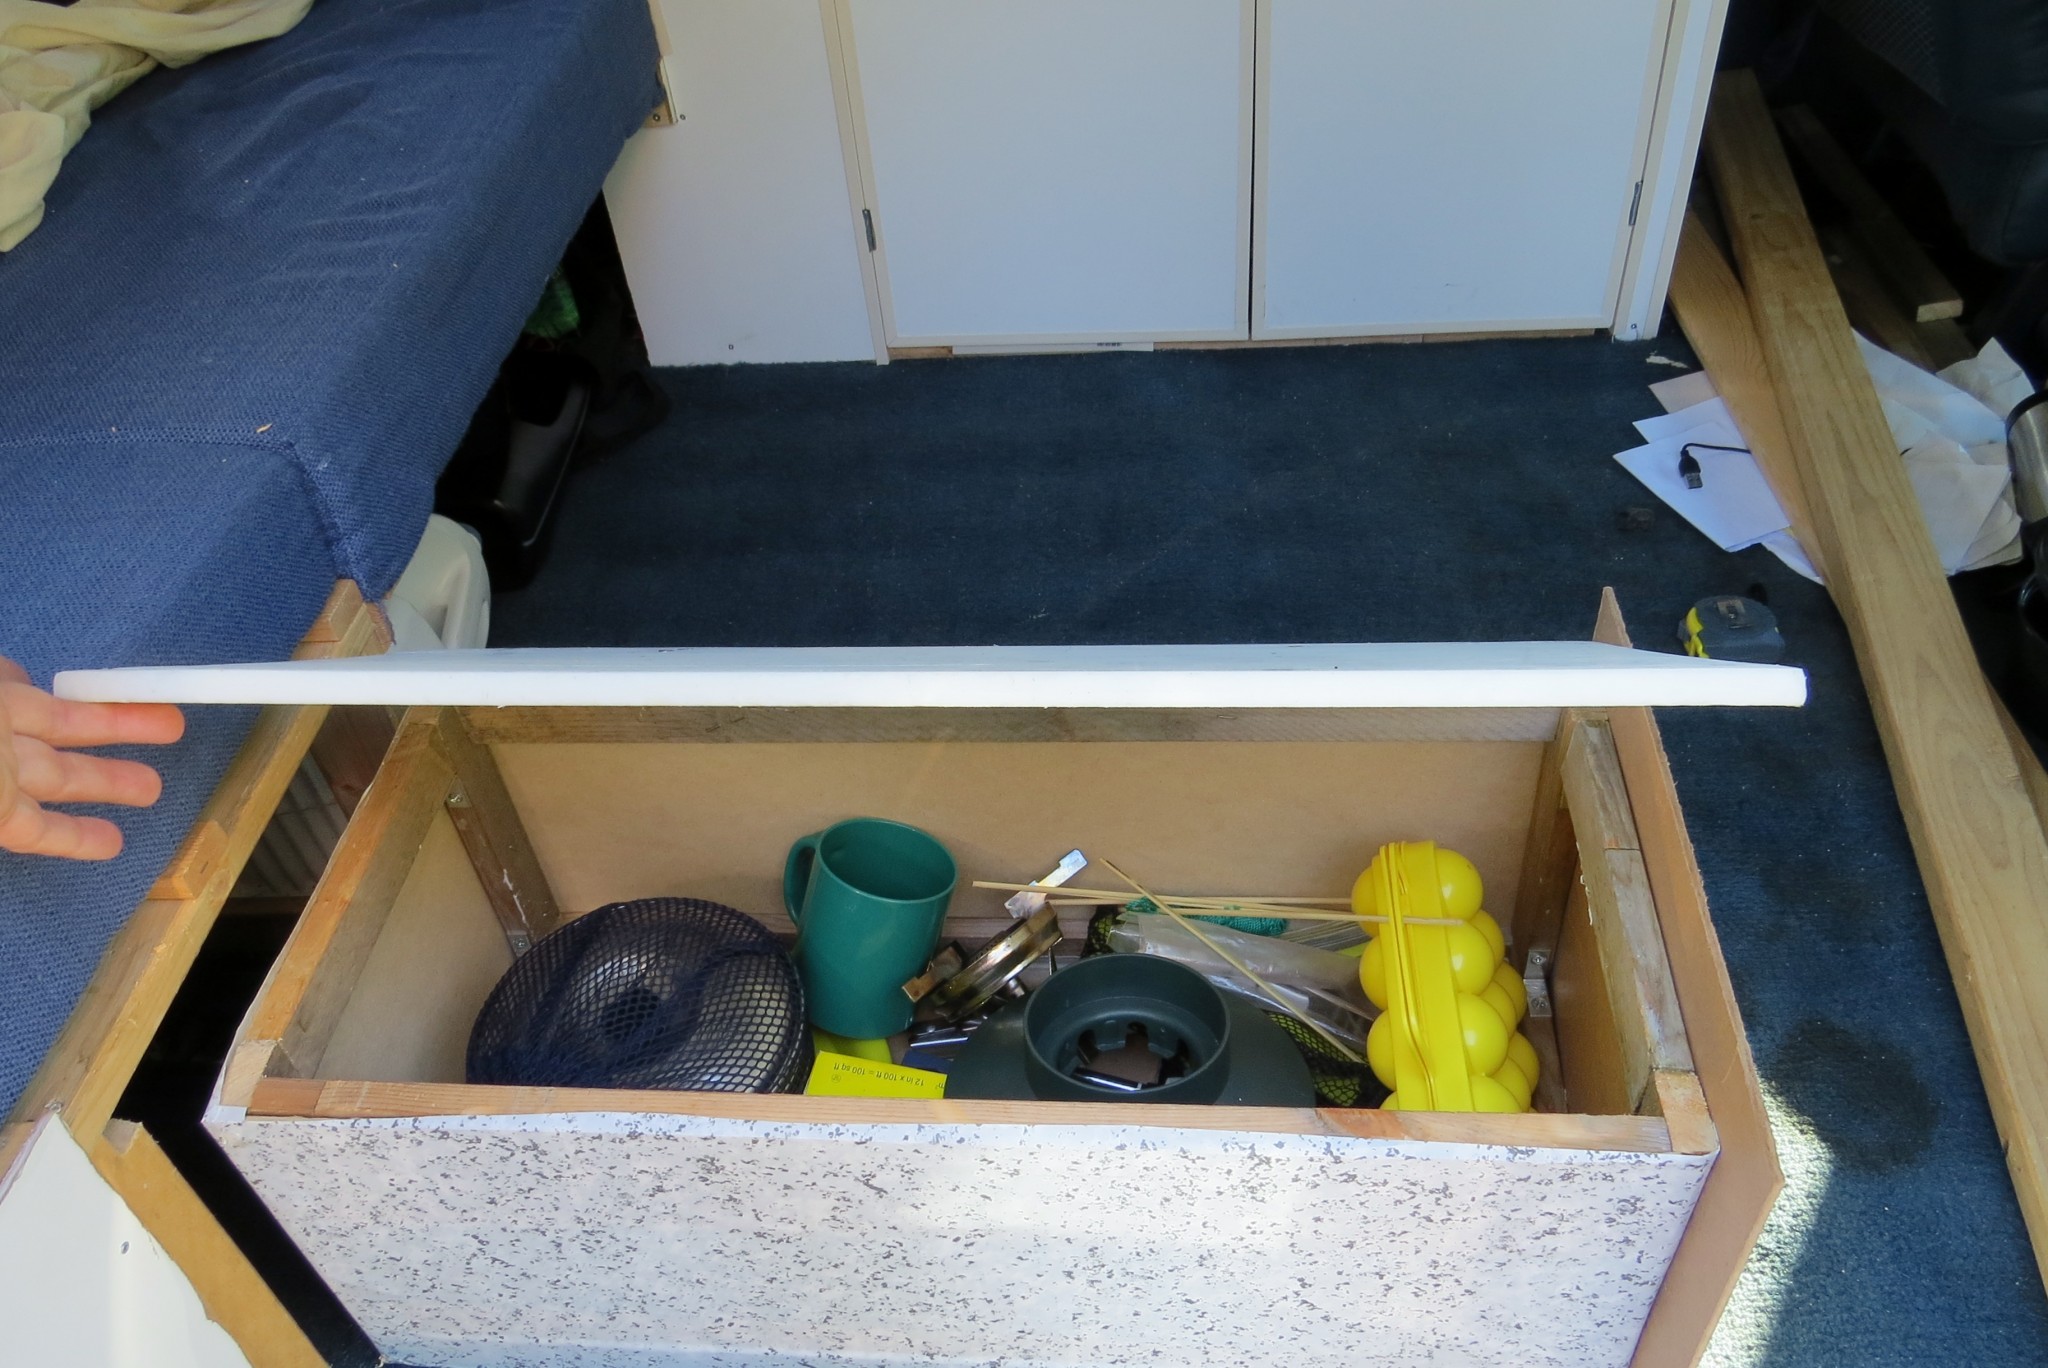
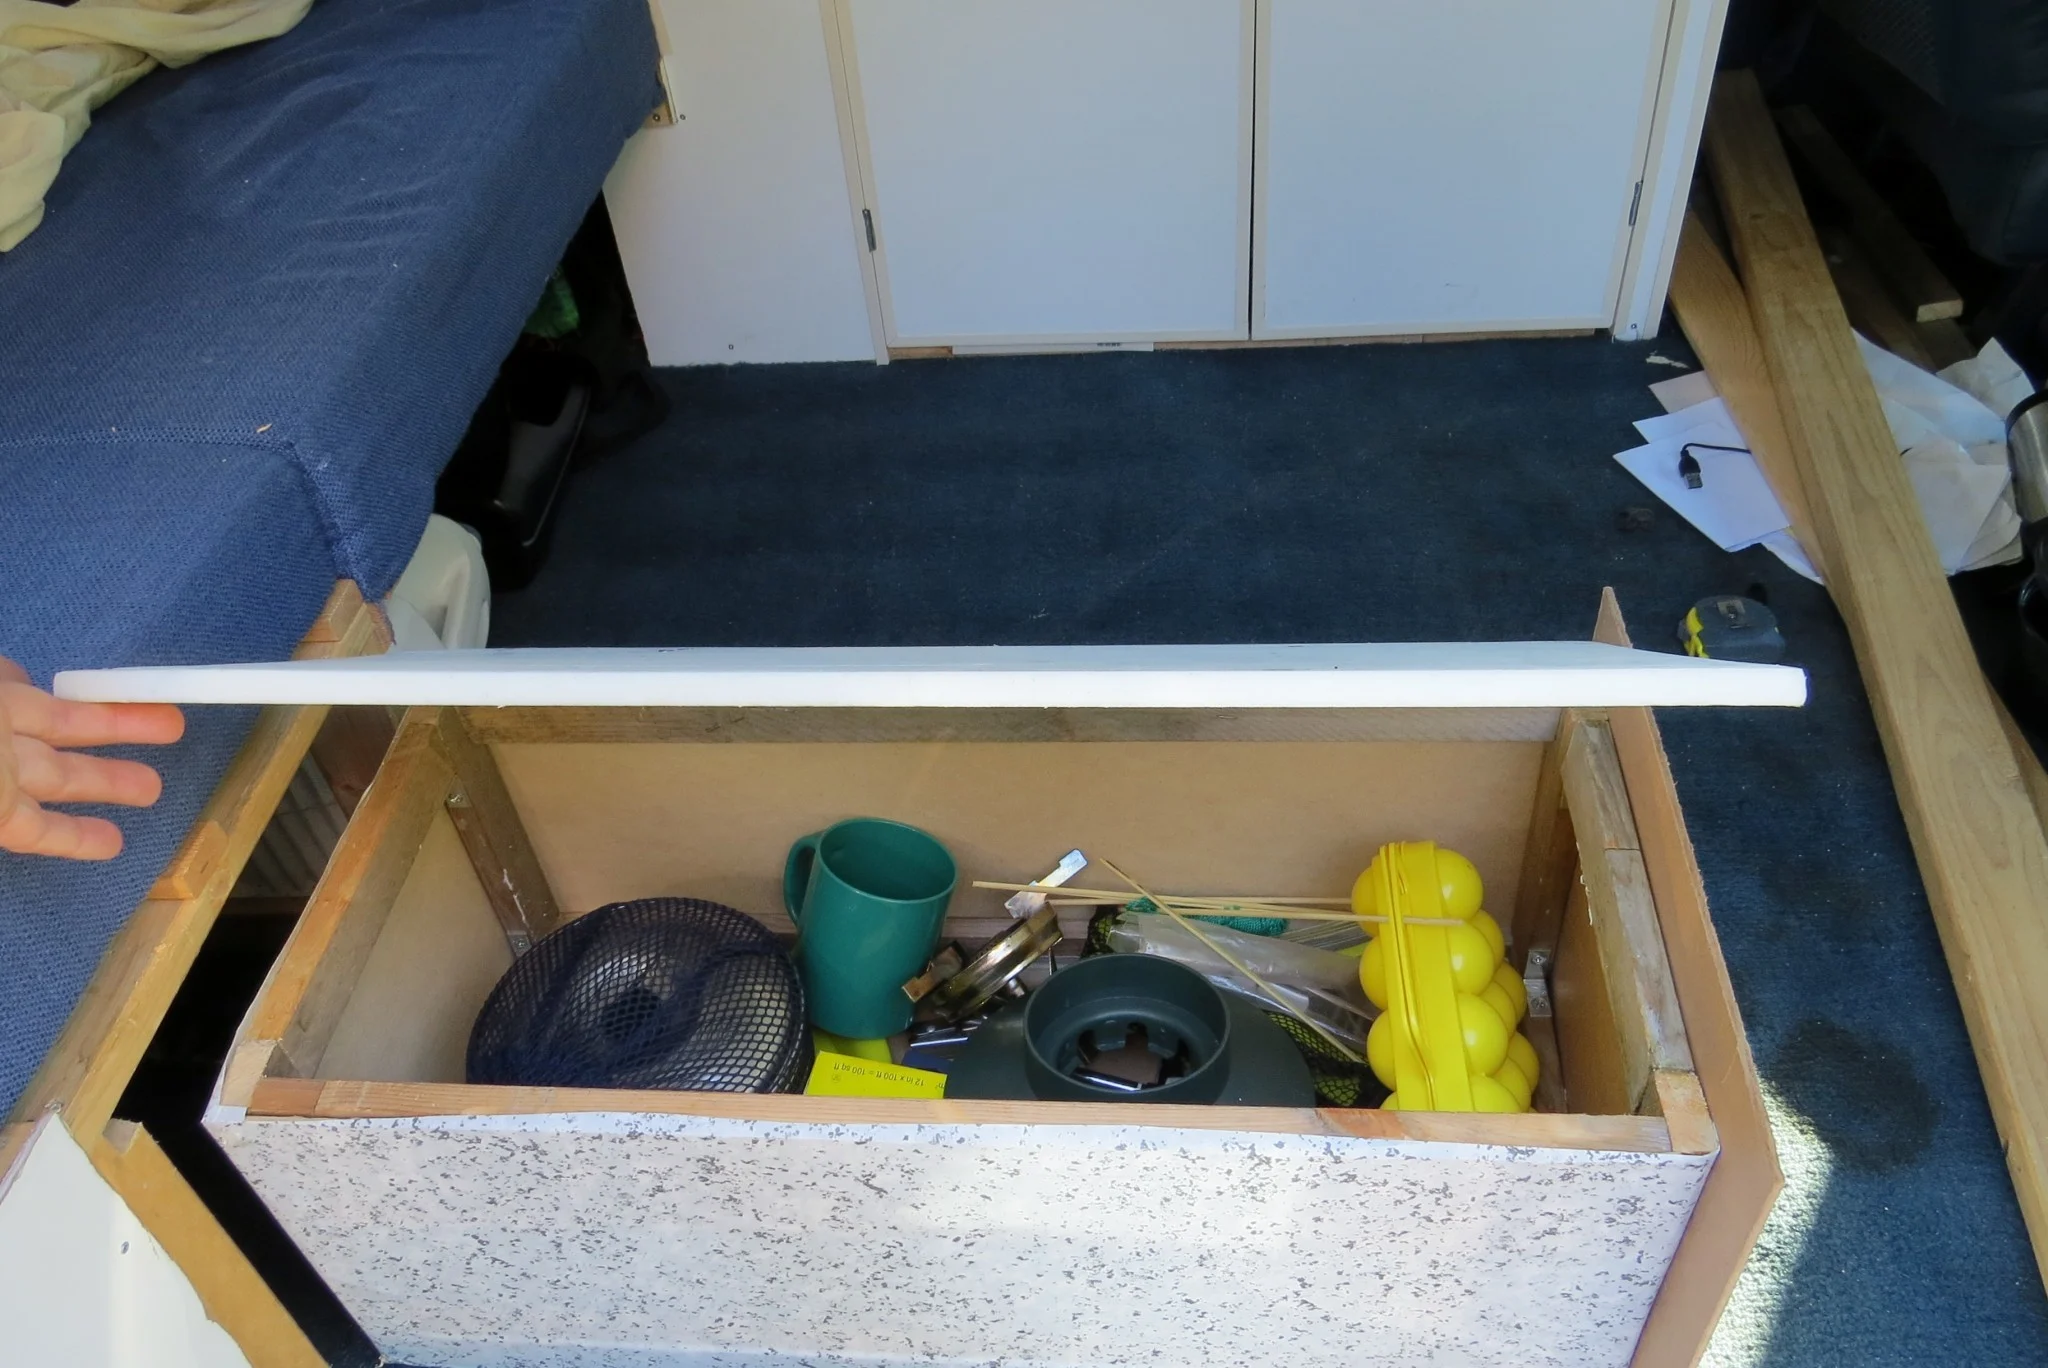
There’s a fair amount of space here, there’s quite substantial depth. Again, we’ve just got the stuff that was lying around the car stored in it right now.
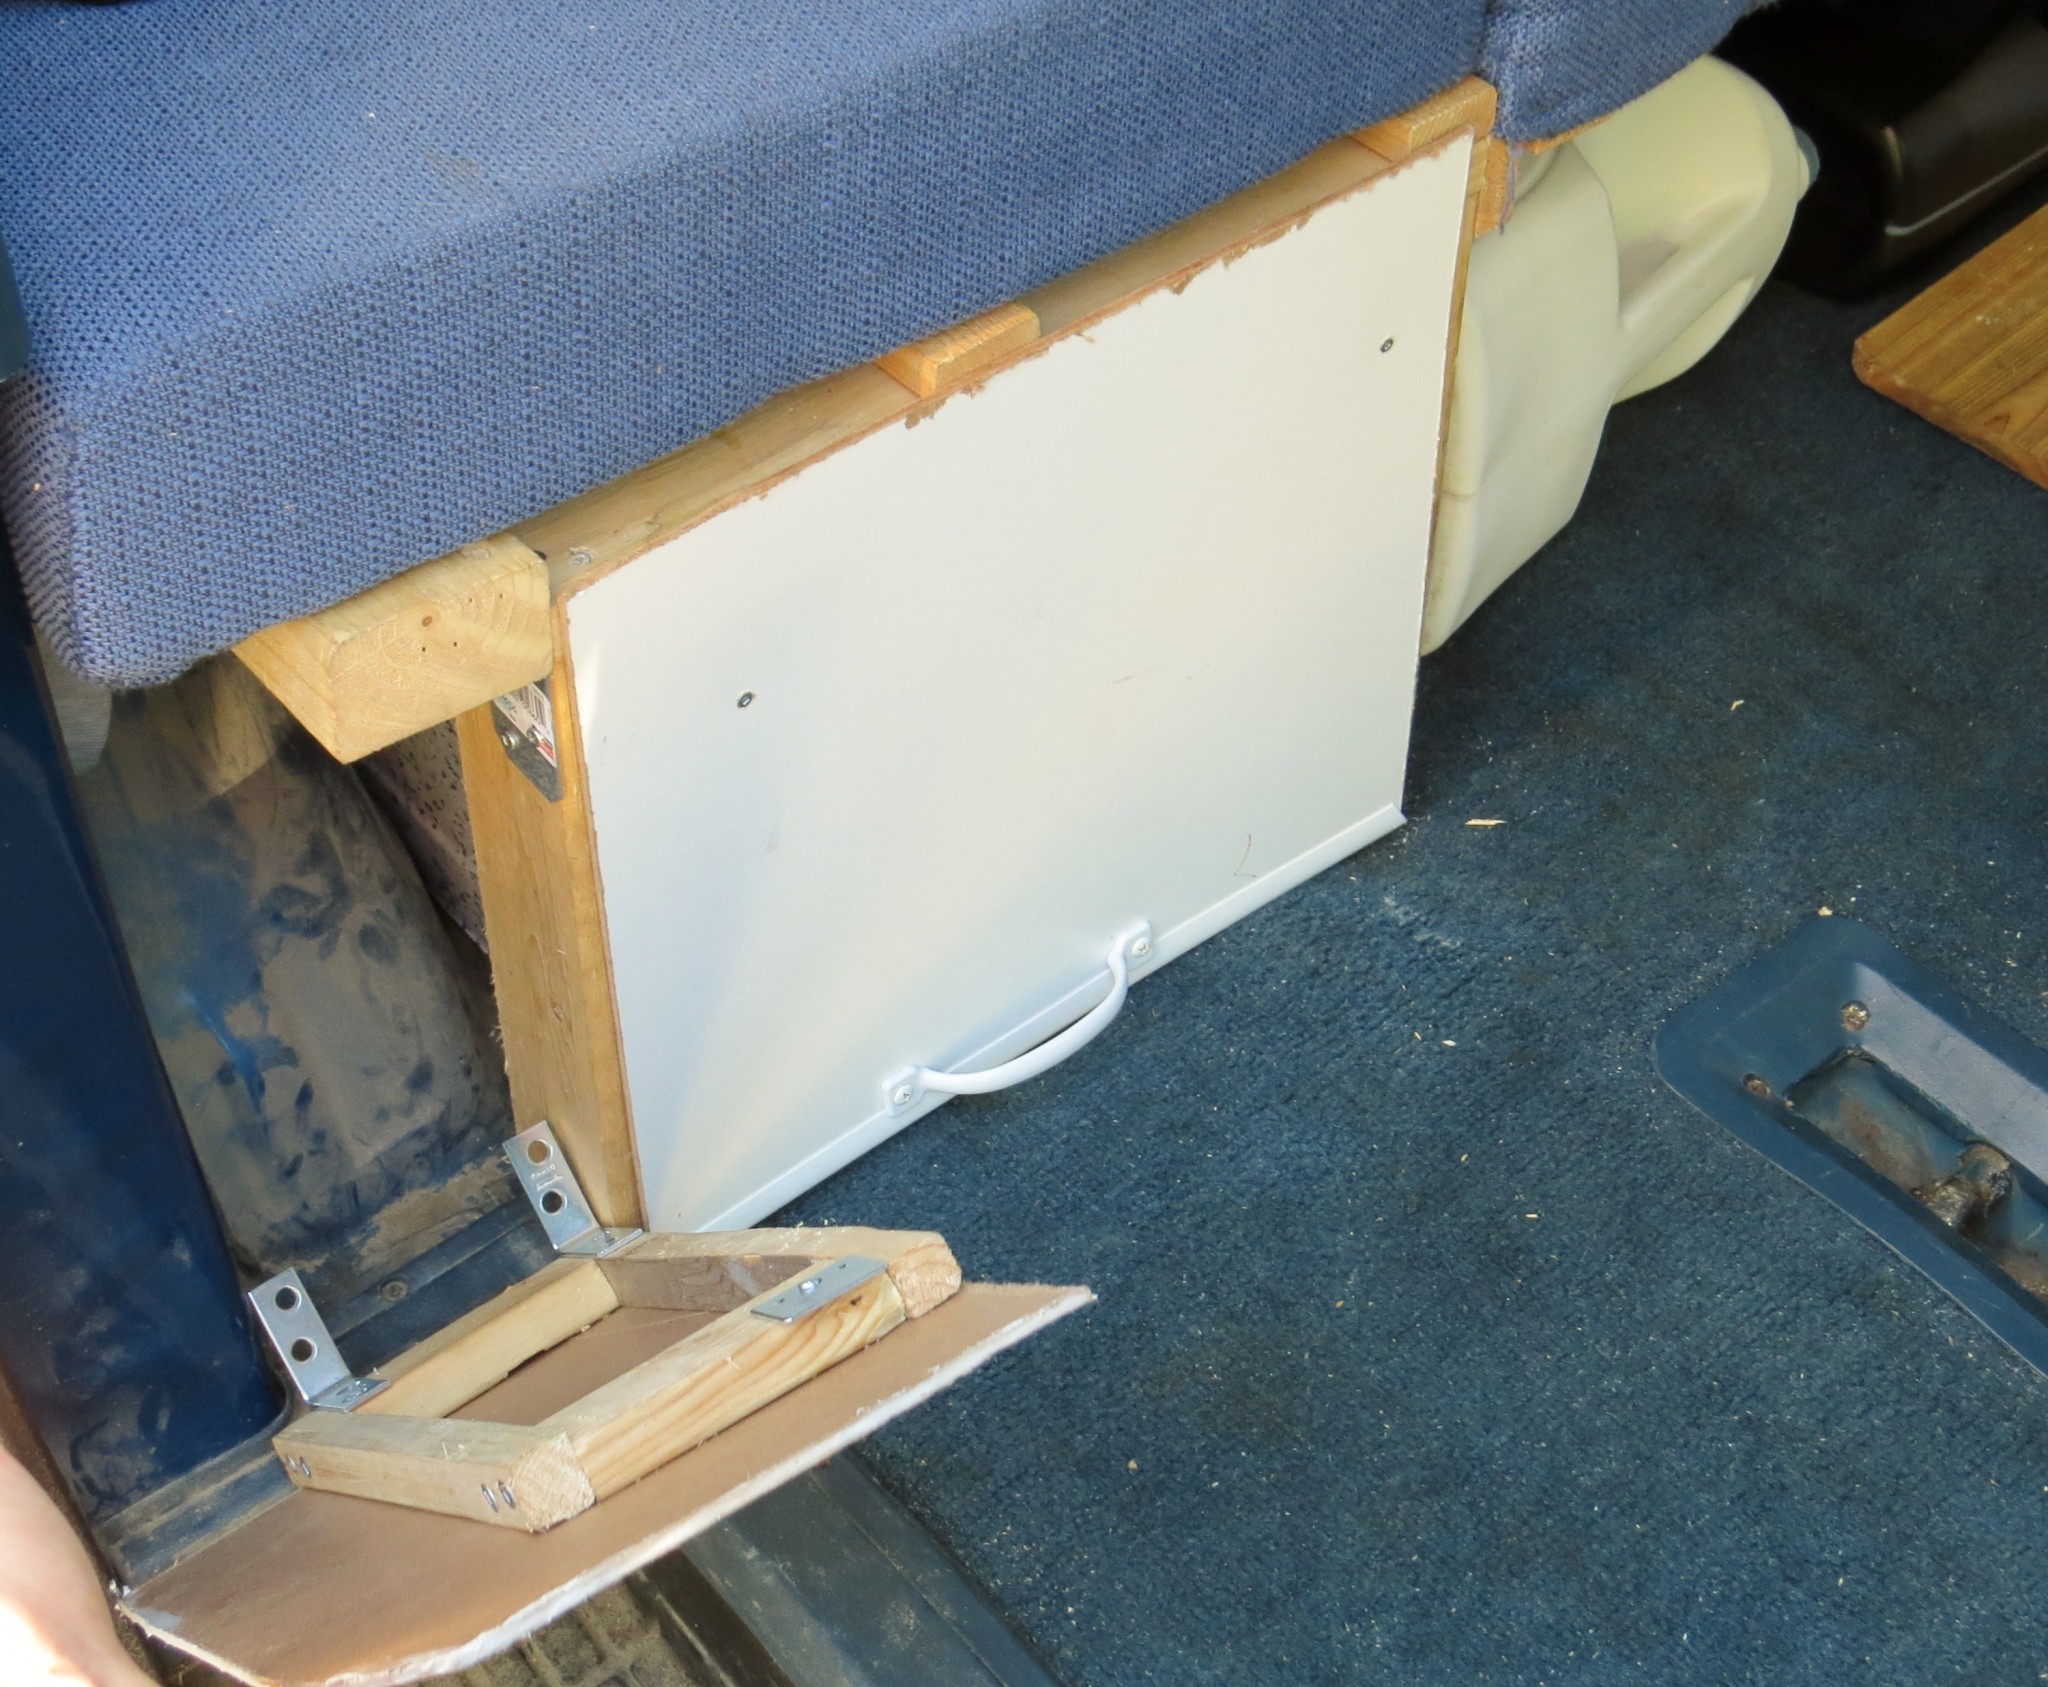

In this type of conversion, all space is valuable, so Jean Robert has fixed a magnetic door onto the space to the left of the kitchen equipment storage. This is the space between the door and the tire (tyre!) and we will probably use it to store something we will use a lot, such as kitchen towel, toilet paper or spices for example.
No decision made yet! Hopefully, the magnets will stop the door opening while travelling, we will see. It’s been holding until now.
Almost there
With the cabinet and bed made, we could just leave now and comfortably live in the van (it actually feels pretty spacious right now!), but there is still a fair amount of work that we want to do.
There are lots of little things that need to be done, such as the installation of a water tank underneath the bed as well a curtain between the front seats and the back.
One major modification we need to think about is an awning. After travelling and camping in 30 degree heat in Croatia back in 2011, we think that extra shade outside of the van is important. It’s only going to be hotter in Mexico and Central America! A fridge or some kind of cooler is also in the back of our minds right now, with the same reasoning.
Future upgrades?
The main two areas of research at the moment are solar panels and a swivel passenger seat. The latter seems tricky to get ahold of’; there are suppliers in the USA, but none that we can find in Canada.
This is frustrating as we do not want to have to pay extra taxes and customs fees to import it into Canada. With solar panels, the trouble isn’t finding them, it’s the cost! They are not cheap but definitely seem like the best option to have power on and off the road.
PIN this post for future reference – simply click the top left-hand corner of the below photo

Adventure in your inbox
Subscribe to our monthly email newsletter and receive a round-up of our latest outdoor adventures plus other exciting beyond the beaten path destinations
We never share your information with third parties and will protect it in accordance with our Privacy Policy


One half of the Canadian/British couple behind Off Track Travel, Gemma is happiest when hiking on the trail or planning the next big travel adventure. JR and Gemma are currently based in the beautiful Okanagan Valley, British Columbia, Canada
Joe
Thursday 7th of November 2013
Looking great guys! I especially like the pull out kitchen storage/chopping board! I can't wait to get my teeth sunk in to my next conversion project.
Joe
Gemma
Friday 22nd of November 2013
Hey thanks Joe! The pull out was not planned at all; JR's work was getting rid of a big chopping board and he had it for ages before realising where it could go. Sometimes the spontaneous stuff is the best :)
- Gemma